>>

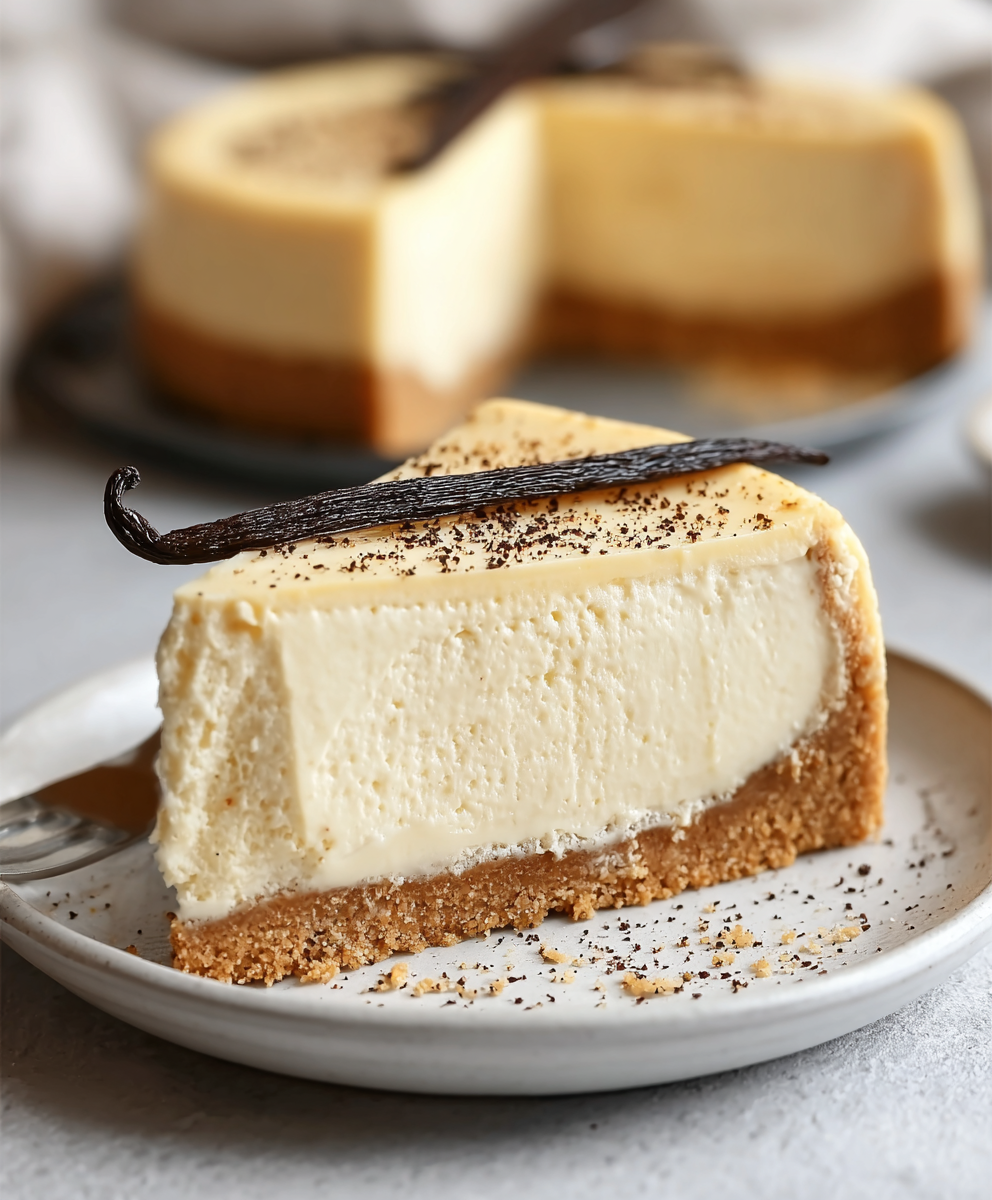
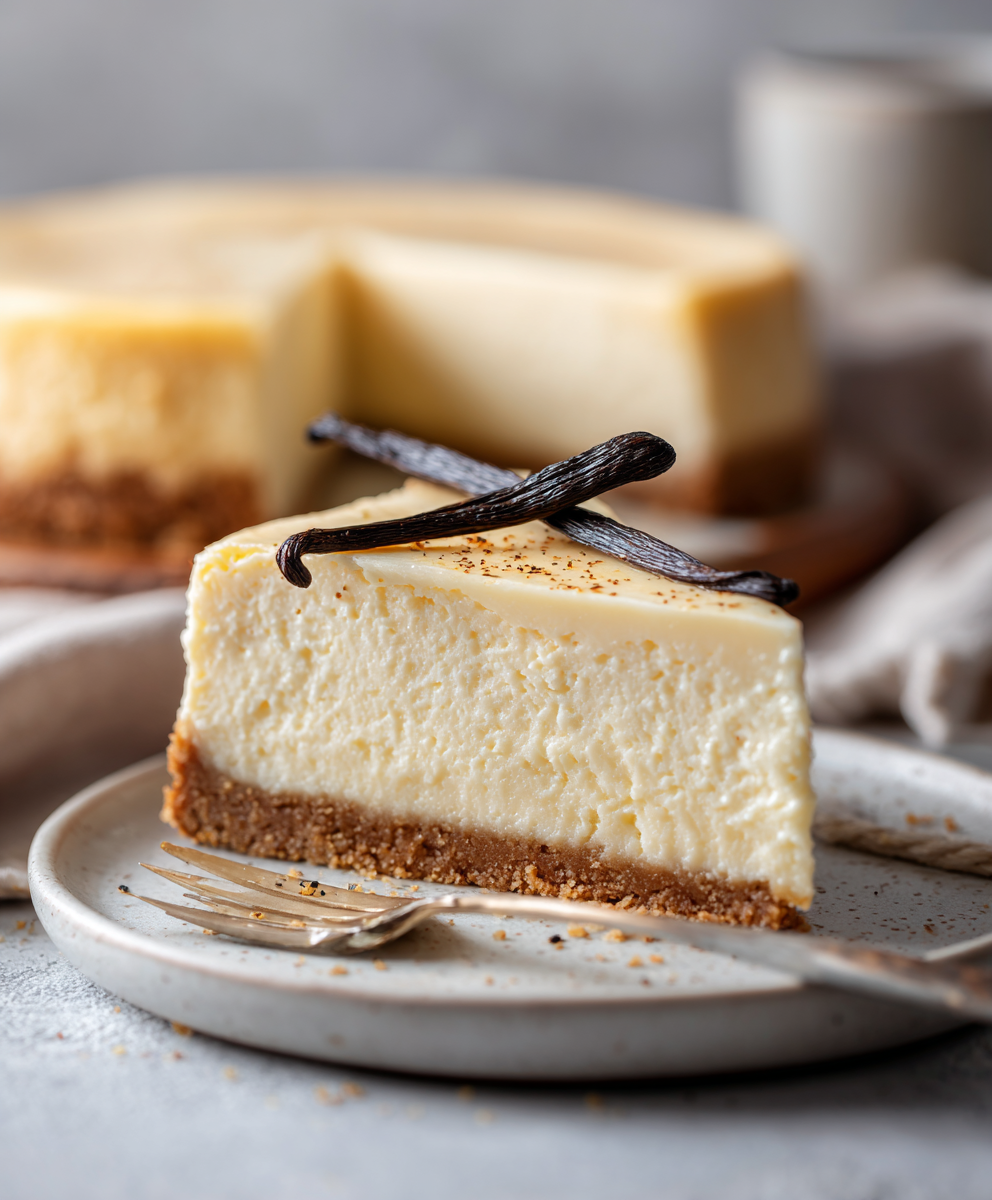
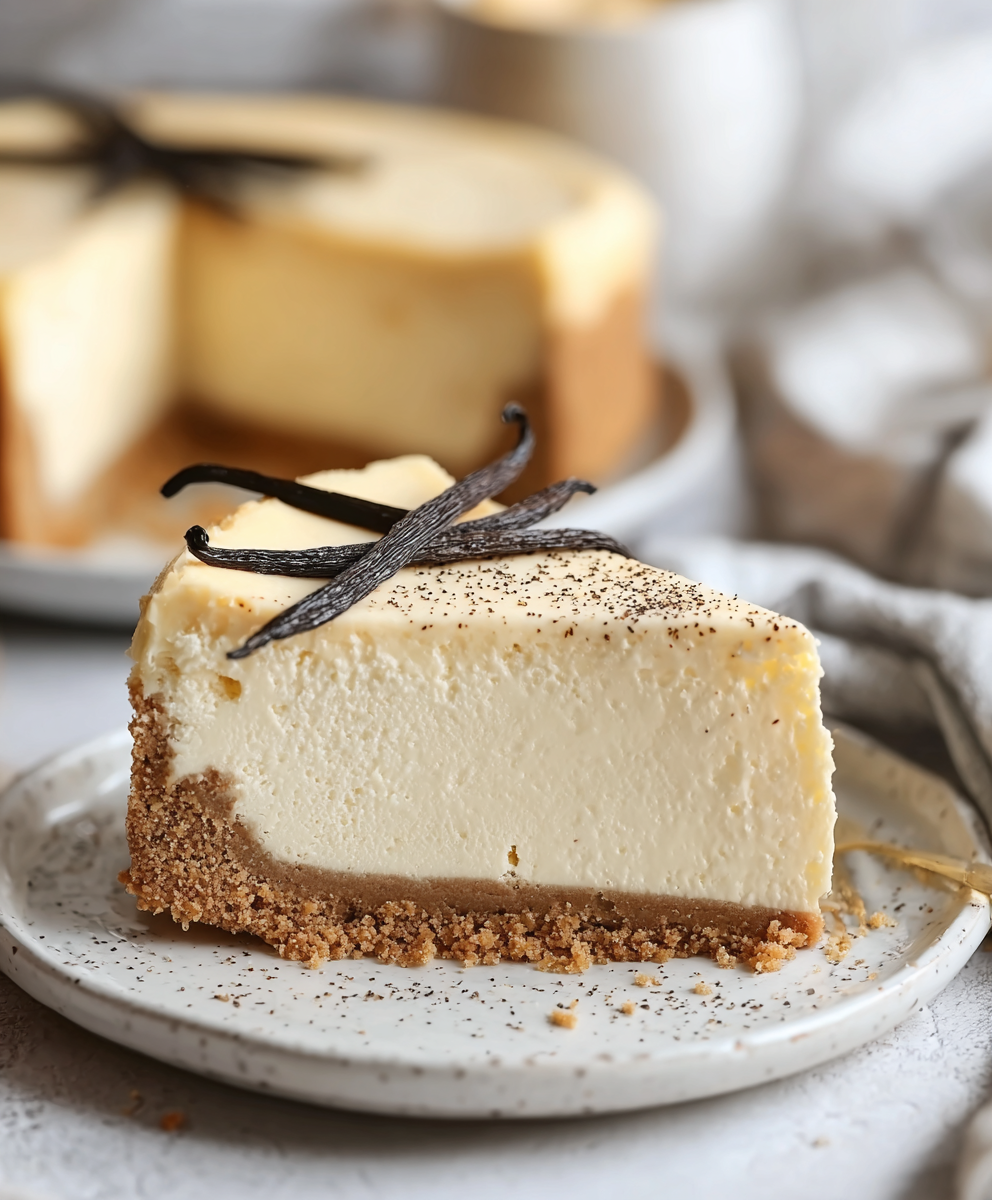
A luxurious, show-stopping cheesecake that pairs nutty brown butter with fragrant vanilla bean for a deeply flavored, silky dessert.
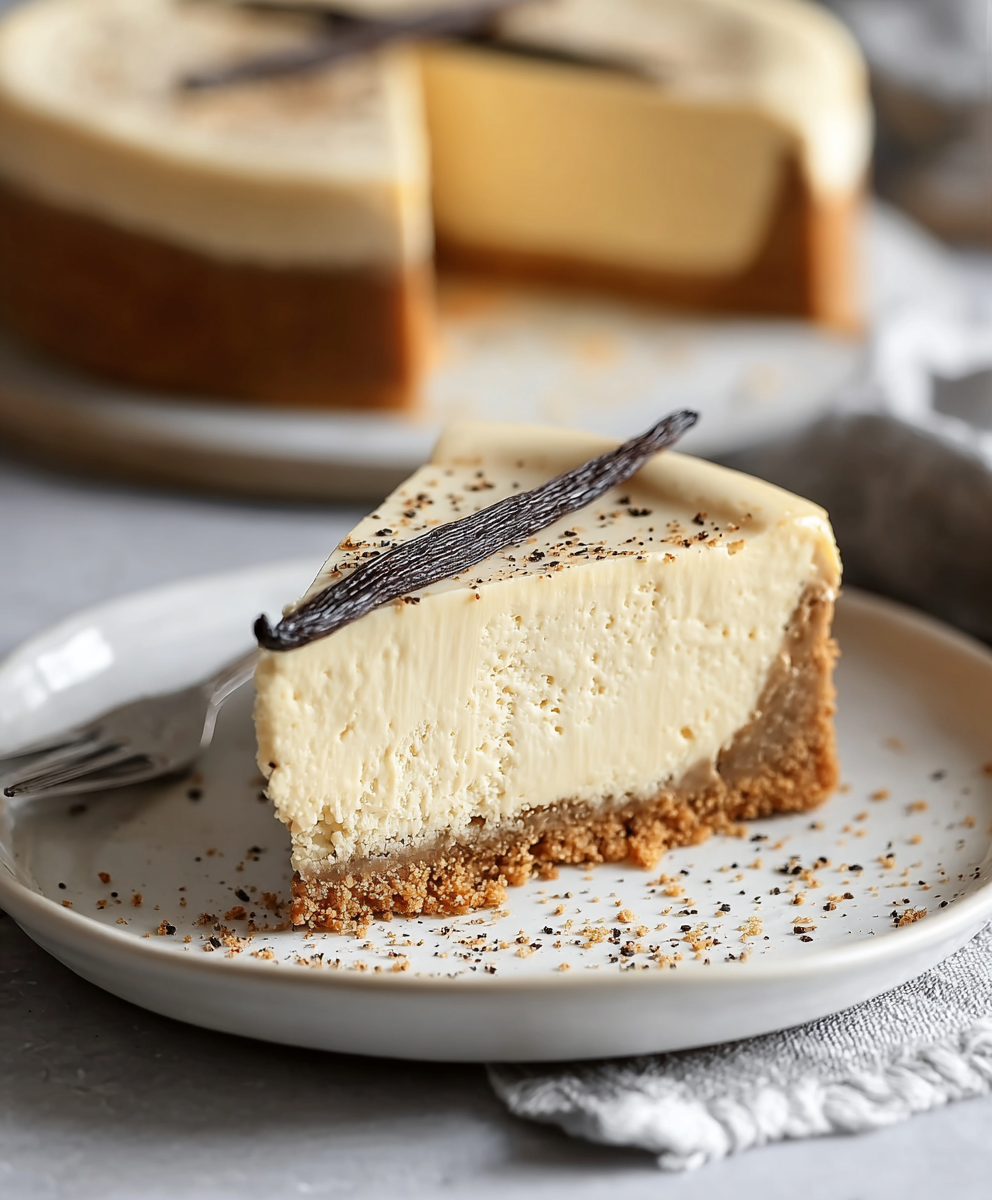
This Vanilla Bean Brown Butter Cheesecake is one of those desserts that has quietly become the holiday showstopper at our table. I first developed this version during a chilly December when I wanted a classic cheesecake with a twist — something familiar but richer, more layered. The browned butter adds a warm, toasty note that plays brilliantly against the clean floral lift of real vanilla bean seeds. The texture is satin-smooth, with a creamy mouthfeel and a slightly caramelized crust edge that keeps everyone coming back for another slice.
I remember the first time I served it: a dinner party where the lights were low and the conversations were loud. People paused mid-sentence, fork hovering, and one by one admitted it was the best cheesecake they'd tasted in years. It’s the kind of dessert that sparks questions — did you bake it a special way? Is that real vanilla? What did you do to the butter? The answers are simple but deliberate: brown the butter slowly, use real vanilla bean (or paste), and be patient while it chills. The result is worth every extra minute.
In my kitchen, this cheesecake replaced a dozen other desserts because it travels well, slices beautifully, and always earns the compliment that someone "could eat the whole thing." Family members ask for the recipe, which I happily share, because the technique — browning butter, gently combining the batter, and careful cooling — is the real secret to consistent results.
My favorite part of making this is the moment the browned butter aroma fills the kitchen; it always draws a family member in for a taste and a compliment. Over time I learned to time the browning so it’s ready to incorporate while the crust bakes — small workflow tricks like that make the whole process calmer and more enjoyable.
Store in the refrigerator tightly wrapped with plastic wrap or in an airtight container; a cheesecake can pick up fridge odors, so protection is important. Refrigerated slices keep well for up to 5 days. For longer storage, cut into individual portions, wrap each slice in plastic, then foil, and freeze for up to 3 months. Thaw in the refrigerator overnight and bring to slightly less than room temperature before serving. For transport, place the cheesecake on a flat, chilled surface and keep it in a cooler to prevent sweating.
If you don't have graham crackers, substitute digestive biscuits or vanilla wafers at a 1:1 volume ratio; expect a slightly different flavor profile. For a lighter tang, you can swap half the sour cream for Greek yogurt (same volume). If vanilla bean paste isn't available, use 2 teaspoons of pure vanilla extract, though the speckled appearance will be absent. For a nutty crust, replace 1/3 cup of crumbs with finely ground almonds — reduce butter by 1 tablespoon if crumbs become too oily.
Serve slices with a simple macerated berry mix, salted caramel drizzle, or a few toasted hazelnuts for crunch. Because the filling is rich, pair the cheesecake with bright, acidic accompaniments like raspberry coulis or an orange-scented compote. For holiday meals, add a dollop of lightly sweetened whipped cream and a sprinkle of finely grated citrus zest for freshness.
Cheesecake has a storied past across cuisines, from ancient Greece to modern New York. This version blends classic American cheesecake structure with a French-inspired twist — brown butter (beurre noisette) — which brings a toasty, almost praline-like depth that complements the vanilla bean’s floral notes. It’s an example of how small technique shifts can bridge culinary traditions for a compelling result.
In spring, top with bright rhubarb or strawberry compote; in autumn, fold 1/2 cup of pumpkin purée and 1 teaspoon pumpkin pie spice into the filling and reduce sugar by 2 tablespoons. For winter holidays, serve with a warm salted caramel sauce and toasted pecans. The base method is versatile and adapts well to seasonal produce and flavor trends.
Make the crust and brown the butter a day ahead. Store the browned butter in the refrigerator and bring back to lukewarm before incorporating. Bake the cheesecake the night before serving so it chills fully and slices cleanly. For buffet service, slice just before guests arrive and keep chilled until plating to maintain pristine presentation.
Every time I make this cheesecake it reminds me that patience in technique — gentle mixing, slow cooling, and proper chilling — rewards you with texture and flavor that feel truly celebratory. Give it a try, and then make it again for a friend; this is one of those desserts that’s even better when shared.
Use room-temperature cream cheese and eggs to ensure a lump-free, smooth filling.
Brown the butter slowly over medium heat until nutty aroma and brown specks appear, then cool slightly before adding.
Bake in a water bath and allow the cake to cool slowly in the oven to prevent cracks and create a silky texture.
Chill at least 4 hours, preferably overnight, for clean slices.
This nourishing vanilla bean brown butter cheesecake recipe is sure to be a staple in your kitchen. Enjoy every moist, high protein slice — it is perfect for breakfast or as a wholesome snack any time.
Yes. You can freeze individual slices wrapped in plastic and foil for up to 3 months. Thaw in the refrigerator overnight.
Bake in a water bath and allow the cheesecake to cool slowly in the oven with the door cracked for 1 hour before chilling. This minimizes cracking.
This Vanilla Bean Brown Butter Cheesecake recipe makes perfectly juicy, tender, and flavorful steak every time! Serve with potatoes and a side salad for an unforgettable dinner in under 30 minutes.
Preheat oven to 325°F. Combine graham cracker crumbs, brown sugar, and melted butter. Press into the bottom of a greased 9-inch springform pan and bake 8 minutes. Cool slightly.
Melt 3 tablespoons butter in a small saucepan over medium heat. Swirl until it turns nutty brown and emits a toasty aroma, about 4–6 minutes. Transfer to a bowl to cool.
Beat softened cream cheese until smooth. Add sugar, then vanilla. Slowly stream in cooled brown butter. Add eggs one at a time, then fold in sour cream. Mix on low to avoid incorporating air.
Pour filling into crust, wrap pan in foil, place in a roasting pan, and add hot water halfway up the pan sides. Bake 55–65 minutes at 325°F until edges are set and center slightly jiggles.
Turn off oven and crack the door; let the cake cool in the oven for 1 hour. Remove, cool to room temperature, then refrigerate uncovered at least 4 hours or overnight.
Run a hot knife around the edge before releasing the springform. For clean slices, dip a knife in hot water and dry between cuts. Serve plain or with fruit compote.
Last Step: Please leave a rating and comment letting us know how you liked this recipe! This helps our business to thrive and continue providing free, high-quality recipes for you.
Leave a comment & rating below or tag
@festive-cooks on social media!

Crispy, golden Parmesan crusted chicken made in the air fryer for a quick family favorite that stays juicy inside and crunchy outside.
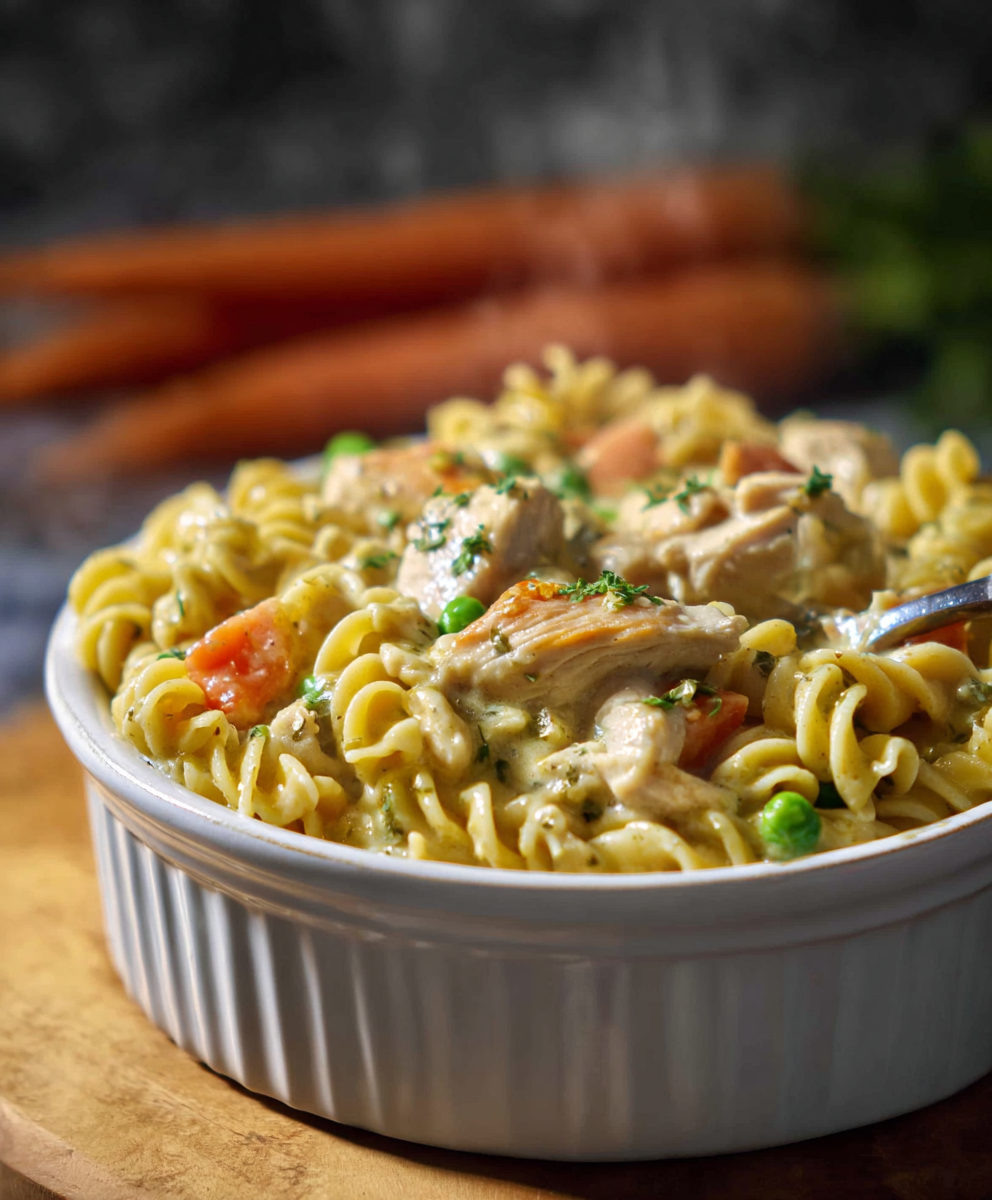
A cozy one-skillet mashup of pot pie comfort and egg noodle ease—ready in about 35 minutes and perfect for weeknight dinners.
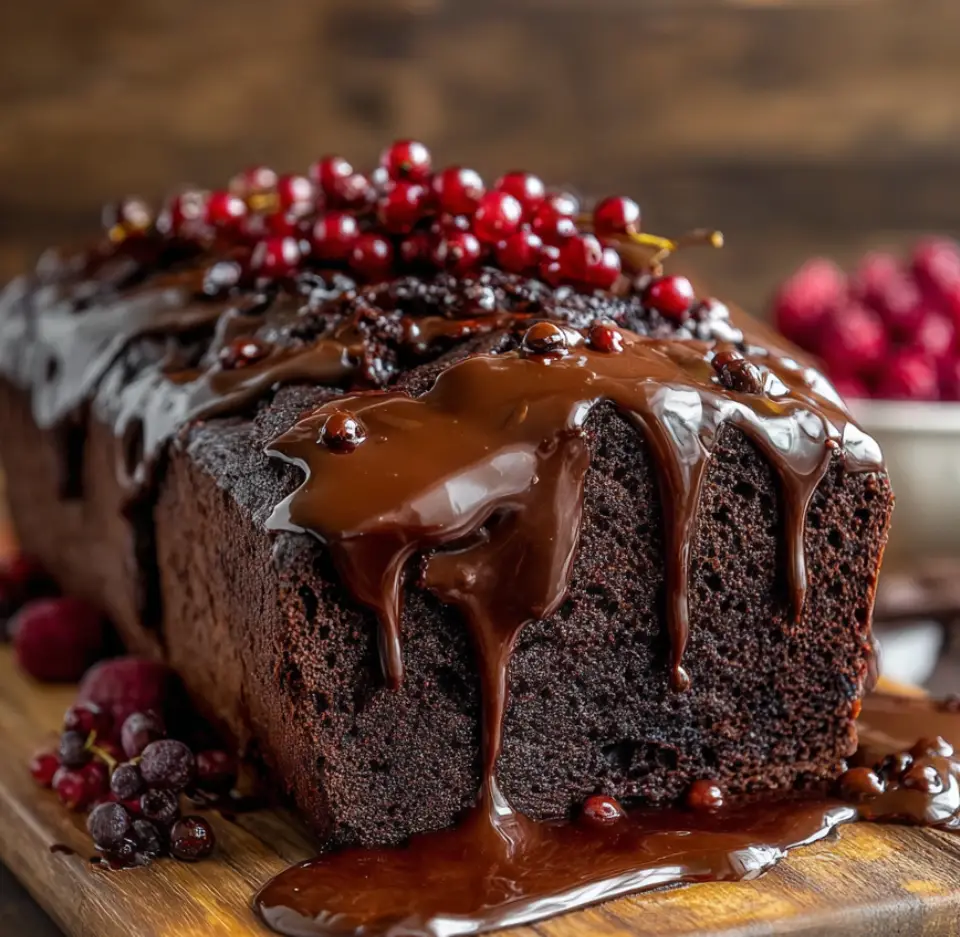
A gooey, chocolate-packed loaf with a molten hot-fudge swirl — brownie texture in bread form, perfect warm with a scoop of ice cream.
Leave a comment & rating below or tag @festive-cooks on social media!
Enjoyed this recipe? Share it with friends and family, and don't forget to leave a review!
This recipe looks amazing! Can't wait to try it.
Comments are stored locally in your browser. Server comments are displayed alongside your local comments.

Join to receive our email series which contains a round-up of some of our quick and easy family favorite recipes.