>>

A fuss-free tart combining a deeply chocolatey crust with a silky pumpkin filling — elegant, quick, and perfect for holiday gatherings.
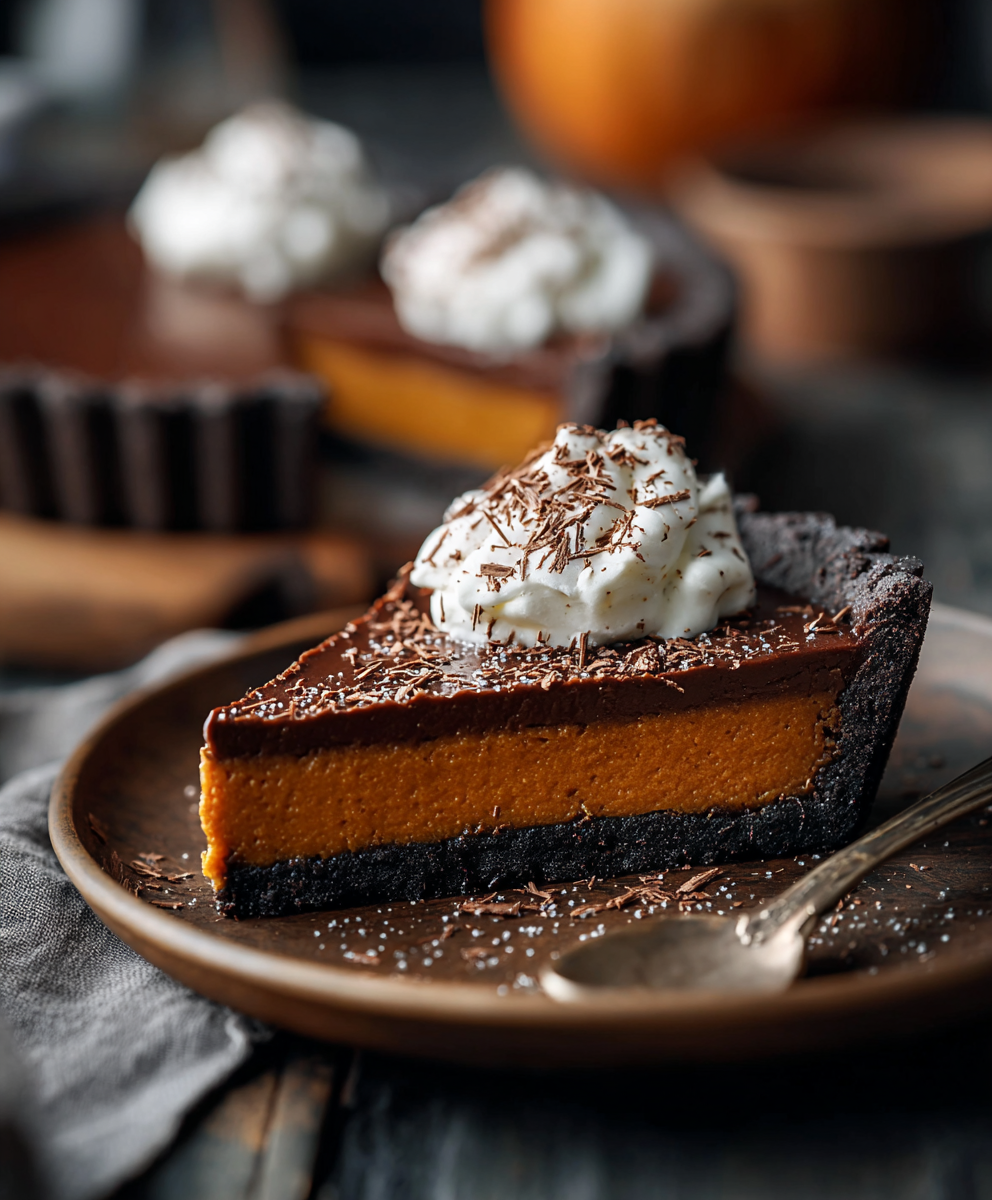
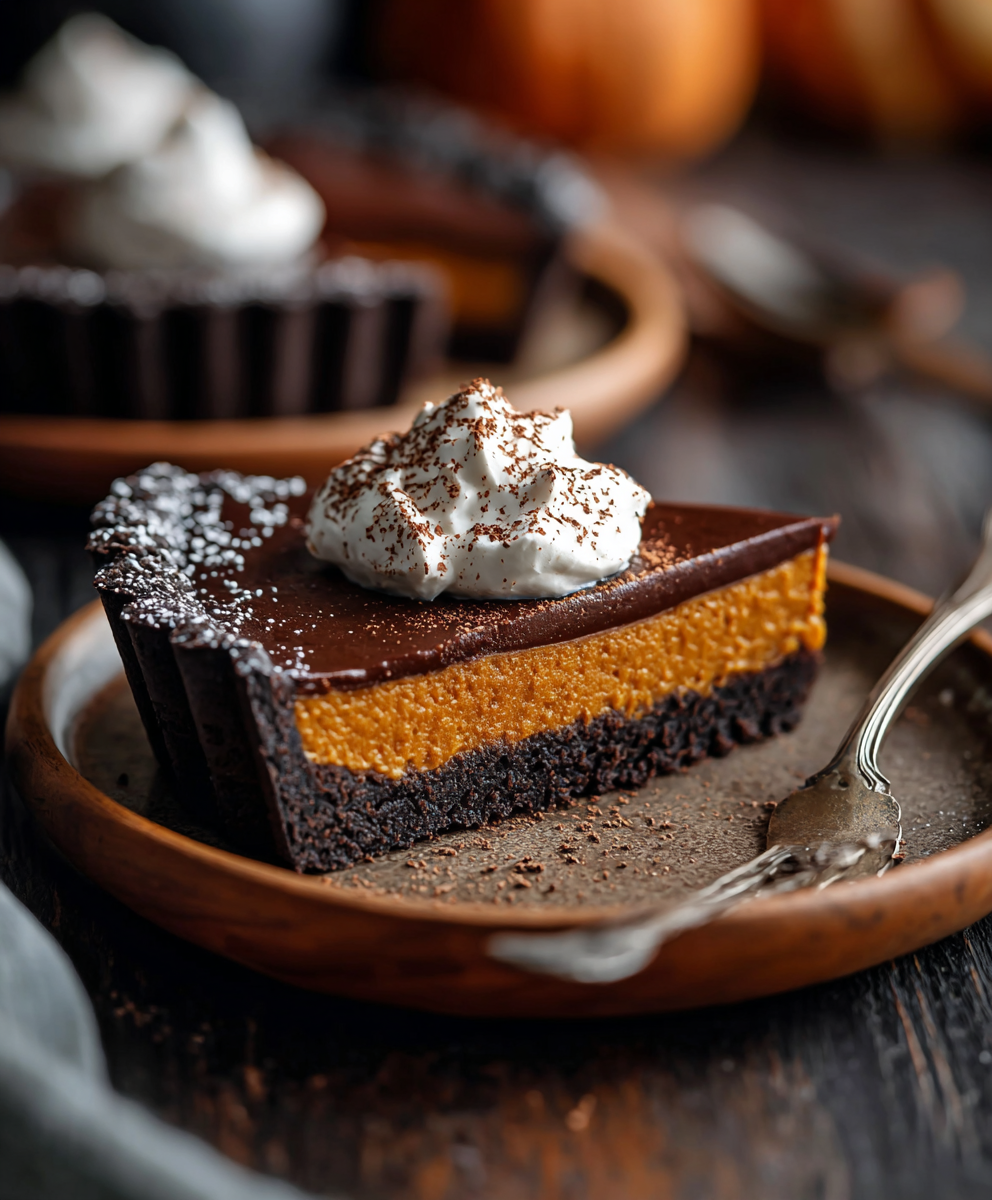
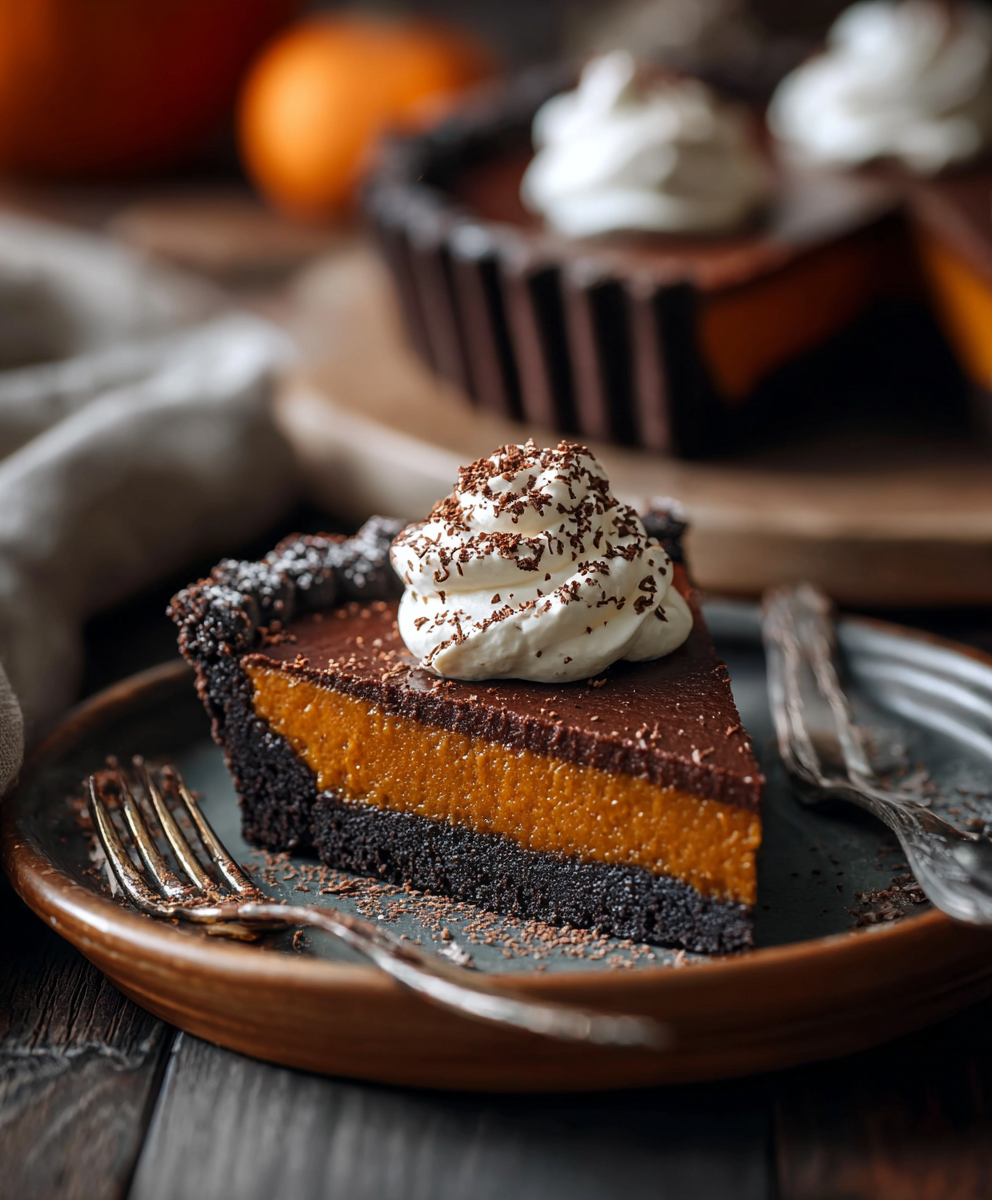
This Simple Dark Chocolate Pumpkin Tart is the kind of dessert I bring to every fall gathering — it looks refined, slices beautifully, and somehow disappears faster than anything else on the table. I first developed this version during a busy October when I needed something that felt seasonal but was quick enough to make between errands. The contrast between a crisp, cocoa-rich shell and a smooth, warmly spiced pumpkin center is what sold me the first time: the crust gives a gentle snap and bittersweet flavor while the filling is creamy, lightly sweet, and aromatic with pumpkin pie spice.
I love this tart for its balance of texture and flavor. The crust uses dark cocoa to add depth and to prevent the dessert from tasting overly sweet; the filling relies on sweetened condensed milk rather than granulated sugar, which creates a glossy, custard-like interior that sets gently without becoming rubbery. Every bite is an interplay of bitter cocoa, warm spice, and mellow pumpkin — it reminds me of a crisp autumn evening when friends drop by and everyone asks for the recipe. It’s sturdy enough to transport yet elegant enough for holiday dinner parties.
I remember the first time I brought this to a potluck: people assumed it had taken hours. They were surprised when I said it was mostly pantry items and about 45 minutes of work. My family especially loves the strong cocoa flavor in the crust — my sister called it “grown-up chocolate” — and it’s become my go-to when I need a dessert that looks like I tried harder than I did.

My favorite part is how unpretentious this dessert is despite its elegant look. Once I chilled a tart overnight and took it to a dinner where the host had no oven space; it was instantly popular. Family members often comment on how rich the crust tastes without being overly sweet, and guests appreciate that the filling feels indulgent but not heavy. It’s one of those recipes I’ve tweaked slightly over the years and always come back to for parties.
Store the tart covered in the refrigerator for up to 4 days; use a cake dome or airtight container to prevent odor transfer and to retain moisture. For longer storage, wrap the cooled tart tightly in plastic wrap and aluminum foil, then freeze for up to 3 months. Thaw overnight in the refrigerator and bring to room temperature for 30–45 minutes before serving to regain silkiness. If you plan to freeze slices, place parchment between layers to prevent sticking and use a rigid container to avoid crushing the crust.
If you need a gluten-free option, substitute a one-to-one gluten-free all-purpose flour in the crust and add 1–2 tablespoons almond flour for structure. For a dairy-free version, replace the butter with melted coconut oil and use a full-fat coconut condensed milk alternative; note the coconut flavor will be present. To reduce sugar, swap the 3/4 cup granulated sugar in the crust for 1/2 cup coconut sugar or a granulated erythritol blend, and consider using low-sugar condensed milk alternatives, though texture will vary slightly.
Serve each slice with a dollop of whipped cream, a sprinkle of flaky sea salt, or a drizzle of warmed salted caramel for contrast. For a refined presentation, add toasted pepitas or a few candied orange slices. Pair with a cup of espresso or a lightly spiced chai to echo the pumpkin pie spice. This tart also works beautifully as part of a dessert spread — combine miniature tarts with cookies and fruit for variety.
The combination of chocolate and pumpkin is a modern American pairing that rose in popularity as bakers began exploring contrasts between bitter cocoa and sweet autumn produce. Pumpkin-based desserts have long roots in North American harvest traditions, while the use of condensed milk in custards is influenced by preservation practices and global trade — condensed milk provides sweetness and a stable, creamy texture without the need for long cooking or added sugar. This tart draws on those traditions to create a hybrid that feels classic and contemporary at once.
In winter, boost the spice with a pinch of allspice and a teaspoon of orange zest for brightness. Come spring, lighten the filling by folding in some ricotta or mascarpone for a brighter texture and reduce the pumpkin by a third. For holiday occasions, top with toasted walnuts and a cinnamon-sugar dusting. The crust can also be made with espresso powder for a mocha twist during cooler months.
Make the crust and chill it for up to two days before adding the filling to save time; prebake just until set and cool completely. The filling can be mixed and refrigerated for a day before baking if tightly covered. For weekly meal prep, cut chilled tart into single slices, wrap individually in parchment and plastic, and refrigerate for quick dessert portions that travel well to work lunches or gatherings.
Finish with a final reminder: this tart is forgiving, quick, and always a hit. Whether you’re feeding a crowd or enjoying a quiet slice at home, it rewards simplicity with richness — try making it the day before and let the flavors settle for an even better result.
Do not overbake the filling; remove when the center still has a slight wobble to maintain a creamy texture.
Use a hot, clean knife for slicing and wipe it between cuts for cleaner slices.
For extra chocolate flavor, brush the cooled crust lightly with melted dark chocolate before adding the filling.
Chill the tart overnight for easier slicing and a more developed flavor.
This nourishing simple dark chocolate pumpkin tart recipe is sure to be a staple in your kitchen. Enjoy every moist, high protein slice — it is perfect for breakfast or as a wholesome snack any time.
Yes. Chill the tart in the refrigerator for at least 2 hours; for best slicing, chill overnight.
Store wrapped tightly in the freezer for up to 3 months; thaw overnight in the fridge.
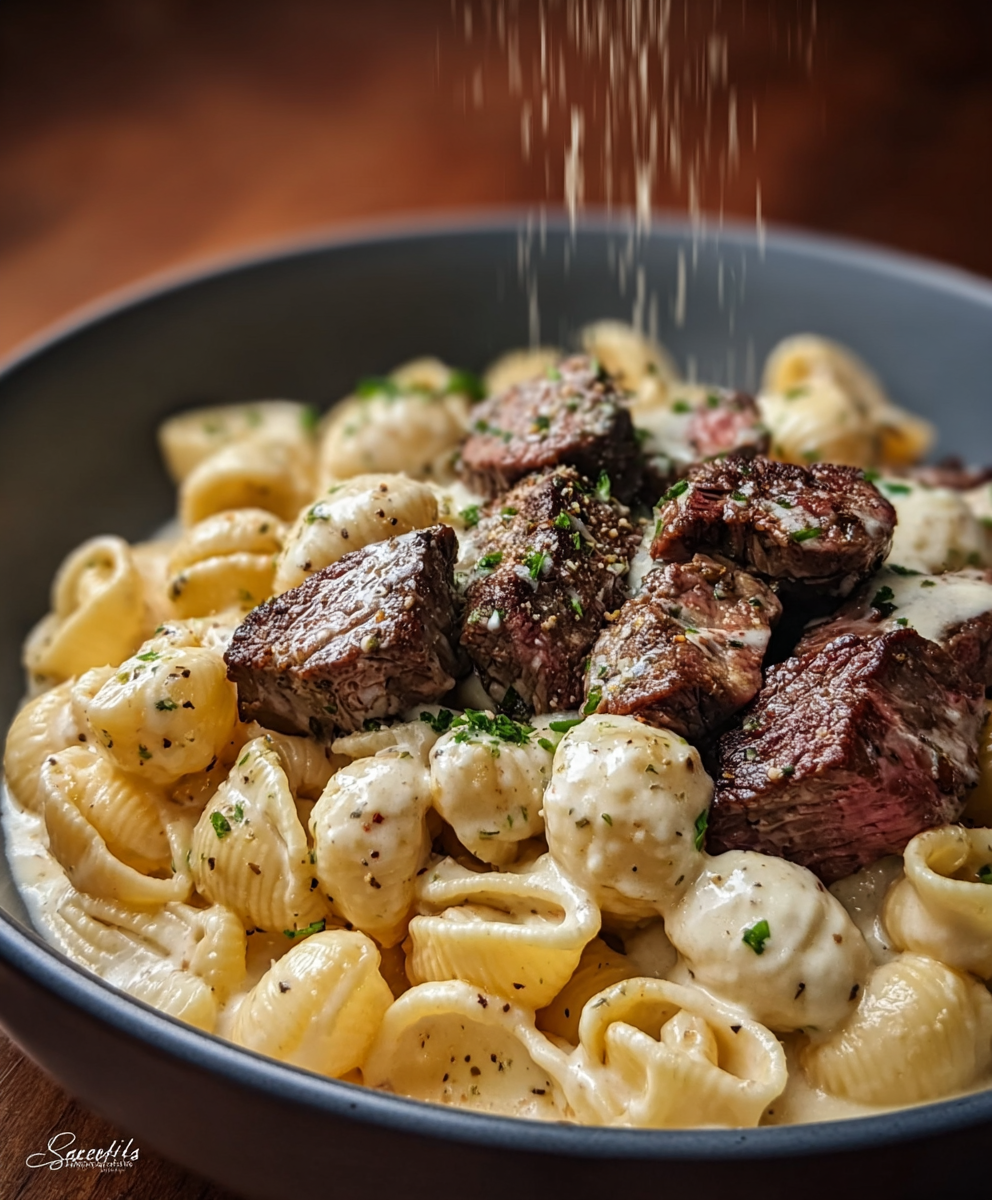
This Simple Dark Chocolate Pumpkin Tart recipe makes perfectly juicy, tender, and flavorful steak every time! Serve with potatoes and a side salad for an unforgettable dinner in under 30 minutes.
Preheat oven to 350°F (175°C). Lightly grease a 9-inch tart pan with a removable bottom or spray with nonstick spray to prevent sticking.
In a bowl, whisk together 1 cup flour, 1/2 cup dark cocoa powder, 3/4 cup sugar, and 1/2 teaspoon kosher salt until evenly combined.
Pour 1/2 cup melted unsalted butter into the dry mix and stir until a slightly sticky dough forms. Press into the tart pan evenly across the bottom and up the sides.
Bake the crust for 10–12 minutes until set and slightly firm around the edges. Cool slightly before filling.
Whisk together 15 oz pumpkin puree, 14 oz sweetened condensed milk, 1 large egg, 1 teaspoon pumpkin pie spice, and 1/4 teaspoon kosher salt until smooth and glossy.
Pour the filling into the prebaked crust and bake at 350°F (175°C) for 25–30 minutes until mostly set with a slight wobble in the center.
Cool on a wire rack for 30 minutes, then refrigerate for at least 2 hours or overnight. Release from pan before serving and slice with a hot, clean knife.
Last Step: Please leave a rating and comment letting us know how you liked this recipe! This helps our business to thrive and continue providing free, high-quality recipes for you.
Leave a comment & rating below or tag
@festive-cooks on social media!

Crispy, golden Parmesan crusted chicken made in the air fryer for a quick family favorite that stays juicy inside and crunchy outside.
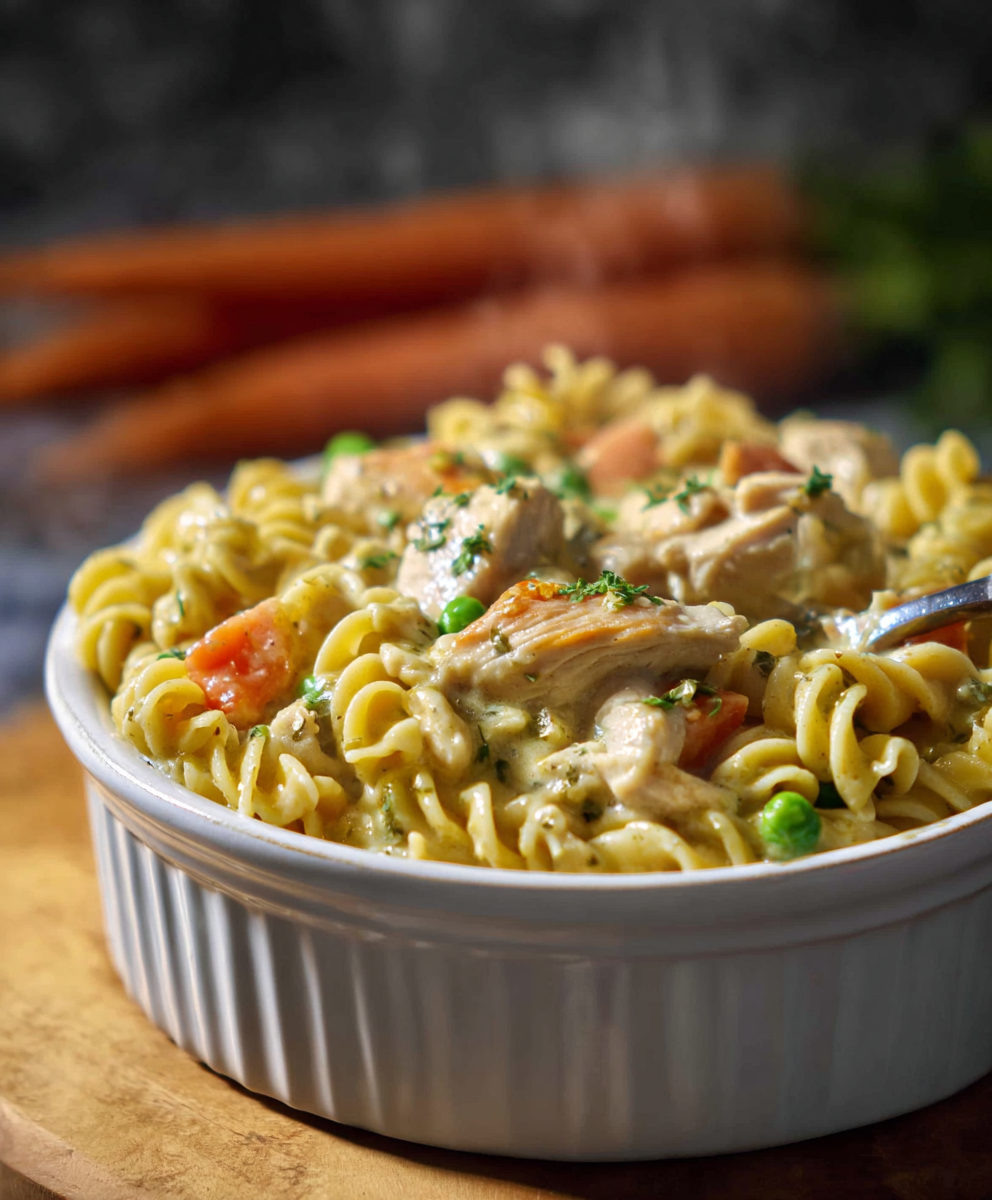
A cozy one-skillet mashup of pot pie comfort and egg noodle ease—ready in about 35 minutes and perfect for weeknight dinners.
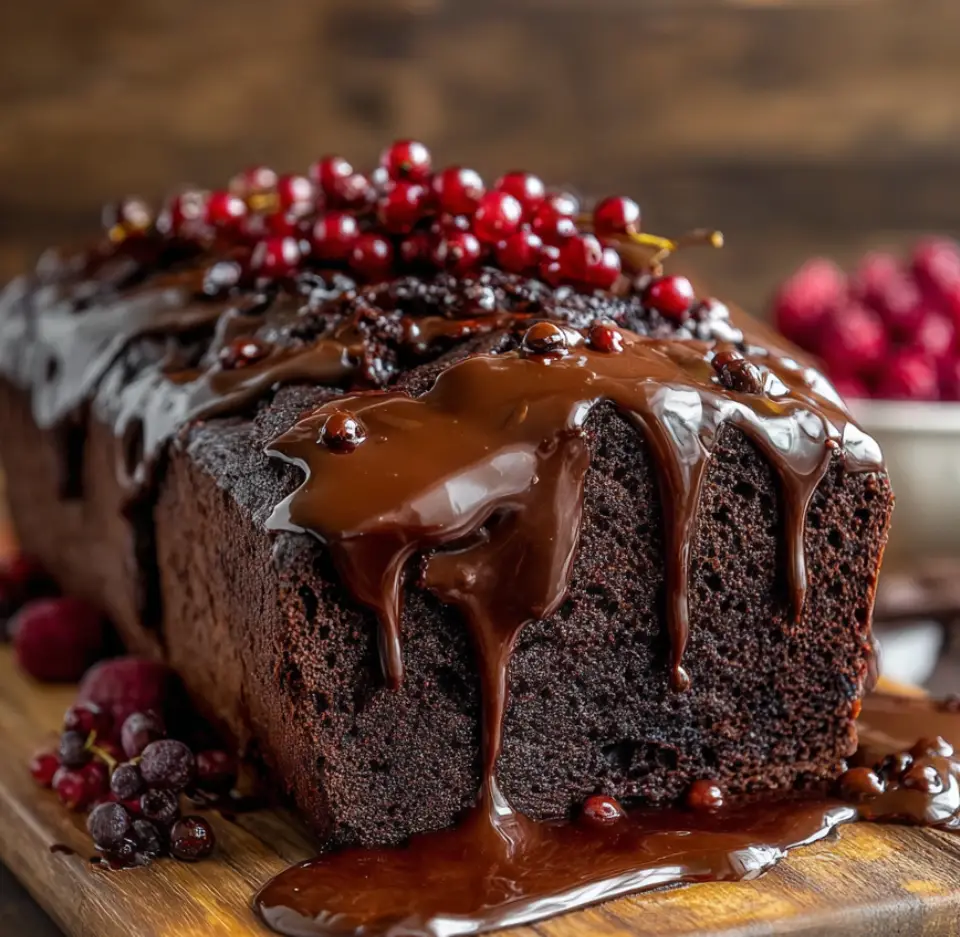
A gooey, chocolate-packed loaf with a molten hot-fudge swirl — brownie texture in bread form, perfect warm with a scoop of ice cream.
Leave a comment & rating below or tag @festive-cooks on social media!
Enjoyed this recipe? Share it with friends and family, and don't forget to leave a review!
This recipe looks amazing! Can't wait to try it.
Comments are stored locally in your browser. Server comments are displayed alongside your local comments.

Join to receive our email series which contains a round-up of some of our quick and easy family favorite recipes.