>>

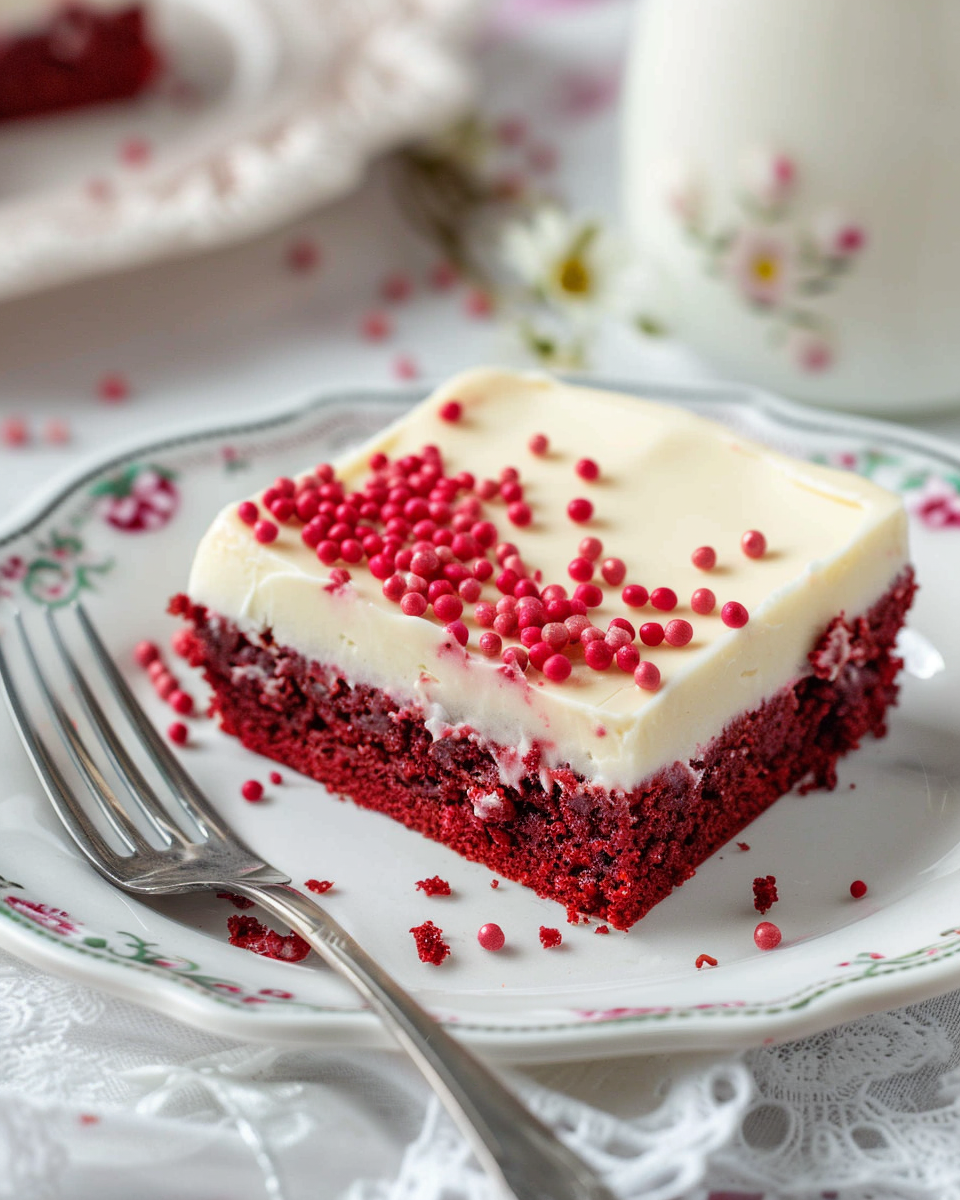
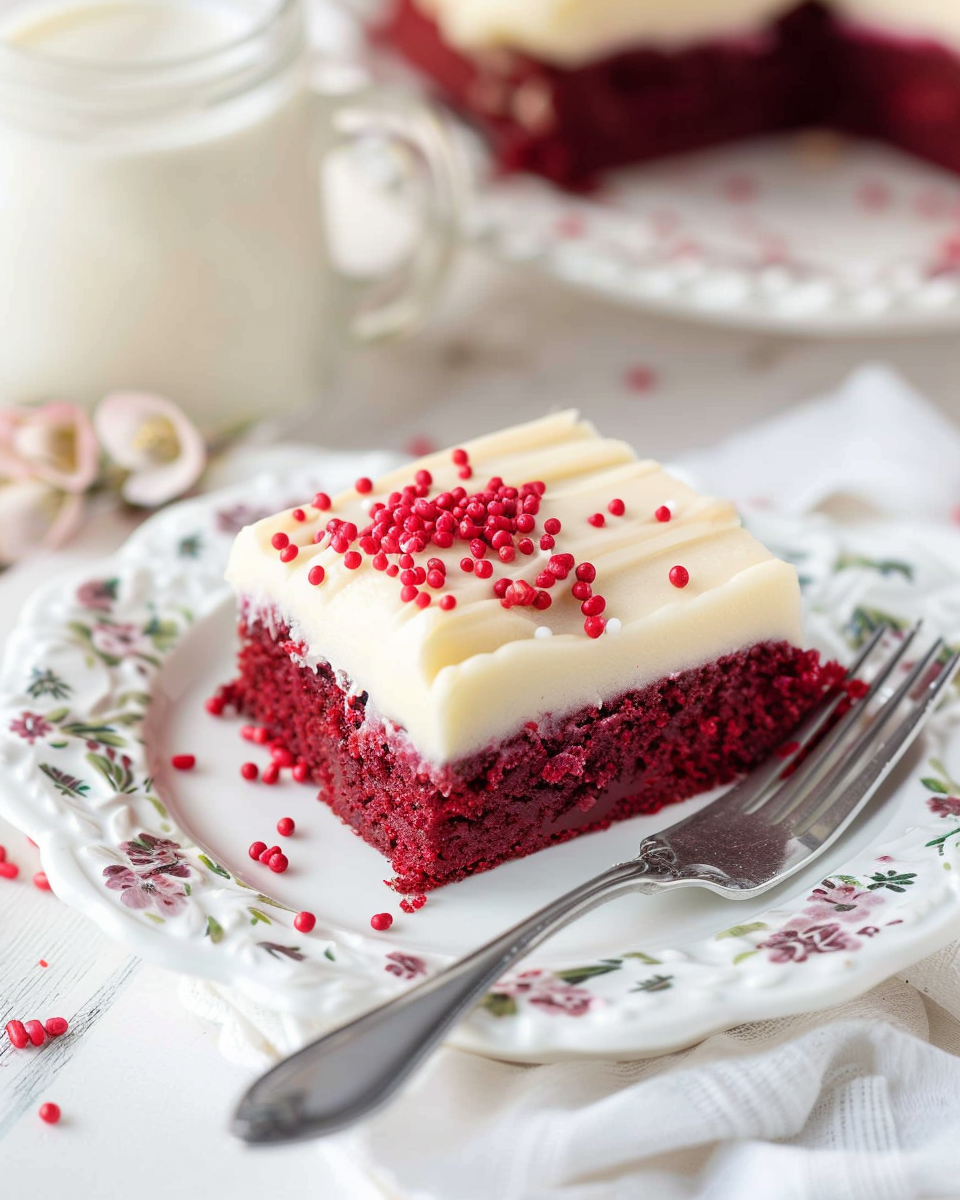
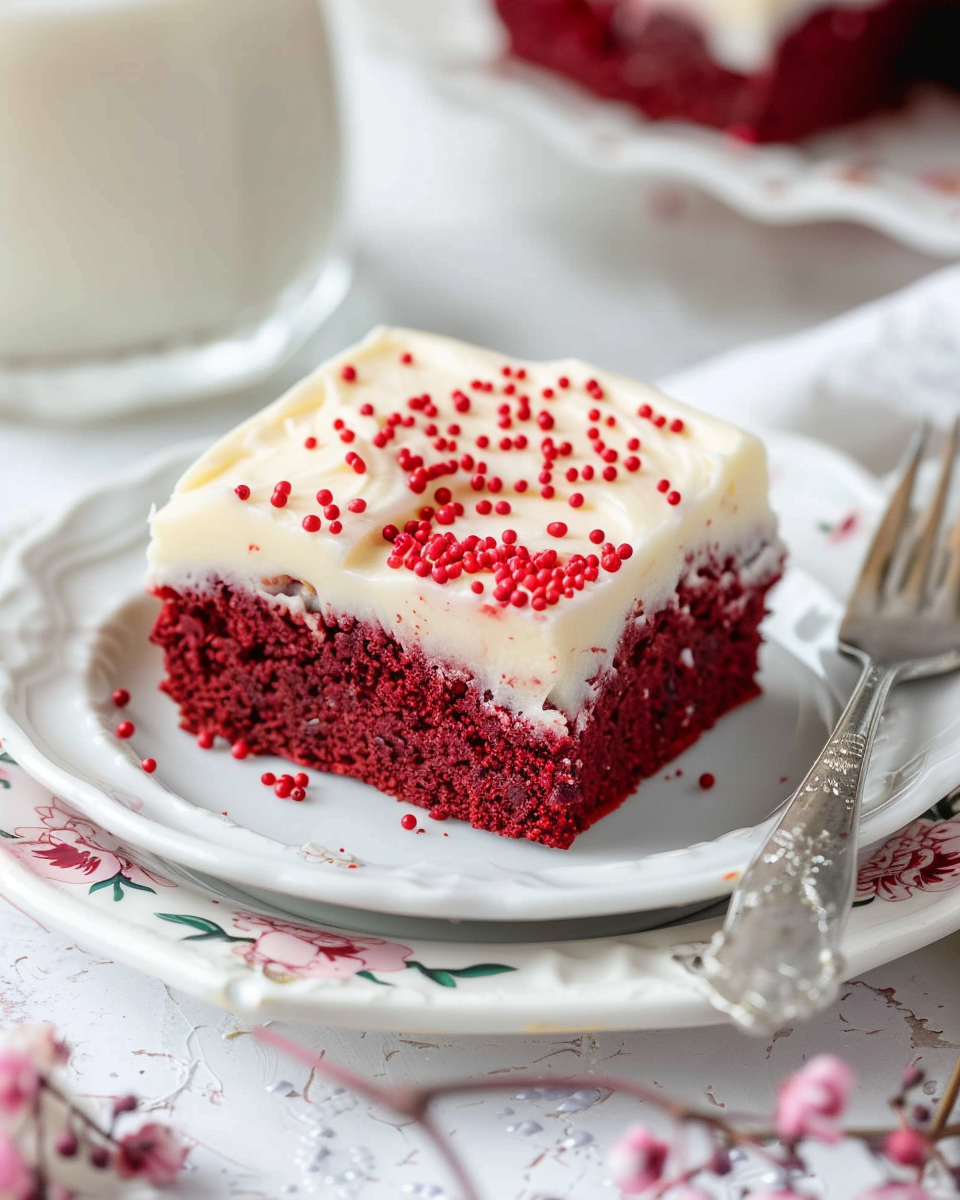
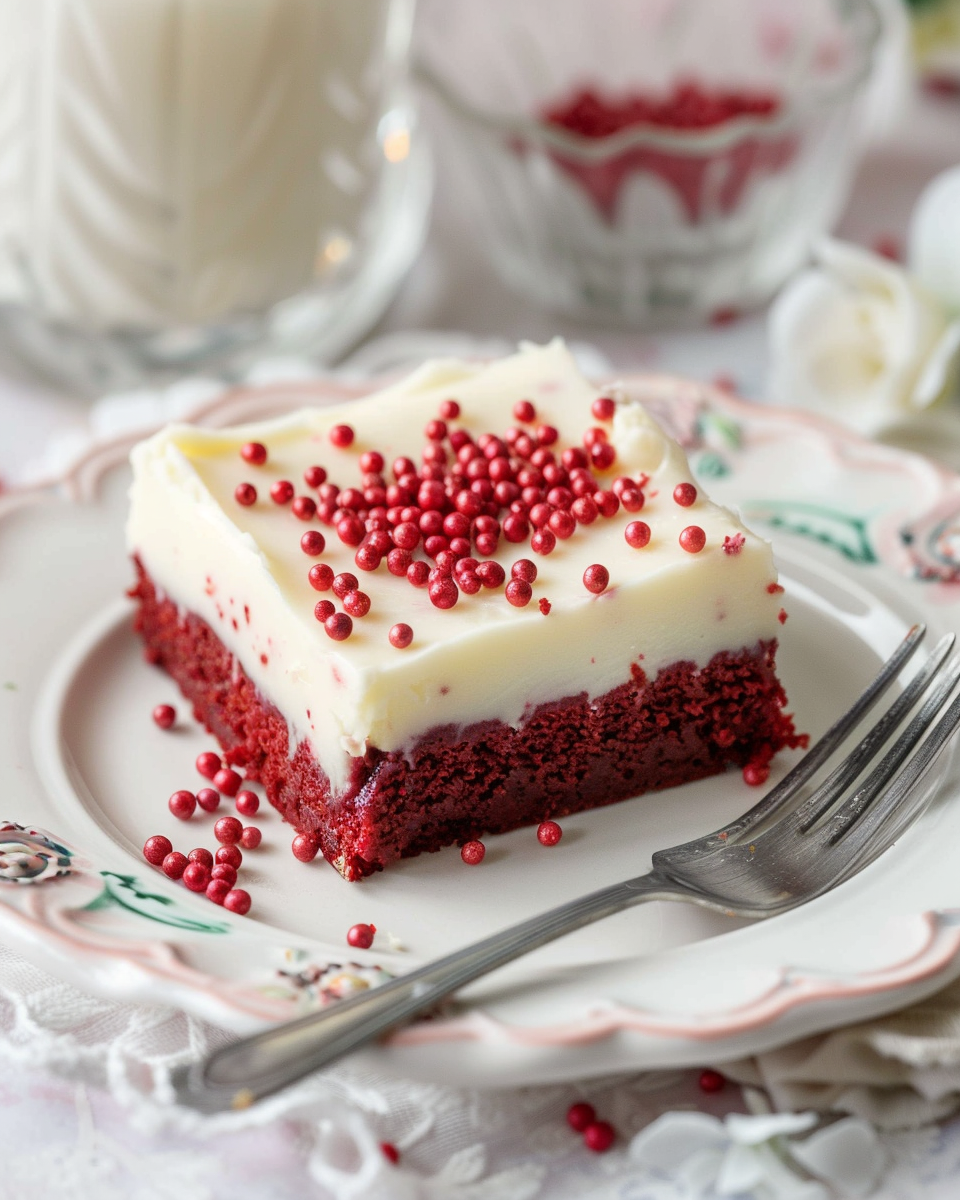
Rich, chewy red velvet bars topped with silky cream cheese frosting — an easy, crowd-pleasing twist on classic cookies and cake.
I’ve served these at cookie exchanges and birthday parties — they disappear fast. One memorable holiday, a neighbor messaged me the next morning asking if I’d left the pan because they couldn’t stop thinking about the texture. That kind of reaction is what keeps this in my baking rotation.
My favorite part is how transportable these are: they arrive at potlucks without crumbling and retain their glossy frosting after a short fridge ride. One holiday I stacked them in a tin layered with parchment and they came through perfectly intact — the edges were still crisp, and the center stayed soft.
Store in an airtight container in the refrigerator for up to 4 days. If stacking layers, place parchment between them to avoid disturbing the frosting. For longer storage, freeze unfrosted or fully frosted bars in a single layer on a baking sheet until solid, then transfer to a freezer-safe container up to 3 months. Thaw overnight in the refrigerator and bring to room temperature for 30–45 minutes before serving for the best texture.
If you need a dairy-free version, replace butter with a firm plant-based spread and use a dairy-free cream cheese alternative for the frosting — note texture and flavor will differ slightly. For a lighter frosting, reduce the butter in the frosting and increase powdered sugar, or swap half the cream cheese for mascarpone for a silkier consistency. Gluten-free flour blends can be used 1:1 if they contain xanthan gum; expect a slightly different crumb and be careful not to overbake.
Serve chilled or at room temperature. Garnish with a dusting of sifted cocoa or a few chocolate shavings for contrast. These bars work beautifully alongside coffee or a semi-sweet dessert wine. For a festive platter, dust them with edible glitter or place on individual doilies to make each piece feel celebratory.
Red velvet has roots in Southern American baking, historically prized for its dramatic color and tender crumb. The color originally came from non-Dutched cocoa reacting with acidic ingredients, and modern recipes lean on food coloring for a vivid hue. The pairing with cream cheese frosting evolved naturally — the tanginess complements the sweet, chocolatey base and became a signature for celebrations and holidays.
In winter, add a pinch of cinnamon or a tablespoon of instant espresso to intensify the chocolate notes. For spring or summer gatherings, lighten the frosting with whipped cream folded into the cream cheese and serve bars slightly chilled. For Valentine’s Day, top with crushed freeze-dried raspberries for color and acidity.
Prepare the dough and refrigerate overnight for developed flavor, then bake the next day. Frosted bars can be portioned into individual containers for lunches or dessert boxes. Use a sharp knife warmed in hot water between cuts for clean edges, wiping the blade after each slice.
These bars are a reliable, comforting treat — perfect for gifting, sharing or savoring with a quiet cup of tea. I hope you make them your own and create a few memories along the way.
Press the dough evenly into the pan using a piece of wax paper to avoid sticky hands and ensure uniform thickness.
Chill the bars briefly before cutting for clean slices; a chilled knife helps too.
If frosting is too soft, add powdered sugar or chill the frosting for 10–15 minutes before spreading.
Use gel food coloring for a vivid hue with less liquid than liquid food coloring.
This nourishing red velvet cookie bars recipe is sure to be a staple in your kitchen. Enjoy every moist, high protein slice — it is perfect for breakfast or as a wholesome snack any time.
This Red Velvet Cookie Bars recipe makes perfectly juicy, tender, and flavorful steak every time! Serve with potatoes and a side salad for an unforgettable dinner in under 30 minutes.
Preheat oven to 350°F (180°C). Grease a 9x13-inch pan or line it with parchment paper with an overhang for easy lifting.
In a medium bowl, whisk together flour, cocoa powder, baking powder, baking soda and salt until evenly distributed.
In a large bowl, beat butter with granulated and brown sugars until light and fluffy, about 2–3 minutes on medium speed.
Beat in egg, egg yolk, vanilla, red food coloring and vinegar until the mixture is homogeneous and smooth.
Add dry ingredients to the butter mixture in two additions on low speed. Mix until no dry streaks remain; avoid overmixing.
Spread dough evenly into prepared pan and bake 25–30 minutes until top is set and edges pull away slightly. Allow to cool completely before frosting.
Beat butter and cream cheese until smooth, add powdered sugar and salt, adjusting with cream for desired spreadability. Spread over cooled bars and slice.
Last Step: Please leave a rating and comment letting us know how you liked this recipe! This helps our business to thrive and continue providing free, high-quality recipes for you.
Leave a comment & rating below or tag
@festive-cooks on social media!

Crispy, golden Parmesan crusted chicken made in the air fryer for a quick family favorite that stays juicy inside and crunchy outside.
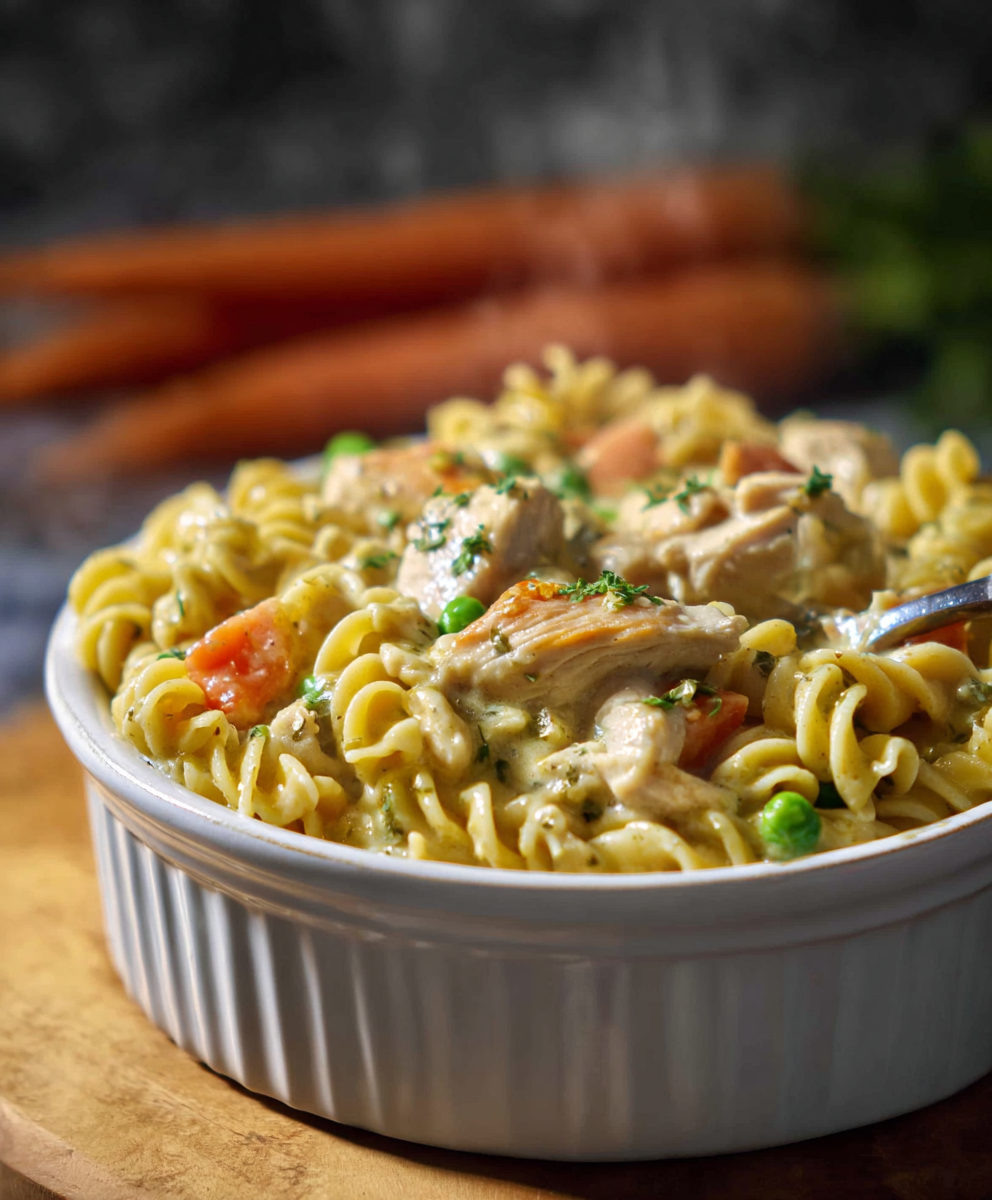
A cozy one-skillet mashup of pot pie comfort and egg noodle ease—ready in about 35 minutes and perfect for weeknight dinners.
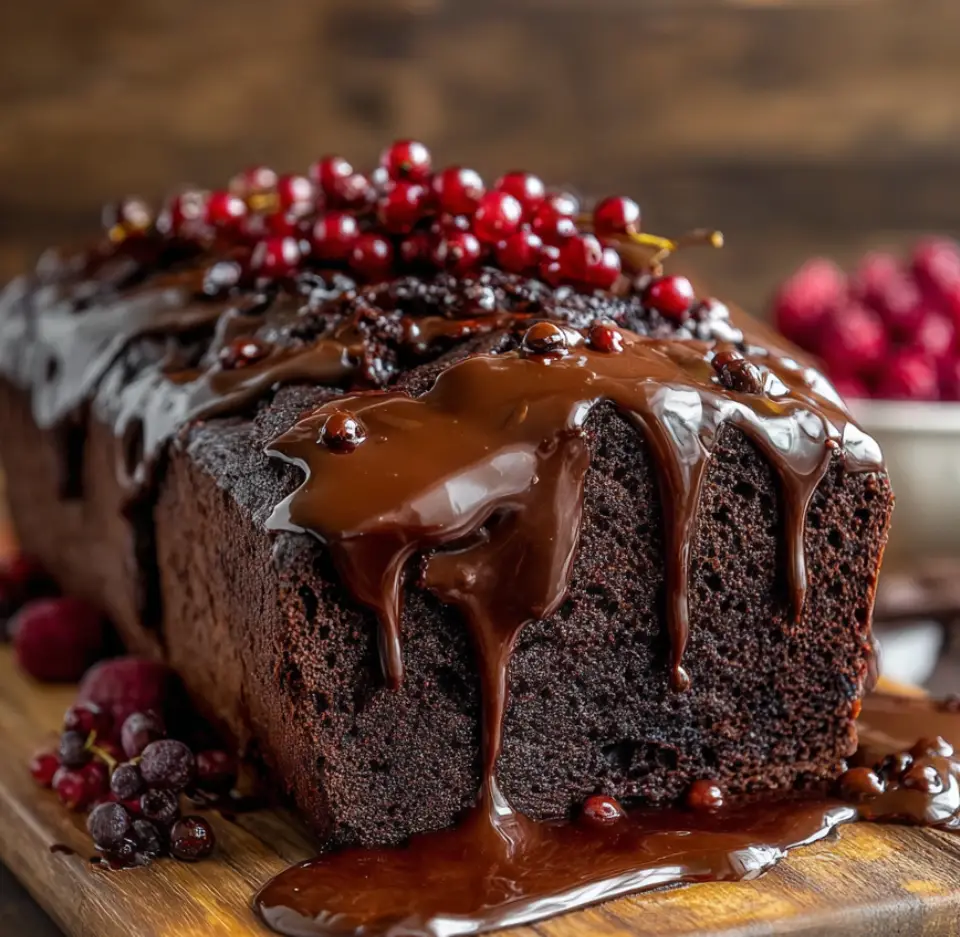
A gooey, chocolate-packed loaf with a molten hot-fudge swirl — brownie texture in bread form, perfect warm with a scoop of ice cream.
Leave a comment & rating below or tag @festive-cooks on social media!
Enjoyed this recipe? Share it with friends and family, and don't forget to leave a review!
This recipe looks amazing! Can't wait to try it.
Comments are stored locally in your browser. Server comments are displayed alongside your local comments.

Join to receive our email series which contains a round-up of some of our quick and easy family favorite recipes.