
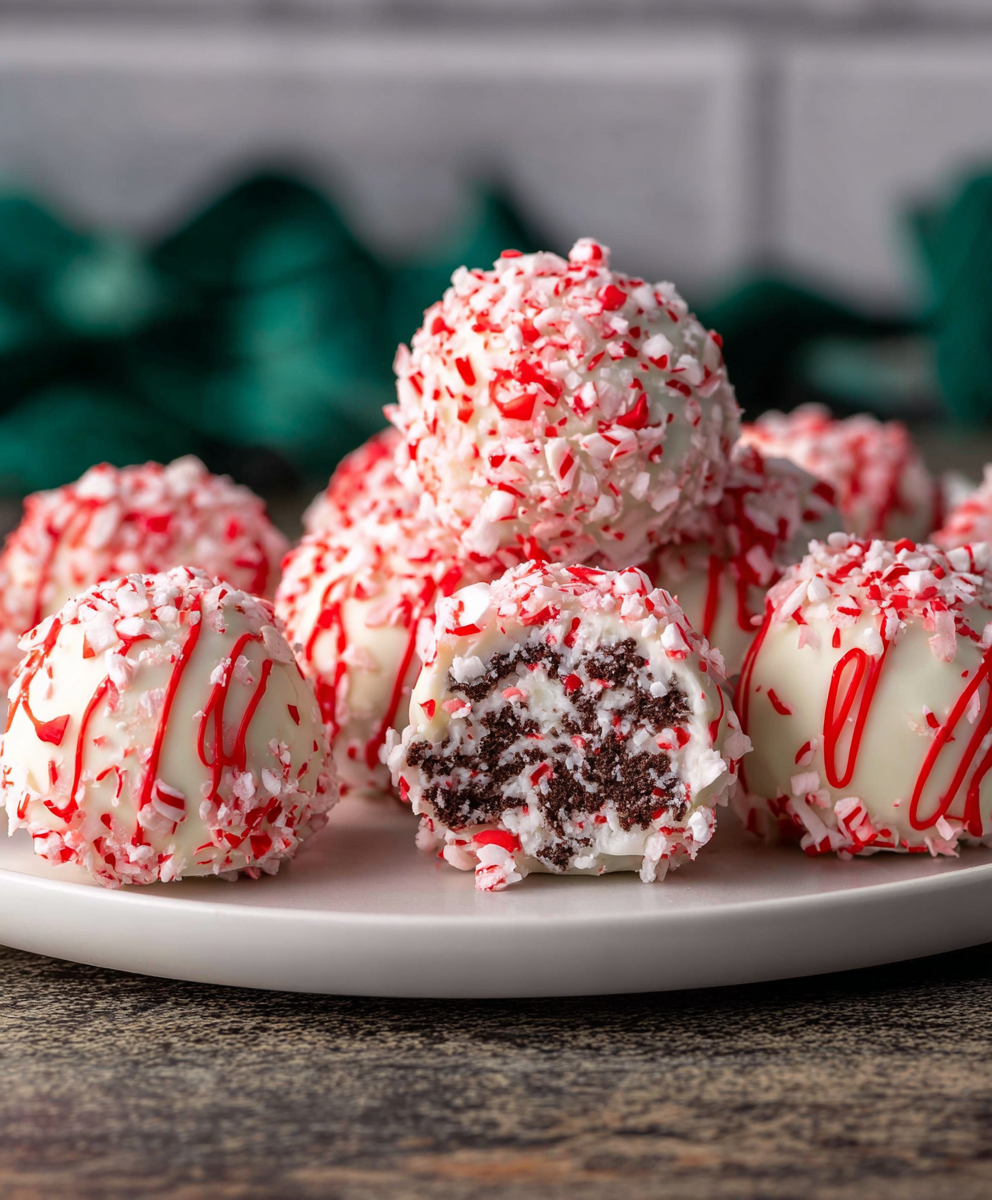
Peppermint Oreo Balls

Creamy, minty chocolate-coated Oreo truffles perfect for holiday gift tins and parties—ready in under an hour and made with pantry staples.
This peppermint Oreo balls recipe has been my favorite holiday shortcut for years. I discovered this combination during a frantic December afternoon when I needed a quick, crowd-pleasing treat for a neighbor swap. The result was so satisfying that it became a tradition: easy to make, endlessly adaptable, and impossibly addictive. The crushed cookies provide a deep cocoa backbone, the cream cheese gives a silky interior, and the white chocolate plus peppermint make every bite taste like a festive candy cane. Friends always ask how I get that smooth center, and the secret is a very cold dough and gentle dipping technique.
What makes these especially special is their texture contrast: a dense, slightly chewy center that melts into a creamy finish, wrapped in a crisp white chocolate shell studded with crushed peppermints. I often make a double batch for holiday gatherings because they disappear first—children and adults alike reach for them. I first tried them after adapting a basic cookie-ball idea; swapping in peppermint and white chocolate transformed the flavor into something seasonal and bright. They’re an excellent last-minute edible gift and perfect for cookie exchanges because they travel well and keep their shape.
Why You'll Love This Recipe
- Ready in under an hour from start to finish, including a 20-minute chill—perfect for quick party prep or an afternoon bake day.
- Uses pantry staples: packaged cookies, cream cheese, melting wafers, and peppermint candies—no specialty shopping required.
- Make-ahead friendly: you can freeze or refrigerate the centers and coat them later, which saves time on busy hosting days.
- Crowd-pleasing flavor that balances sweet white chocolate with a bright peppermint finish—great for holiday trays and gift boxes.
- Kid-friendly assembly: rolling and dipping make for fun helpers, while the technique stays simple enough for novice cooks.
- Customizable: swap dark chocolate or add food coloring for themed parties without changing the basic method.
I remember watching my niece carefully roll the little balls and proudly present them in a tin—her joy made the whole process feel like a holiday tradition. Over the years I tweaked the peppermint ratio and the melting method to avoid seizing and ensure a glossy shell; these small adjustments are what make this version reliably successful every time.
Ingredients
- Oreos (36 cookies): Use classic chocolate Oreos for the best cocoa flavor and binding texture. If you prefer a milder cookie, try Golden Oreos, but the chocolate version gives the traditional contrast with white chocolate. Buying a standard 14.3-ounce package yields roughly 36 cookies.
- Cream cheese (8 ounces): Full-fat block cream cheese gives the creamiest center and helps the balls hold shape. Soften it slightly at room temperature for easier processing; do not use whipped or low-fat varieties if you want firm, smooth centers.
- White chocolate melting wafers (16 ounces): Melting wafers or dipping discs melt more reliably than chopped candy bars. I prefer brands labeled for dipping to avoid graininess. If you use white chocolate chips, add a small amount of vegetable shortening to smooth the melt.
- Peppermint extract (1/2 teaspoon): Use pure peppermint extract (not oil) for a bright, clean flavor. Start with 1/2 teaspoon and adjust in small batches; extract can overpower if overused.
- Crushed peppermint candies (about 48 pieces): Finely crushed candy canes or peppermint hard candies provide a crunchy, colorful coating. You’ll need roughly one standard peppermint candy per truffle; pulse them in a bag or food processor to a coarse sand texture.
Instructions
Prepare the base: Place the cream cheese (slightly softened) and whole cookies into a food processor. Pulse until the mixture is homogeneous, with no large cookie chunks remaining—about 20 to 30 seconds of pulsing. Scrape down the sides once or twice to ensure even texture. The mixture should be sticky but firm enough to hold shape; if it’s too wet, chill briefly. Form the balls: Using a small scoop or teaspoon, portion the mixture into roughly 1-inch balls (about 48 total). Roll gently between your palms to create smooth spheres. Place each ball on a baking sheet lined with parchment paper, spacing them about 1/2 inch apart. For best results, freeze the tray for 20 minutes to harden the centers—this prevents them from collapsing when dipped. Melt the coating: In a microwave-safe bowl, add the melting wafers and peppermint extract. Heat in 30-second intervals, stirring thoroughly between each burst to prevent burning. Continue until fully melted and glossy, usually 1 to 2 minutes total depending on your microwave. If the chocolate seems thick, stir in 1 teaspoon of vegetable oil or shortening for a smoother dipping consistency. Dip and decorate: Remove the chilled centers from the freezer. Using a fork or dipping tool, carefully lower each ball into the melted white chocolate, tapping the fork on the bowl’s edge to remove excess coating. Immediately sprinkle or press crushed peppermint candies onto the wet chocolate, then place the finished pieces back onto the parchment. Repeat until all balls are coated. Allow to set at room temperature or refrigerate for 10–15 minutes to speed firming.
You Must Know
- These hold well in the refrigerator for up to 2 weeks when stored in an airtight container and can be frozen for up to 3 months.
- High in calories per bite due to white chocolate and cookies—perfect as an occasional indulgence or party treat.
- They’re best when chilled briefly before serving to keep the shell crisp and the center smooth.
- Crushed peppermint can stain light surfaces—use parchment and gloves if coating many at once.
My favorite part of this project is watching the coating set into shiny shells dotted with red and white specks—there’s a nostalgic joy to the candy-cane crunch. Over the years I learned to chill just enough to make dipping clean and to add a touch of oil to the coating for a silky finish. Serving these at a holiday open house always sparks conversation and requests for the recipe.
Storage Tips
Store in a single layer or separated by parchment to avoid sticking. At room temperature, they remain fine for a day in a cool environment, but refrigeration (in an airtight container) extends freshness to two weeks. For longer storage, freeze on a tray until solid, then transfer to a zip-top bag or freezer-safe container; they will keep up to three months. Thaw in the refrigerator overnight before serving to prevent condensation on the chocolate shell. Do not microwave to thaw, as this can soften the shell and alter texture.
Ingredient Substitutions
If you prefer a darker contrast, swap melting wafers for semisweet or bittersweet chocolate—use 16 ounces of good-quality melting chocolate and omit the peppermint extract, adding crushed candy on top. For a lower-sugar option, use reduced-sugar sandwich cookies and a lower-sugar cream cheese, though texture will be a touch firmer. For a vegan alternative, try dairy-free cream cheese and dairy-free white chocolate; bear in mind the flavor and setting characteristics may differ slightly.
Serving Suggestions
Serve chilled on a festive platter garnished with whole peppermint sticks or a dusting of cocoa for contrast. They pair beautifully with coffee, hot cocoa, or a spiced tea. For party favors, place three to five in small clear bags tied with ribbon. For a dessert plate, add a spoonful of raspberry coulis to cut through the sweetness and provide a bright acid note that balances the peppermint and white chocolate.
Seasonal Adaptations
These are inherently wintery, but swapping the peppermint for orange extract and using dark chocolate creates a Valentine or autumn twist. For Halloween, tint the coating with a few drops of food coloring and top with colored sprinkles. Fourth-of-July versions can use red and blue sprinkles. The basic method adapts well to flavors—try espresso powder for a mocha finish or a dusting of crushed toasted nuts for texture variations.

Meal Prep Tips
For efficient assembly, divide tasks: have one person crush cookies, another portion and roll centers, and a third dip and decorate. Freeze rolled centers on trays and pop them into bags for future dipping sessions—this cuts assembly time in half when you’re ready to finish. Use a wire rack over parchment when working with many pieces; excess coating drips through and makes cleanup easier. Label containers with date and flavor if you make multiple varieties.
Success Stories
I once brought a tray of these to a large family gathering and they disappeared within an hour; an elderly aunt proclaimed them the best candy she’d eaten in years. Another time, a friend used them as favors at her wedding dessert table, swapping peppermint for toasted coconut to match the menu. The consistent feedback is that guests appreciate their small size and bright flavor—perfect for sampling with other sweets.
These peppermint Oreo balls are a reliable, joyful treat that make holidays easier and more delicious. With minimal equipment and maximum impact, they’re my go-to when I want to impress without fuss. Try making a half-batch first to dial in peppermint intensity, then expand for parties and gift tins—once you perfect the technique, they’ll become one of your most requested desserts.
Pro Tips
Chill the rolled centers before dipping to prevent them from falling apart in the chocolate.
Heat the melting wafers in short bursts and stir between each to avoid burning the chocolate.
If the coating is too thick, add a teaspoon of vegetable oil at a time until you reach a smooth, dippable consistency.
Use parchment-lined trays and single layers in storage to avoid sticking and preserve the shell.
This nourishing peppermint oreo balls recipe is sure to be a staple in your kitchen. Enjoy every moist, high protein slice — it is perfect for breakfast or as a wholesome snack any time.
Tags
Peppermint Oreo Balls
This Peppermint Oreo Balls recipe makes perfectly juicy, tender, and flavorful steak every time! Serve with potatoes and a side salad for an unforgettable dinner in under 30 minutes.
Ingredients
Main
Instructions
Process cookies and cream cheese
Combine softened cream cheese and whole cookies in a food processor. Pulse until fully combined and the mixture holds together as a sticky dough.
Form the balls
Scoop and roll approximately 1-inch portions into 48 balls. Place on a parchment-lined sheet and freeze for 20 minutes to firm up.
Melt the coating
Melt white chocolate wafers in a microwave-safe bowl in 30-second intervals, stirring between each, then stir in peppermint extract until smooth.
Dip and garnish
Dip each chilled ball into the melted coating with a fork, tap off excess, then immediately roll or sprinkle with crushed peppermint candies. Let set on parchment until firm.
Last Step: Please leave a rating and comment letting us know how you liked this recipe! This helps our business to thrive and continue providing free, high-quality recipes for you.
Nutrition
Did You Make This?
Leave a comment & rating below or tag
@festive-cooks on social media!
Categories:
You might also like...

Air Fryer Parmesan Crusted Chicken
Crispy, golden Parmesan crusted chicken made in the air fryer for a quick family favorite that stays juicy inside and crunchy outside.

Quick Chicken Pot Pie Pasta
A cozy one-skillet mashup of pot pie comfort and egg noodle ease—ready in about 35 minutes and perfect for weeknight dinners.
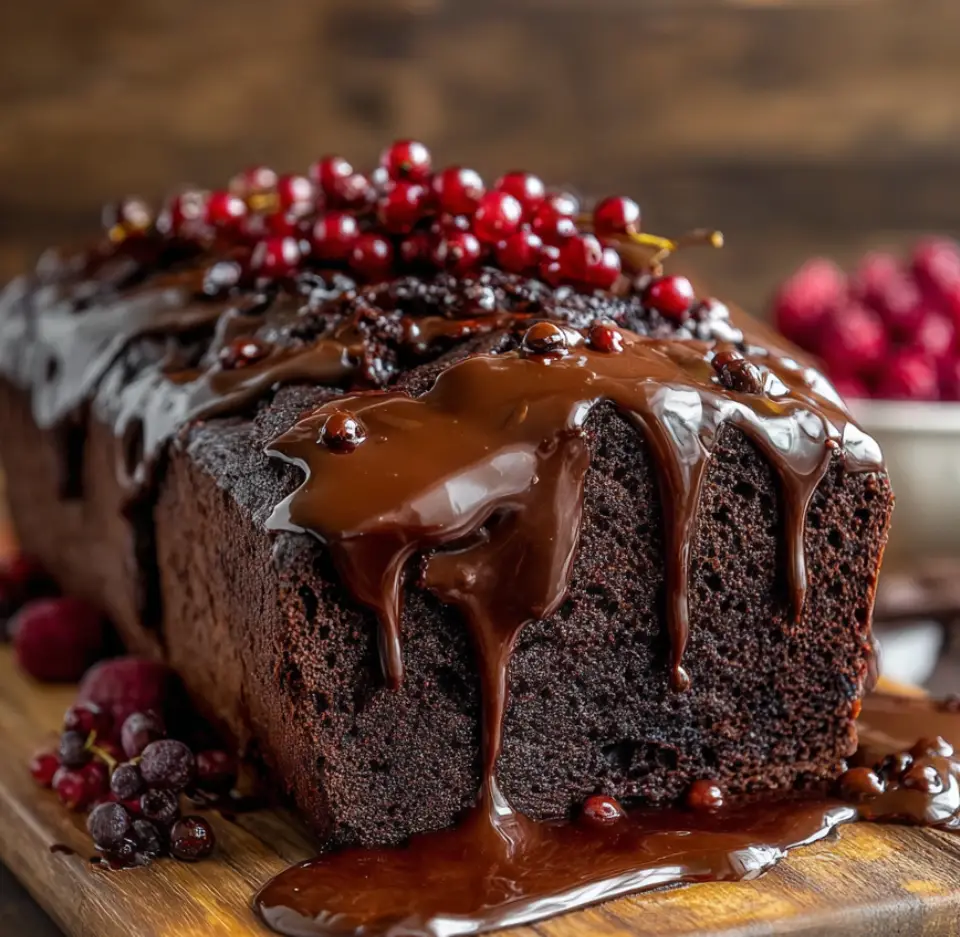
Hot Fudge Brownie Bread
A gooey, chocolate-packed loaf with a molten hot-fudge swirl — brownie texture in bread form, perfect warm with a scoop of ice cream.
Did You Make This?
Leave a comment & rating below or tag @festive-cooks on social media!
Rate This Recipe
Share This Recipe
Enjoyed this recipe? Share it with friends and family, and don't forget to leave a review!
Comments (1)
This recipe looks amazing! Can't wait to try it.
Comments are stored locally in your browser. Server comments are displayed alongside your local comments.

Hi, I'm Jessica!
What's Popular
30-Minute Meals!
Join to receive our email series which contains a round-up of some of our quick and easy family favorite recipes.