>>

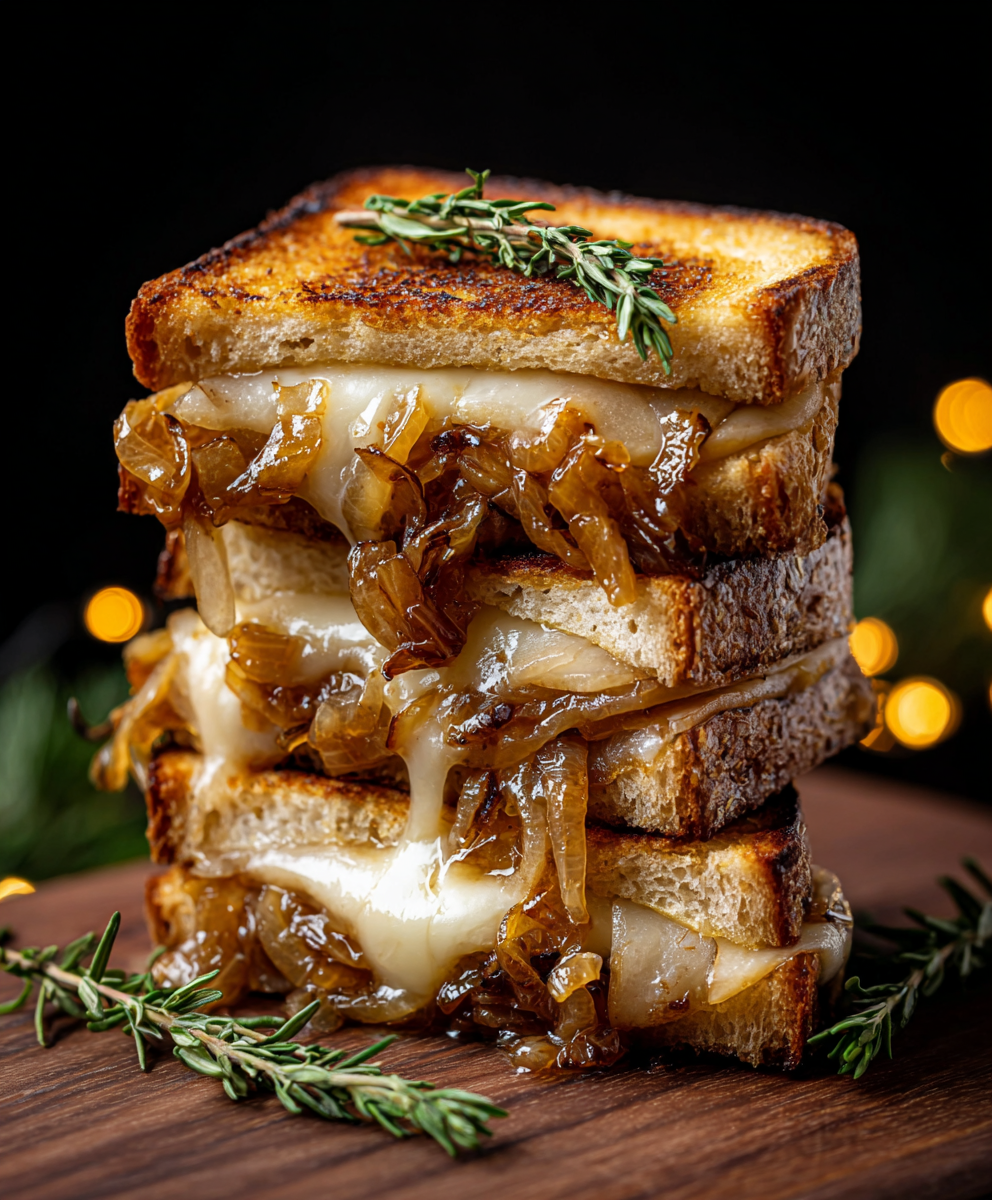
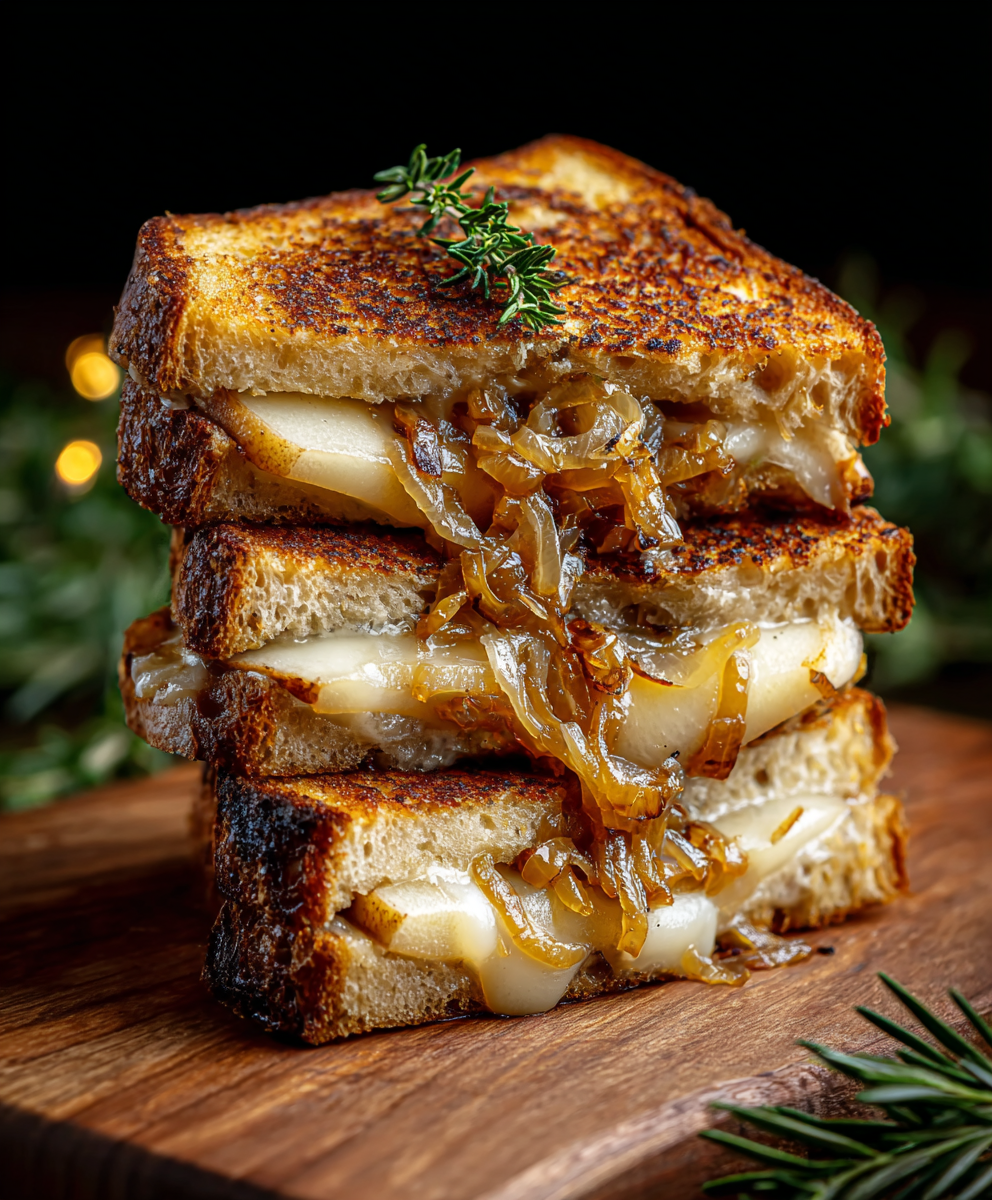
A sweet-savory grilled cheese layering caramelized onions, thin apple and pear slices, and sharp cheddar on toasted sourdough — a quick, elegant comfort meal.

This Pear & Apple Grilled Cheese with Caramelized Onions started as a spontaneous attempt to elevate an ordinary lunchtime sandwich and quickly became one of my favorite quick indulgences. I first combined sweet fruit with sharp cheddar in late autumn when our market overflowed with crisp apples and fragrant pears; the contrast between the honeyed fruit and tangy cheese felt like a revelation. The caramelized onions add a deep, savory backbone that keeps the sandwich from feeling overly sweet while creating a silky, luxurious texture between the layers of fruit and melted cheese.
I remember the first time I made this for guests — it was a rainy Sunday and the kitchen filled with the scent of browning onions and toasted bread. Everyone lingered over the plate, surprised that something so simple could taste so sophisticated. The pears soften just enough to meld with the cheese, while the apples keep a little crunch. It’s the kind of recipe that’s easy to scale, quick to assemble, and perfect when you want company without fussing over complicated cooking techniques.
My family’s reaction was immediate: total approval and requests for seconds. Over time I’ve learned to slice the fruit paper-thin for even melting and to coax the onions that extra couple of minutes with a splash of balsamic to deepen the flavor. It’s become my go-to for casual dinner guests or a no-fuss weekend treat.
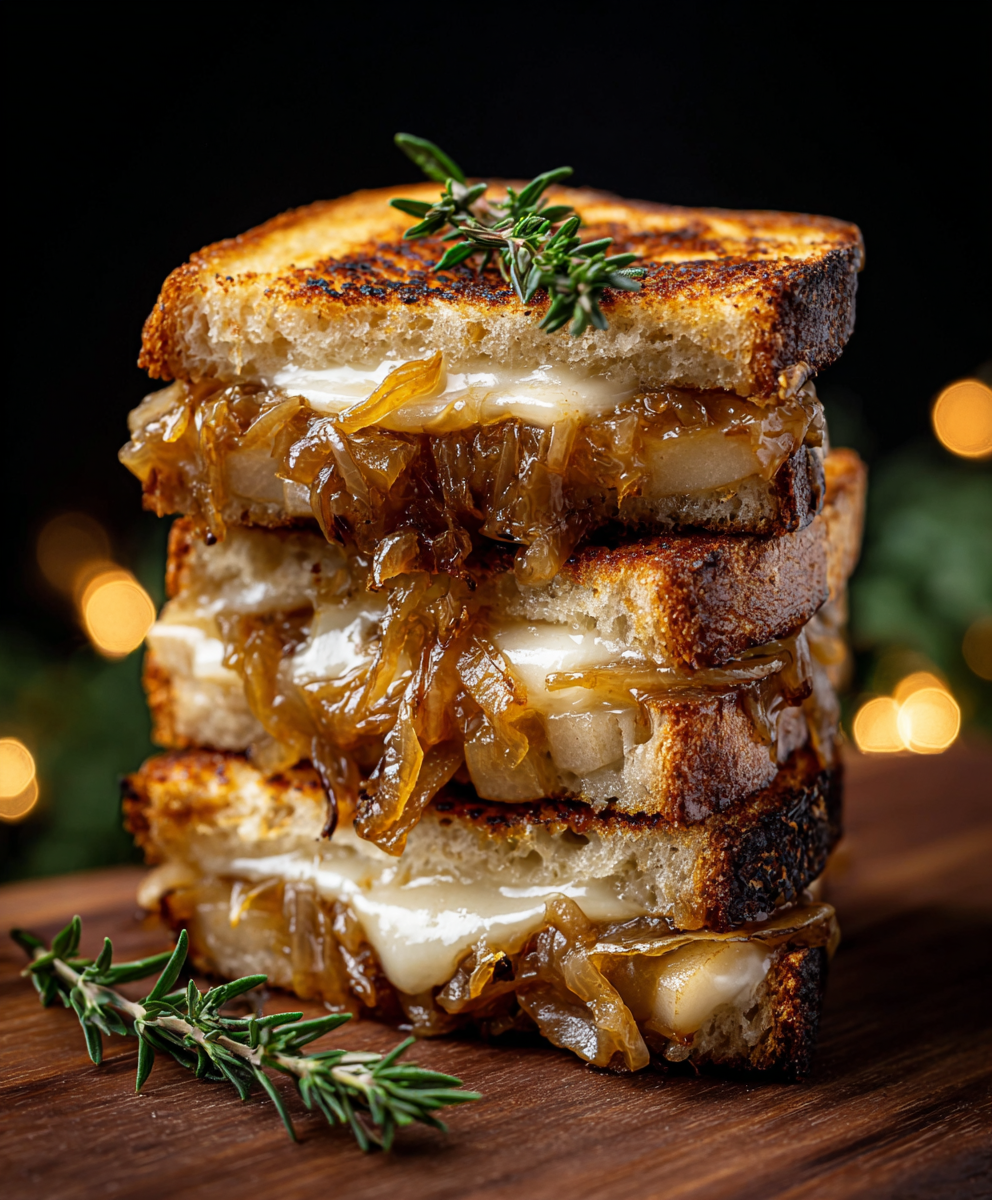
My favorite aspect is the texture contrast — a thin pear slice that yields into silky cheese next to an apple that still has a little bite. Family and guests always ask how I got the onions so sweet; the trick is patience and a splash of balsamic at the end to lift the flavors. This sandwich feels elevated yet takes less time than many simple dinners.
Cooked caramelized onions store well in an airtight container in the refrigerator for up to 4 days; freeze in portioned bags for up to 3 months. For the assembled but uncooked sandwich, avoid freezing because the fruit will release moisture and make the bread soggy when reheated. Leftover grilled sandwiches can be wrapped in foil and refrigerated for 24–48 hours — reheat in a dry skillet over medium-low, pressing gently, until the exterior crisps and the interior warms through. Avoid microwaving as it will make the bread chewy.
If you prefer a nuttier flavor, substitute Gruyère or aged Manchego for cheddar — both melt well and pair beautifully with fruit. For a dairy-free option use a plant-based butter for grilling and a vegan melting cheese; choose a firmer, low-moisture vegan cheese to avoid a watery sandwich. If you don’t have sourdough, a dense multigrain or country white will work; avoid very thin-sliced sandwich bread which can become soggy. For acidity, red wine vinegar can replace balsamic in the onions if you prefer a sharper bite.
Serve halves on a wooden board with a simple green salad dressed in lemon vinaigrette to cut the richness. A bowl of roasted tomato soup makes a classic pairing and adds warmth on cooler days. For appetizers, slice into quarters and serve toothpicked bites with a small arugula garnish. Finish with extra cracked black pepper and a light drizzle of honey if you want more sweetness contrast.
Combining fruit and cheese is a long-standing practice in many culinary traditions — from French cheese boards to Italian pear and gorgonzola pairings. The grilled cheese is an American classic that evolved from open-faced melted cheese dishes; adding fruit and caramelized onions nods to more refined European tastes while keeping the comforting assembly and skillet technique synonymous with home cooking in the U.S.
Autumn is ideal with crisp apples and Bosc pears; in spring, try thin slices of ripe stone fruit like peaches or nectarines. Add fresh thyme or rosemary in winter for herbal warmth. For holiday meals, swap sharp cheddar for a smoked cheddar and add a handful of toasted pecans for crunch. Adjust fruit sweetness by choosing tarter or sweeter varieties depending on the season.
Cook a double batch of caramelized onions at the start of the week — they make quick work of sandwiches, pizzas, and grain bowls. Pre-slice fruit and store between damp paper towels in a sealed container for up to a day to preserve texture. When organizing lunches, assemble sandwiches without grilling and keep buttered bread and filling separate until ready to cook for the freshest texture.
This sandwich is proof that simple ingredients handled with care can produce something memorable. Make it your own — experiment with cheeses, fruit combinations, and herbs — and enjoy sharing this easy, flavorful meal with friends and family.
Slice fruit paper-thin so it warms and integrates with the cheese without releasing excess moisture.
Use unsalted butter to control seasoning and add salt judiciously after assembling to avoid oversalting.
If the bread browns too quickly, lower heat and cover the pan for a minute to let the cheese melt.
This nourishing pear & apple grilled cheese with caramelized onions recipe is sure to be a staple in your kitchen. Enjoy every moist, high protein slice — it is perfect for breakfast or as a wholesome snack any time.
Yes — caramelized onions can be made ahead and refrigerated for up to 4 days or frozen for up to 3 months. Reheat gently in a skillet before assembling.
Use a heavy-bottom skillet over medium-low heat to avoid burning the bread while allowing the cheese to melt. Cover briefly if the cheese needs extra help melting.
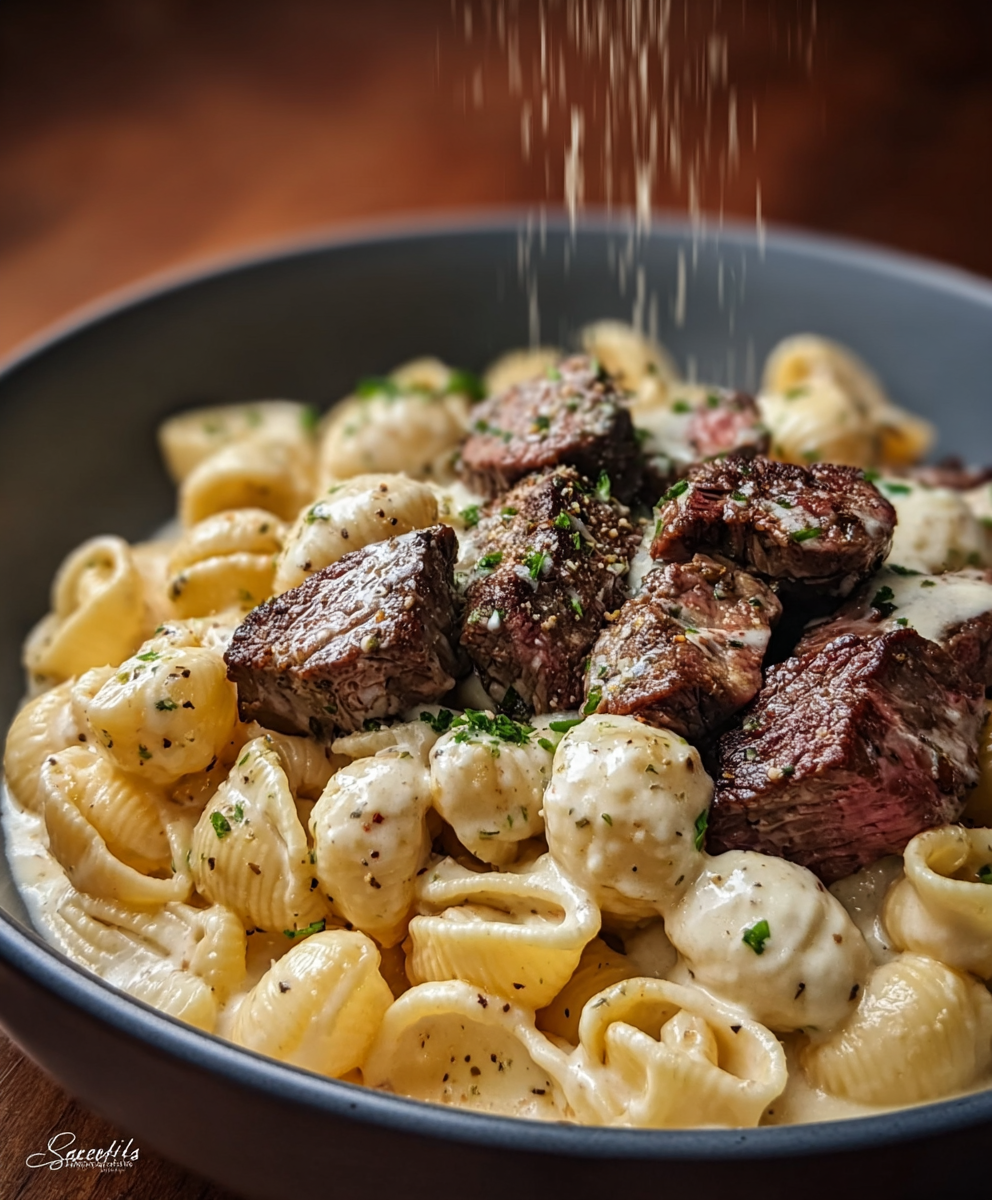
This Pear & Apple Grilled Cheese With Caramelized Onions recipe makes perfectly juicy, tender, and flavorful steak every time! Serve with potatoes and a side salad for an unforgettable dinner in under 30 minutes.
Heat a skillet over medium and melt 1 tablespoon butter. Add sliced onion and a pinch of salt. Cook 10 minutes, stirring occasionally until golden and soft. Add 1 tablespoon balsamic and cook 2–3 more minutes. Remove and set aside.
Thinly slice the pear and apple (about 1/8 inch). Shred the cheddar if not pre-shredded. Have bread and butter ready for assembly.
Spread remaining butter on the outside faces of all bread slices. On the unbuttered sides, place half the cheddar, caramelized onions, apple slices, pear slices, then remaining cheddar. Top with remaining bread, buttered side out.
Heat skillet over medium. Place sandwich in pan and cook 4–5 minutes until golden. Flip and cook another 4–5 minutes until cheese melts. Lower heat and cover briefly if cheese needs help melting without burning bread.
Remove from skillet and rest 1 minute. Slice in half and serve warm, optionally with a salad or tomato soup.
Last Step: Please leave a rating and comment letting us know how you liked this recipe! This helps our business to thrive and continue providing free, high-quality recipes for you.
Leave a comment & rating below or tag
@festive-cooks on social media!

Crispy, golden Parmesan crusted chicken made in the air fryer for a quick family favorite that stays juicy inside and crunchy outside.
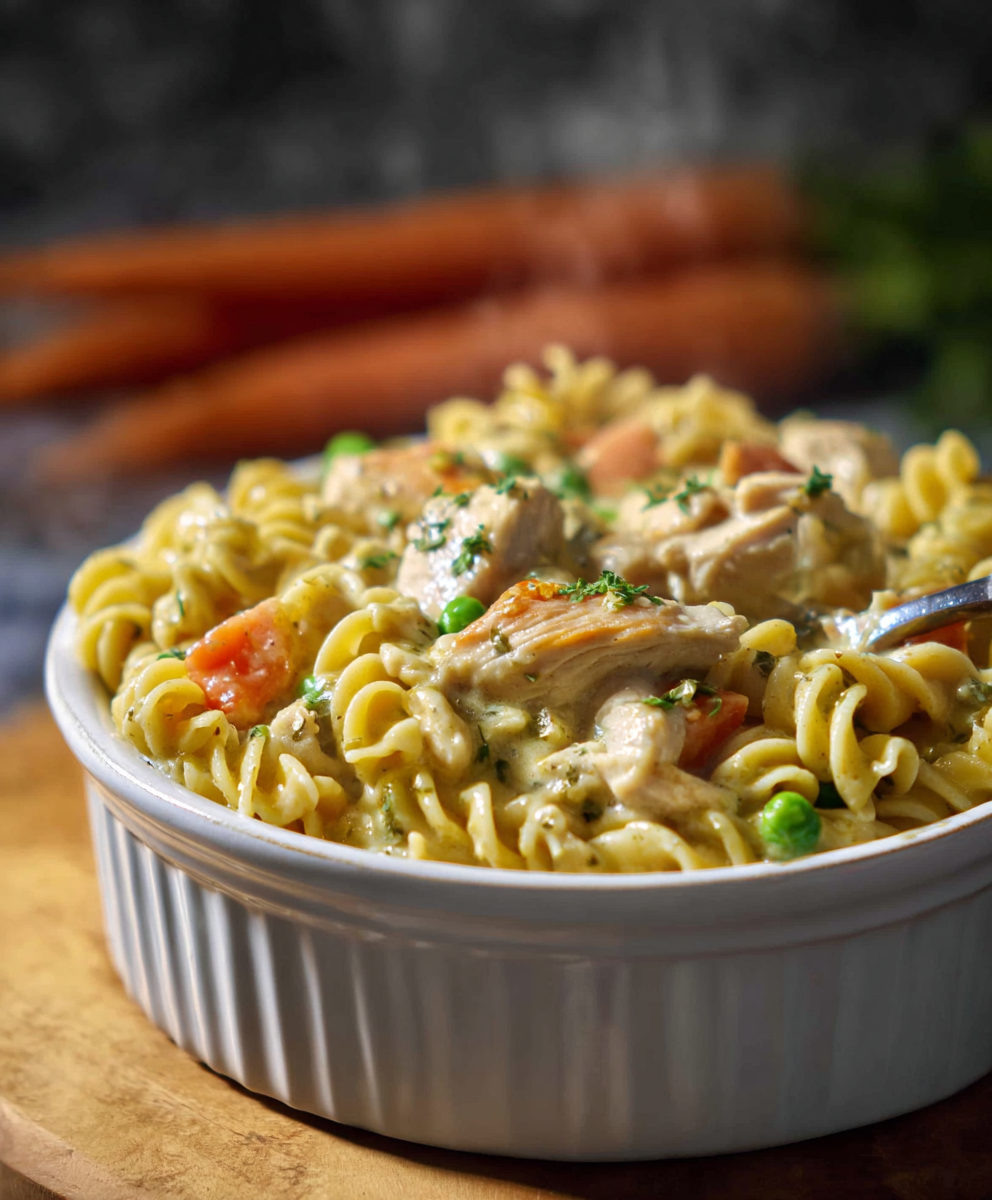
A cozy one-skillet mashup of pot pie comfort and egg noodle ease—ready in about 35 minutes and perfect for weeknight dinners.
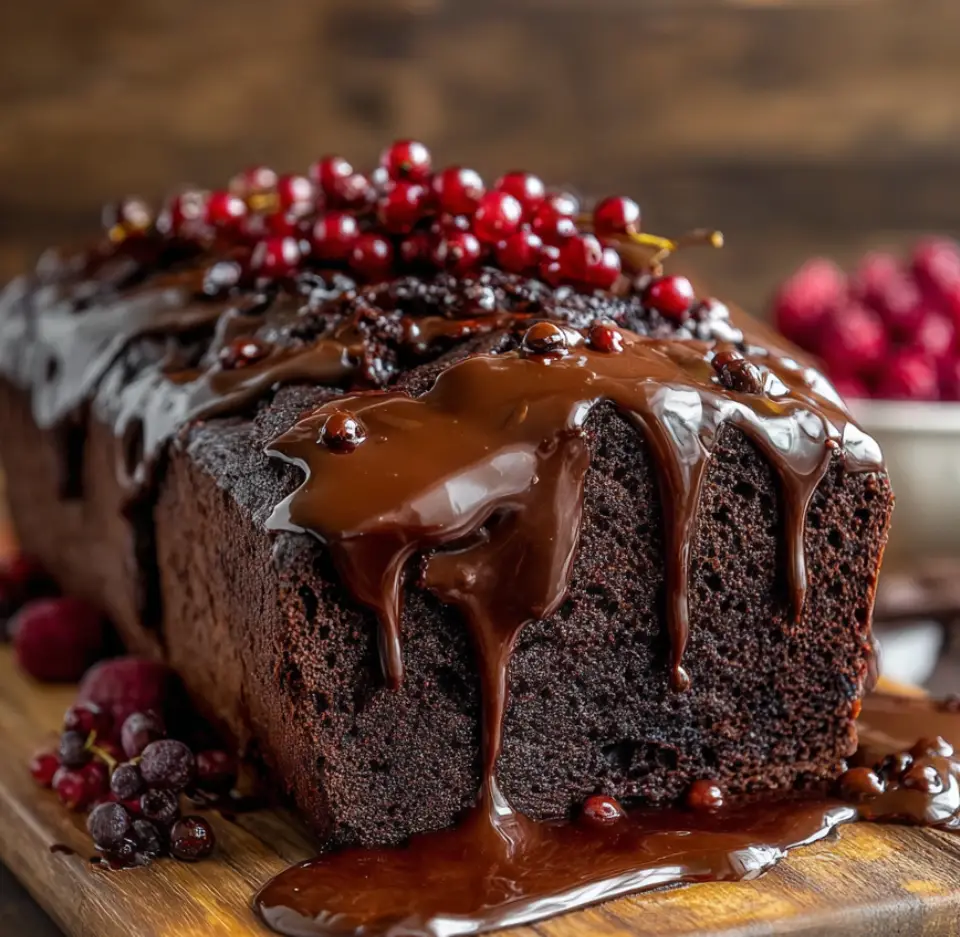
A gooey, chocolate-packed loaf with a molten hot-fudge swirl — brownie texture in bread form, perfect warm with a scoop of ice cream.
Leave a comment & rating below or tag @festive-cooks on social media!
Enjoyed this recipe? Share it with friends and family, and don't forget to leave a review!
This recipe looks amazing! Can't wait to try it.
Comments are stored locally in your browser. Server comments are displayed alongside your local comments.

Join to receive our email series which contains a round-up of some of our quick and easy family favorite recipes.