
Onion Ring Chips

Crunchy, golden onion ring chips coated in seasoned flour and panko for an extra-crispy bite — a crowd-pleasing snack for parties or weeknight indulgence.
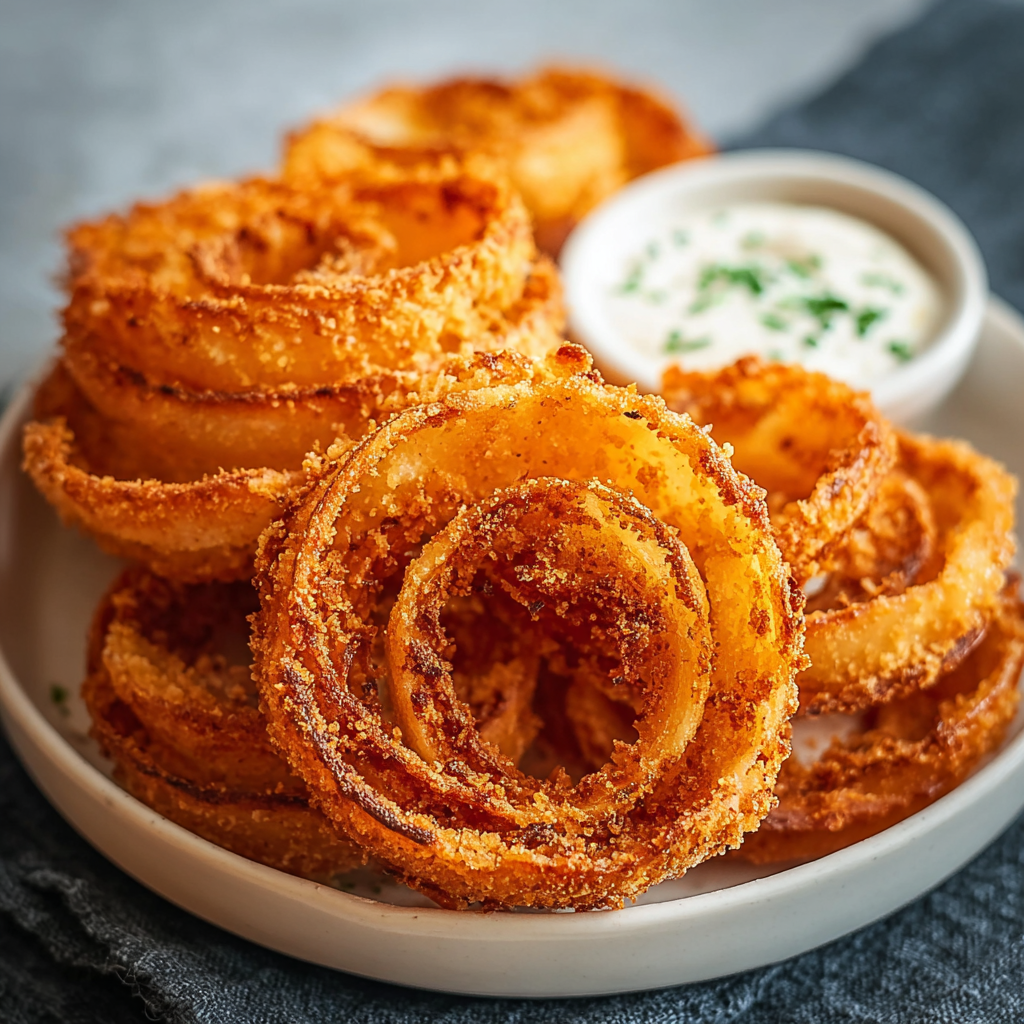
Why You'll Love This Recipe
- Crunchy, restaurant-style results using simple pantry ingredients: all-purpose flour, panko, and basic spices create a texture that rivals takeout in about 35 minutes from start to finish.
- Quick assembly and minimal hands-on time — most of the work is passive: slicing and a short buttermilk soak. Perfect for last-minute guests or snack cravings.
- Adaptable to dietary needs and flavor profiles: swap panko for gluten-free crumbs or add cayenne for a spicy kick without changing the method.
- Make-ahead friendly: breaded rings can be frozen on a tray, then fried straight from frozen for convenient entertaining.
- Uses two common onion varieties for distinct results — sweet onions for tender interior, yellow or white for a bolder bite — which allows you to tailor the final taste.
- Great as a snack, appetizer, or crunchy topping for salads and burgers; versatile and crowd-pleasing whether you serve 4 or 12.
I’ve served these at potlucks, picnic baskets, and casual dinner nights, and the reactions are always the same: surprised delight. My partner often asks for extra dipping sauces and I’ve learned to double the batch whenever guests are expected. The simplicity of the ingredients combined with the dramatic crunch is what keeps me coming back to this method; it’s comfort food with a little showmanship.
Ingredients
- 2 large onions, sliced into 1/4-inch rings: Choose sweet onions like Vidalia for a milder, slightly sweet interior, or yellow onions for a sharper flavor. Thick, even rings fry more consistently.
- 1 cup all-purpose flour: Provides a dry base for the buttermilk to cling to; use unbleached for a cleaner wheat flavor. Spoon and level when measuring for accuracy.
- 1 teaspoon garlic powder: Adds a warm, savory background note; if using fresh garlic, reduce quantity and mix into the buttermilk to avoid burning in the oil.
- 1 teaspoon paprika: Gives a subtle smokiness and color that deepens when fried. Sweet paprika works well; smoked paprika adds complexity.
- 1/2 teaspoon salt: Essential for seasoning the coating; kosher salt measures differently than table salt so adjust if you prefer less sodium.
- 1/2 teaspoon black pepper: Freshly ground gives the best aromatic lift; stir directly into the flour mix for even distribution.
- 1 cup buttermilk: The acidity tenderizes the onion slightly and helps the coating adhere. If you don’t have buttermilk, combine 1 cup milk with 1 tablespoon white vinegar and rest 5 minutes.
- 2 cups panko breadcrumbs: Japanese-style panko provides an airy, shattering crust. Look for large flakes for maximum crunch; pulse briefly in a food processor for a finer texture if desired.
- Vegetable oil for frying: Use a neutral oil with a high smoke point such as canola, sunflower, or peanut oil. You’ll need enough oil to shallow- or deep-fry depending on your chosen vessel.
Instructions
Prepare the onions: Peel and slice the onions into uniform 1/4-inch rings. Separate rings gently to keep them intact. Even thickness is key so they cook at the same rate; a sharp chef’s knife or mandoline set to 1/4 inch works well. Pat rings dry with paper towels to remove excess moisture for a crisper finish. Mix the dry coating: Combine the flour, garlic powder, paprika, salt, and black pepper in a shallow bowl. Whisk to break up lumps and ensure an even seasoning distribution. The seasoned flour creates the first adhesive layer for the buttermilk. Soak in buttermilk: Pour the buttermilk into a separate shallow bowl. Dunk each onion ring into the buttermilk, letting excess drip off. The acidity tenderizes the onion and helps the dry mix and panko adhere. Work in small batches to avoid overcrowding. Dredge and bread: After buttermilk, toss rings in the seasoned flour, shaking off excess. Return to the buttermilk briefly, then press thoroughly into the panko breadcrumbs so flakes adhere uniformly. A double-coating technique ensures a durable, crunchy crust once fried. Heat the oil: Heat oil in a heavy-bottomed pan or Dutch oven to 350°F (175°C) measured with a thermometer. If you don’t have a thermometer, test by dropping one breadcrumb in — it should sizzle and rise steadily. Maintain temperature by adjusting heat; avoid letting it exceed 375°F to prevent burning. Fry until golden: Fry rings in small batches so oil temperature remains steady. Cook 2–3 minutes per side until golden brown and crisp. Use a slotted spoon or spider to flip and remove. Drain on paper towels and keep warm on a wire rack in a 200°F oven while you finish remaining batches.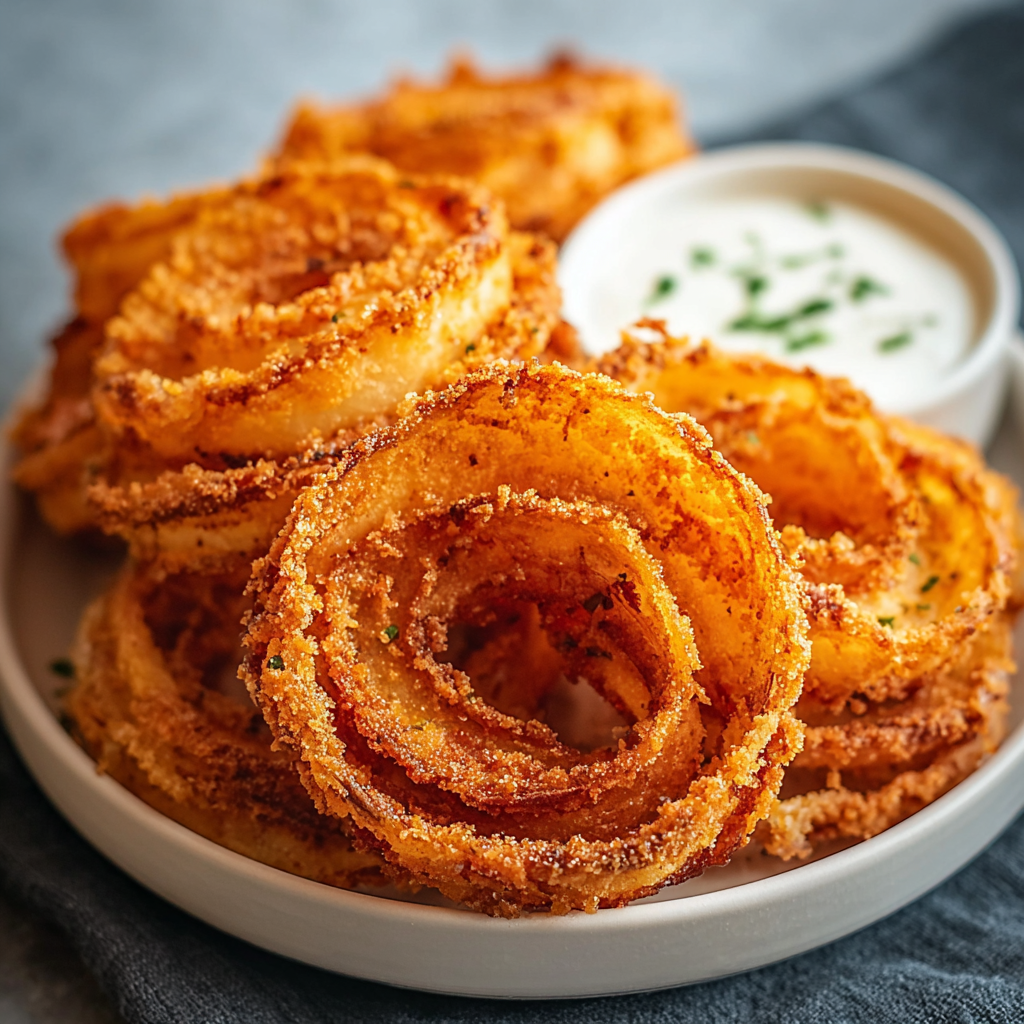
You Must Know
- Oil temperature is critical: keep the oil around 350°F to 360°F for even browning without absorbing excess oil.
- Don’t overcrowd the pan: overcrowding drops the temperature and yields soggy results; fry in small batches for the crispiest chips.
- These chips freeze well after breading: freeze on a single layer and store in a sealed bag for up to 2 months; fry straight from frozen, adding a minute or two to cook time.
- Use panko for maximum crunch; regular breadcrumbs produce a denser crust and a different texture.
My favorite aspect is how versatile the finished chips become — they transform from a simple snack into a dinner component when used as a topping for salads or burgers. Family members have told me the crispness reminds them of fairground fries but with a fresher, handcrafted flavor. I love that the method is both predictable and improvable; small changes in spice or breadcrumb size create lively results while the basic technique remains reliable.
Storage Tips
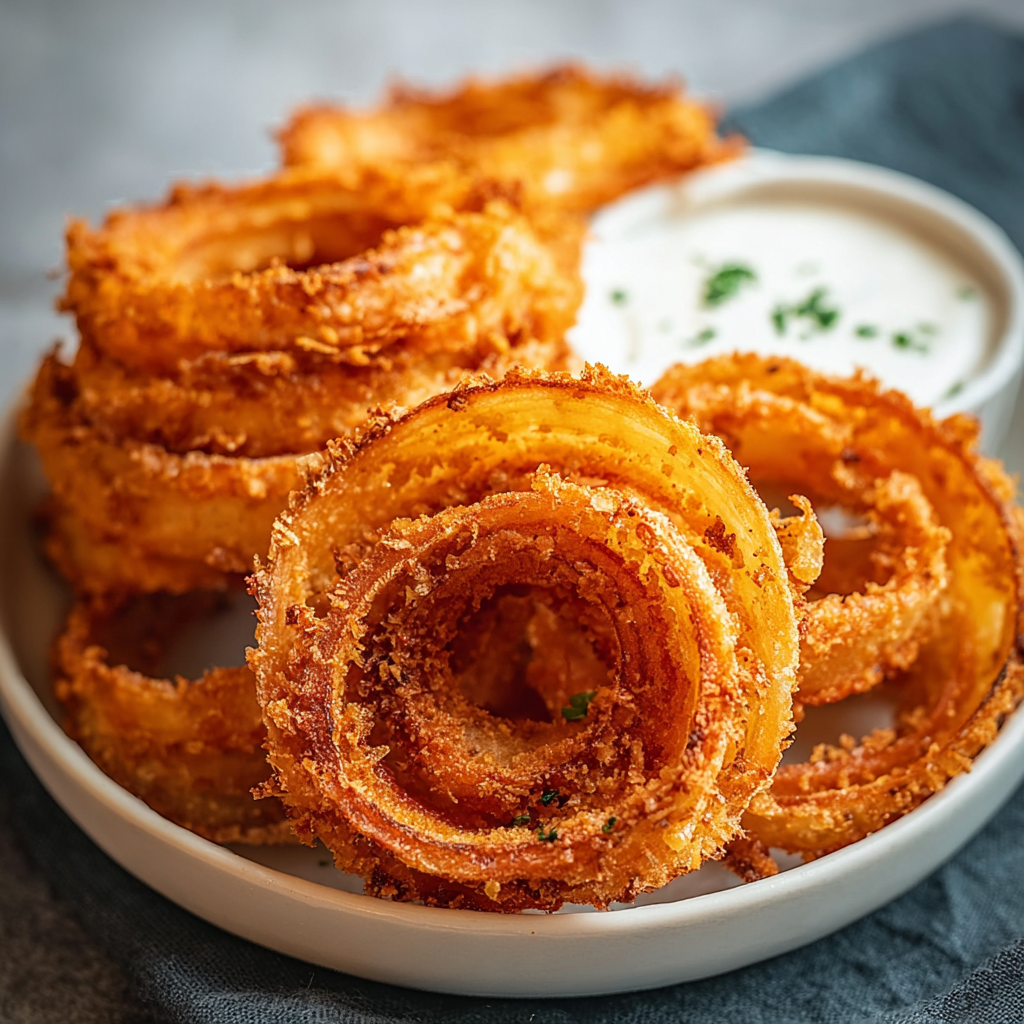
For short-term storage, cool completely then place in an airtight container lined with paper towel; refrigerate for up to 2 days. Reheat in a 375°F oven or an air fryer for 3–5 minutes to restore crispness — avoid microwaving, which makes them soggy. For longer storage, bread the rings and freeze on a single layer on a baking sheet until firm; transfer to a freezer bag and keep for up to 2 months. Fry from frozen and drain well on a rack to maintain texture.
Ingredient Substitutions
If you need gluten-free options, swap the all-purpose flour for a 1:1 gluten-free flour blend and use gluten-free panko crumbs. To make them dairy-free, replace buttermilk with a mixture of unsweetened plant milk plus 1 tablespoon lemon juice or vinegar, rested 5 minutes. For an eggless bind with less acidity, use a thin batter of water and a tablespoon of cornstarch mixed into the buttermilk alternative. Keep in mind that substitutions change both flavor and texture slightly — panko is the biggest driver of crunch.
Serving Suggestions
Serve hot with classic ketchup, spicy ranch, garlic aioli, or a smoked paprika mayo for contrast. They’re fantastic as a crunchy burger topping or as an accompaniment to grilled meats and roasted vegetables. For a party platter, pair with pickles, olives, and a trio of dips for variety. Garnish with flaky sea salt and chopped parsley to add color and a fresh note before serving.
Cultural Background
Onion rings are a classic American diner staple, though variations exist worldwide. The technique of battering and frying vegetables dates back centuries, with contemporary onion rings emerging in the early 20th century as fried side dishes grew in popularity. Panko-coated versions borrow from Japanese breadcrumb tradition, where large, airy flakes create superior crispness — a fusion that yields the best of both worlds in texture and flavor.
Seasonal Adaptations
In spring and summer use sweet, thin-skin onions for a mellower interior and light crunch. For autumn and winter, add warming spices to the flour — a pinch of smoked paprika, a dash of cayenne, or a teaspoon of ground mustard — to complement heartier seasonal mains. You can also toss panko with finely grated Parmesan for holiday gatherings, which adds a savory, nutty finish perfect for colder months.
Meal Prep Tips
Slice onions and separate rings a day ahead, storing them covered in the refrigerator. Mix dry ingredients and panko into labeled containers for quick assembly. For freezer-ready batches, bread rings, freeze on a tray, then store in a freezer bag; fry frozen for last-minute entertaining. Use a wire rack over a baking sheet to keep fried chips crispy while finishing batches, and serve immediately for best texture.
These onion ring chips deliver a satisfying crunch and nostalgic flavor with ingredients you likely already have. Whether you’re feeding a crowd or treating yourself, the simple method yields consistently excellent results — give them a try and make them your own with the spice combinations you love.
Pro Tips
Maintain oil temperature around 350°F; use a thermometer for consistent results.
Drain on a wire rack instead of paper towels to keep the underside crisp.
Freeze breaded rings on a single layer before bagging to prevent sticking.
Press panko firmly onto the rings for an even, durable crust.
This nourishing onion ring chips recipe is sure to be a staple in your kitchen. Enjoy every moist, high protein slice — it is perfect for breakfast or as a wholesome snack any time.
Tags
Onion Ring Chips
This Onion Ring Chips recipe makes perfectly juicy, tender, and flavorful steak every time! Serve with potatoes and a side salad for an unforgettable dinner in under 30 minutes.
Instructions
Prepare the onions
Peel and slice the onions into uniform 1/4-inch rings, separate gently, and pat dry to remove excess moisture which can prevent crisping.
Mix the dry coating
Whisk together flour, garlic powder, paprika, salt, and black pepper in a shallow bowl until well combined for an even seasoned base.
Soak in buttermilk
Pour buttermilk into a separate bowl and briefly dunk each ring; the acid tenderizes the onion and helps the coating stick.
Dredge and bread
After buttermilk, dredge rings in the seasoned flour, return to buttermilk, then press firmly into panko so flakes adhere evenly.
Heat the oil
Heat oil to 350°F in a heavy pan or Dutch oven. Use a thermometer and adjust heat as needed to maintain steady temperature.
Fry until golden
Fry in small batches 2–3 minutes per side until golden brown. Drain on a wire rack and keep warm in a low oven if needed.
Last Step: Please leave a rating and comment letting us know how you liked this recipe! This helps our business to thrive and continue providing free, high-quality recipes for you.
Nutrition
Did You Make This?
Leave a comment & rating below or tag
@festive-cooks on social media!
Categories:
You might also like...
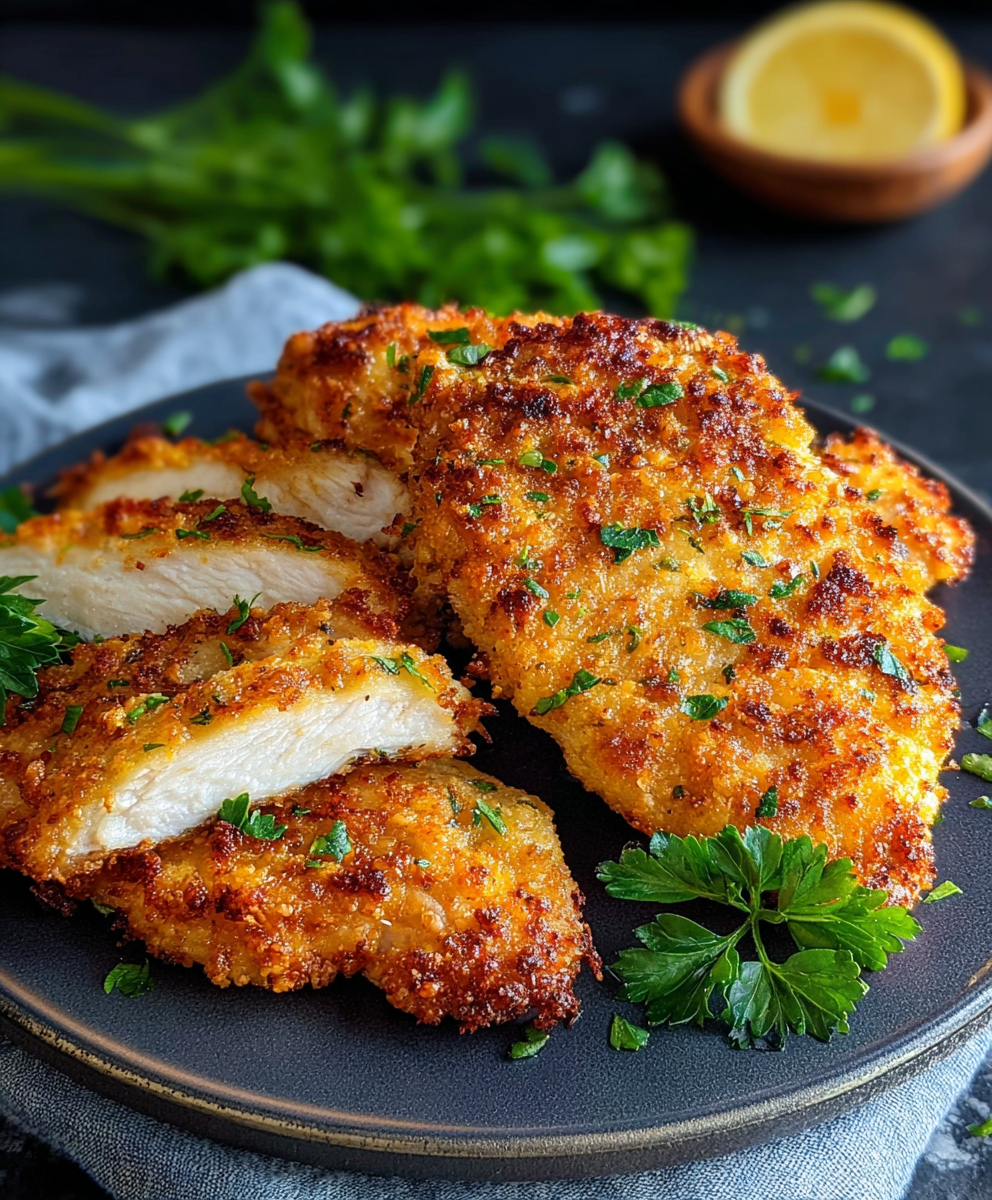
Air Fryer Parmesan Crusted Chicken
Crispy, golden Parmesan crusted chicken made in the air fryer for a quick family favorite that stays juicy inside and crunchy outside.
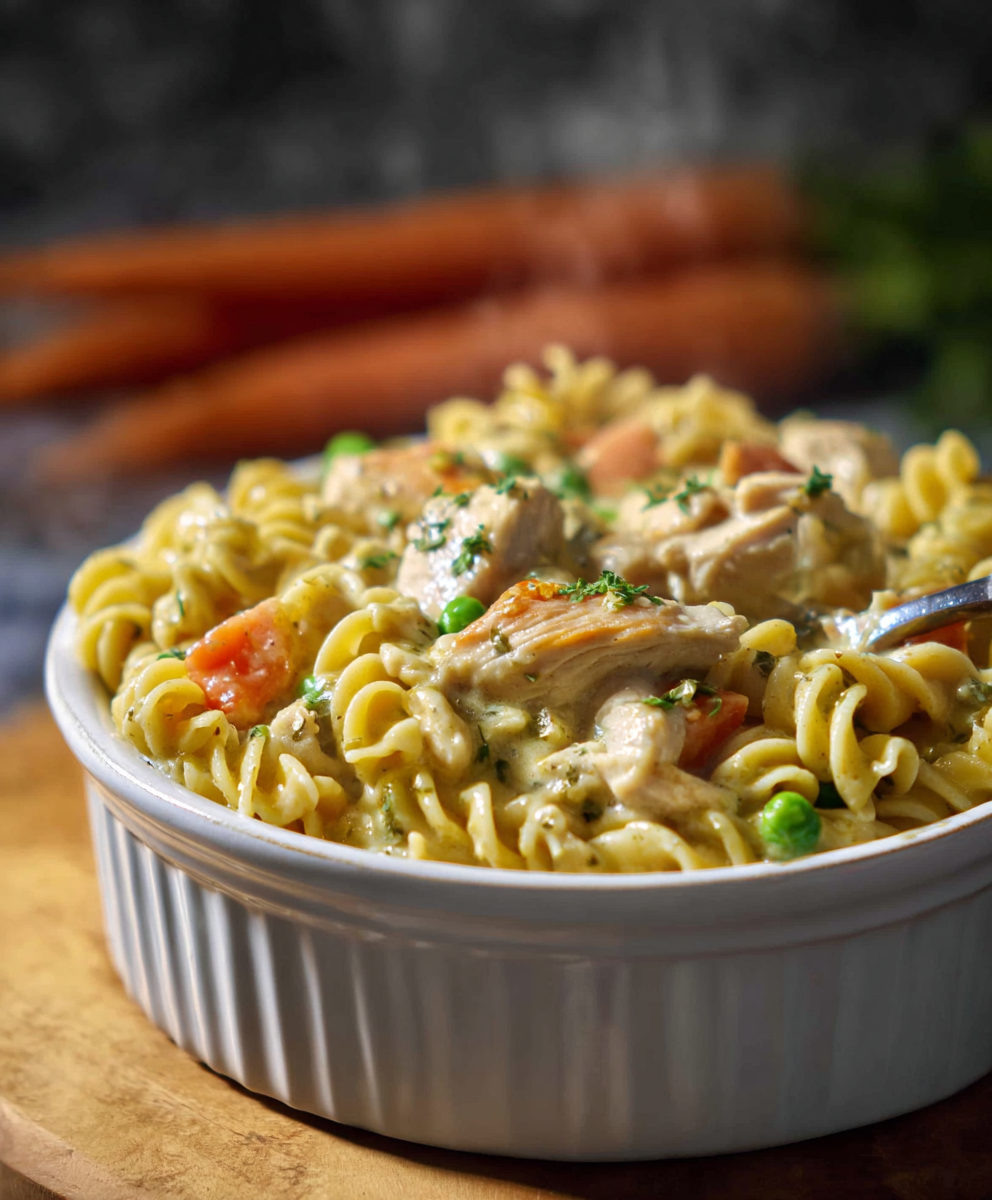
Quick Chicken Pot Pie Pasta
A cozy one-skillet mashup of pot pie comfort and egg noodle ease—ready in about 35 minutes and perfect for weeknight dinners.
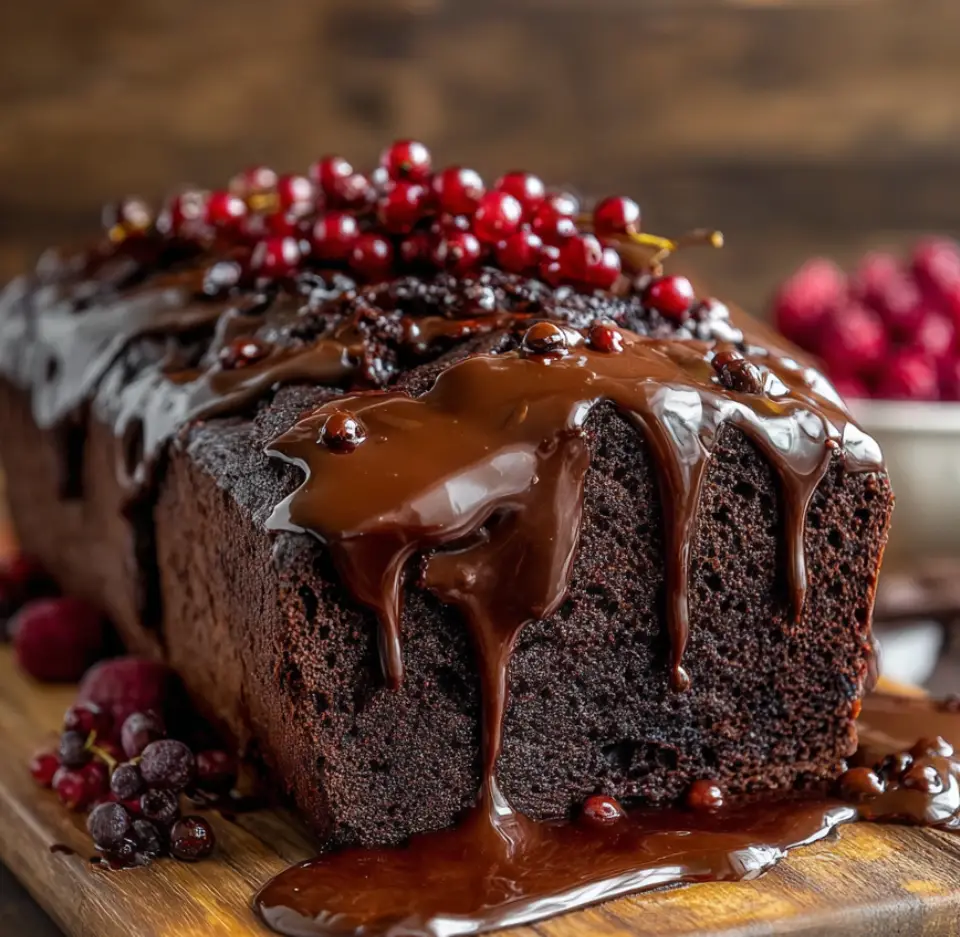
Hot Fudge Brownie Bread
A gooey, chocolate-packed loaf with a molten hot-fudge swirl — brownie texture in bread form, perfect warm with a scoop of ice cream.
Did You Make This?
Leave a comment & rating below or tag @festive-cooks on social media!
Rate This Recipe
Share This Recipe
Enjoyed this recipe? Share it with friends and family, and don't forget to leave a review!
Comments (1)
This recipe looks amazing! Can't wait to try it.
Comments are stored locally in your browser. Server comments are displayed alongside your local comments.

Hi, I'm Jessica!
What's Popular
30-Minute Meals!
Join to receive our email series which contains a round-up of some of our quick and easy family favorite recipes.