>>

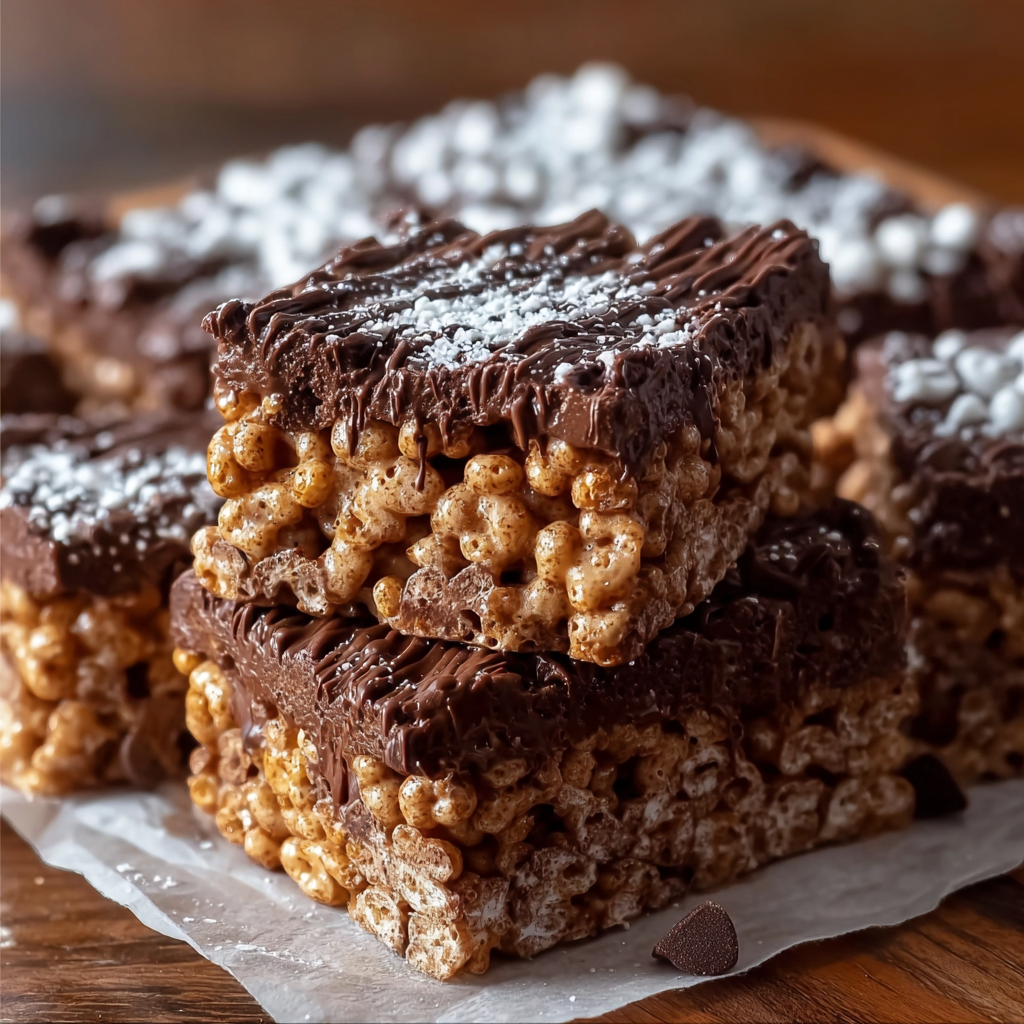
A nostalgic no bake treat that combines crunchy Rice Krispies with a peanut butter chocolate coating and powdered sugar dusting for irresistible bite sized snacks.
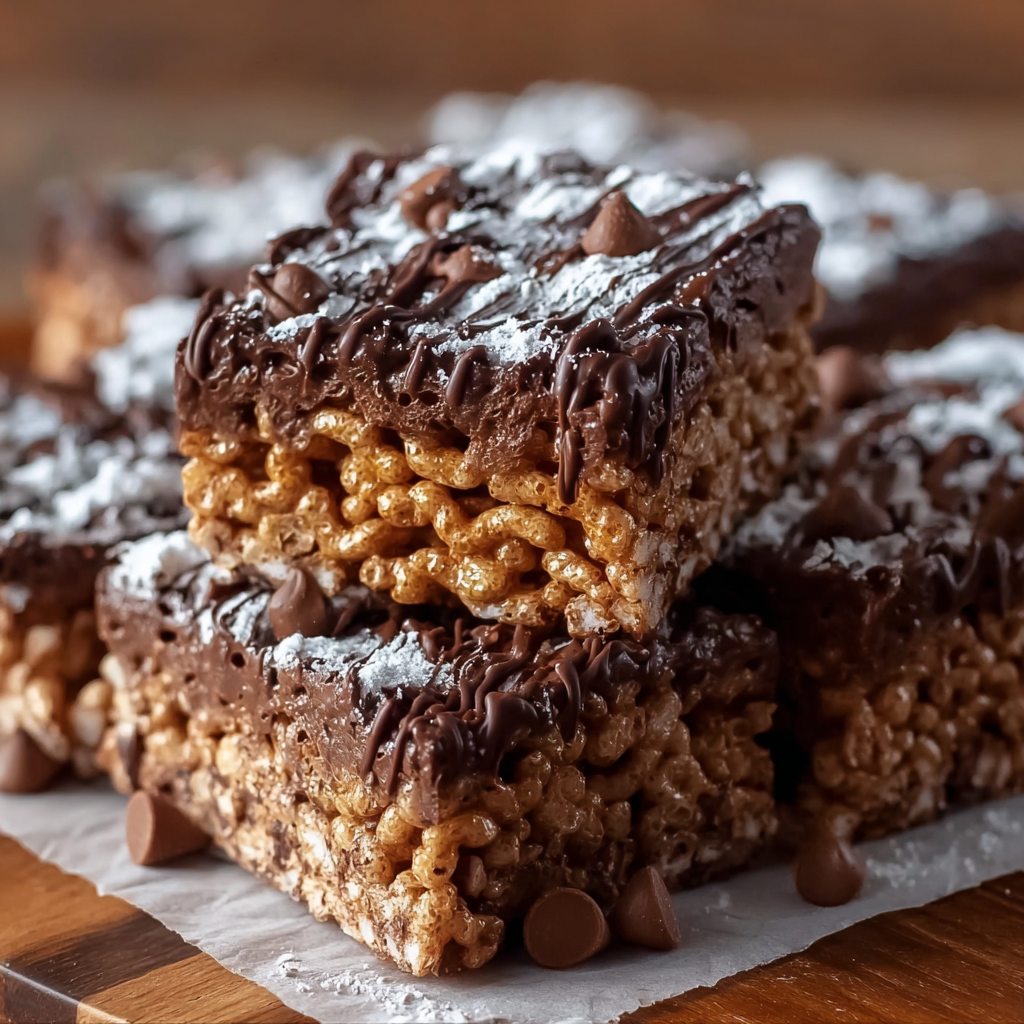
This recipe for Muddy Buddy Rice Krispies has been my go to when I need something nostalgic, fast, and crowd pleasing. I first made a version of this in college when our tiny dorm kitchen served as a late night lab for snack experiments. The combination of warm chocolate and peanut butter coating a bowl of crunchy cereal made everyone pause and smile. What stuck with me was the texture contrast between crisp Rice Krispies and the melt in your mouth coating, followed by the snowy powdered sugar finish that keeps fingers and smiles equally happy.
Over the years I refined the method to avoid clumps, to keep the coating thin and even, and to make a batch that stores well for parties or packed lunches. This version is fast to pull together, uses pantry staples, and comes together without an oven. It is perfect for rainy afternoons, last minute gatherings, or a simple after school pick me up. The balance of sweet chocolate, salty peanut butter, and crisp cereal makes each bite addictive in the very best way.
My family always asks for this when we watch holiday movies. One year I doubled the batch for a cookie swap and still came home with empty tins. It is one of those simple, dependable snacks that brings back memories and creates new ones whenever it is served.

I love the contrast between quick prep and the delight it brings. Serving these at casual gatherings always invites conversation and more than a few nostalgic confessions about childhood snack rituals.
Store the Muddy Buddy Rice Krispies in an airtight container at room temperature for up to five days. Use a shallow container so the pieces do not get crushed. For longer storage place portions in freezer safe bags and freeze for up to three months. When ready to eat thaw at room temperature for 20 minutes to avoid condensation forming on the coating. If the powdered sugar appears moist after thawing, gently toss with a small amount of additional powdered sugar before serving.
If you need dairy free options choose dairy free chocolate chips and plant based butter or coconut oil in place of unsalted butter. For a nut free snack use sunflower seed butter instead of peanut butter and check that the chocolate is free of cross contact. To make a gluten free version select Rice Krispies style cereal that is labeled gluten free. For a different flavor profile try using butterscotch chips or white chocolate chips in place of the semi sweet.
Serve the pieces piled in a bowl for parties, or portion into small cellophane bags tied with ribbon as edible gifts. Pair with hot cocoa for a winter treat, or alongside fresh fruit for a contrasting light accompaniment. Garnish with a sprinkle of flaky sea salt for a grown up twist. These also work as a crunchy topping for ice cream when served right before eating.
This style of coated cereal snack is inspired by several mid century American party treats that pair chocolate and peanut butter. Known in many circles as puppy chow or muddy buddies the concept is simple and versatile. Over time families have adapted the finish and mix ins to reflect regional tastes from tropical coconut and macadamia to seasonal pumpkin spice.
For autumn add a pinch of cinnamon to the powdered sugar and swap to maple flavored peanut butter for a fall spin. For holidays stir in red and green candy pieces and use white chocolate with peppermint extract. In summer lighten the coating by using 50 50 chocolate and almond bark to maintain a glossy finish in warm weather. These small swaps keep the base technique fresh year round.
Make the batch in the morning and portion into individual servings for snack ready packs. Use small resealable containers to maintain crunch. If you plan to transport for a picnic place them in a cooler to prevent melting in warm conditions. The recipe scales easily so double or triple for larger gatherings and allow a few extra minutes to distribute the coating evenly when working with big batches.
Whether you call them muddy buddies or chocolate peanut butter rice bites this recipe delivers simple joy. Share them with friends, tuck into lunch boxes, or keep a bowl on the counter for small moments of comfort. Adapt it, make it yours, and enjoy the smiles it brings.
Use a clean large paper bag and powdered sugar to shake the coated cereal for an even dusting and minimal clumping.
Melt chocolate and peanut butter slowly over low heat to prevent seizing and maintain a glossy coating.
Spread coated pieces in a single layer on parchment to cool so they set without sticking together.
If making ahead, freeze in portion sized bags to preserve texture and thaw at room temperature before serving.
This nourishing muddy buddy rice krispies recipe is sure to be a staple in your kitchen. Enjoy every moist, high protein slice — it is perfect for breakfast or as a wholesome snack any time.
Store in an airtight container at room temperature for up to 5 days or freeze for up to 3 months. Thaw before serving.
Yes. Use a microwave safe bowl and heat in 20 second intervals, stirring between each until smooth.
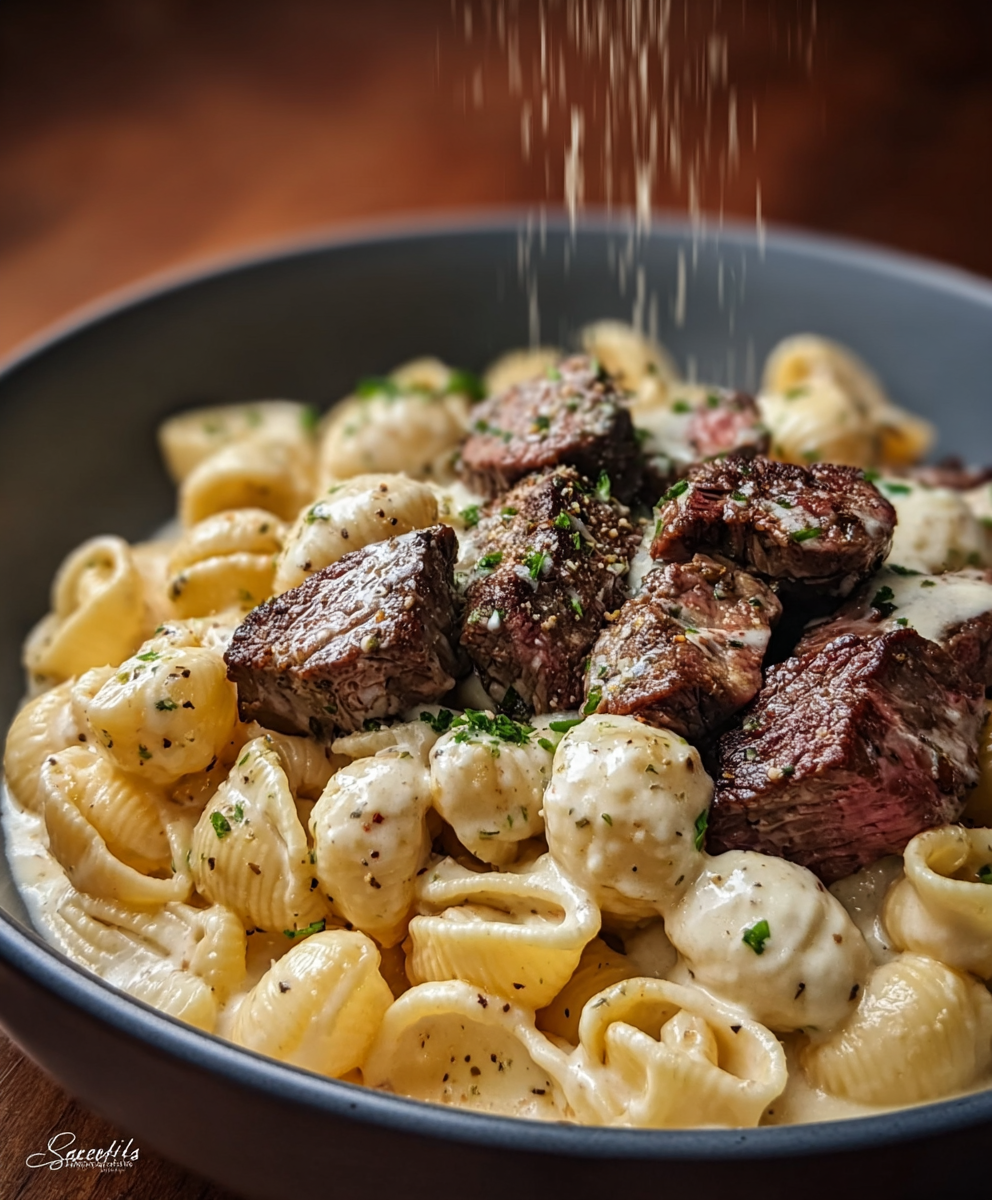
This Muddy Buddy Rice Krispies recipe makes perfectly juicy, tender, and flavorful steak every time! Serve with potatoes and a side salad for an unforgettable dinner in under 30 minutes.
Line a rimmed baking sheet with parchment and have a large heat proof mixing bowl ready. Measure all ingredients before melting chocolate.
Combine chocolate chips, butter, and peanut butter in a saucepan over lowest heat, stirring constantly until melted and smooth, about 3 to 5 minutes. Remove from heat and stir in vanilla. Alternatively microwave in 20 second bursts and stir between intervals.
Pour Rice Krispies into the large bowl and add the warm chocolate peanut butter mixture in several additions, folding gently with a spatula to coat evenly while keeping pieces separate.
For a heavy coating place coated cereal in a large paper bag, add 1 1/2 cups powdered sugar, and shake until evenly dusted. For lighter coating sprinkle 1/2 cup powdered sugar and toss gently.
Spread the pieces on the prepared baking sheet in a single layer and allow to set at room temperature for 20 to 30 minutes, or chill briefly for 10 to 15 minutes to speed setting.
Last Step: Please leave a rating and comment letting us know how you liked this recipe! This helps our business to thrive and continue providing free, high-quality recipes for you.
Leave a comment & rating below or tag
@festive-cooks on social media!

Crispy, golden Parmesan crusted chicken made in the air fryer for a quick family favorite that stays juicy inside and crunchy outside.
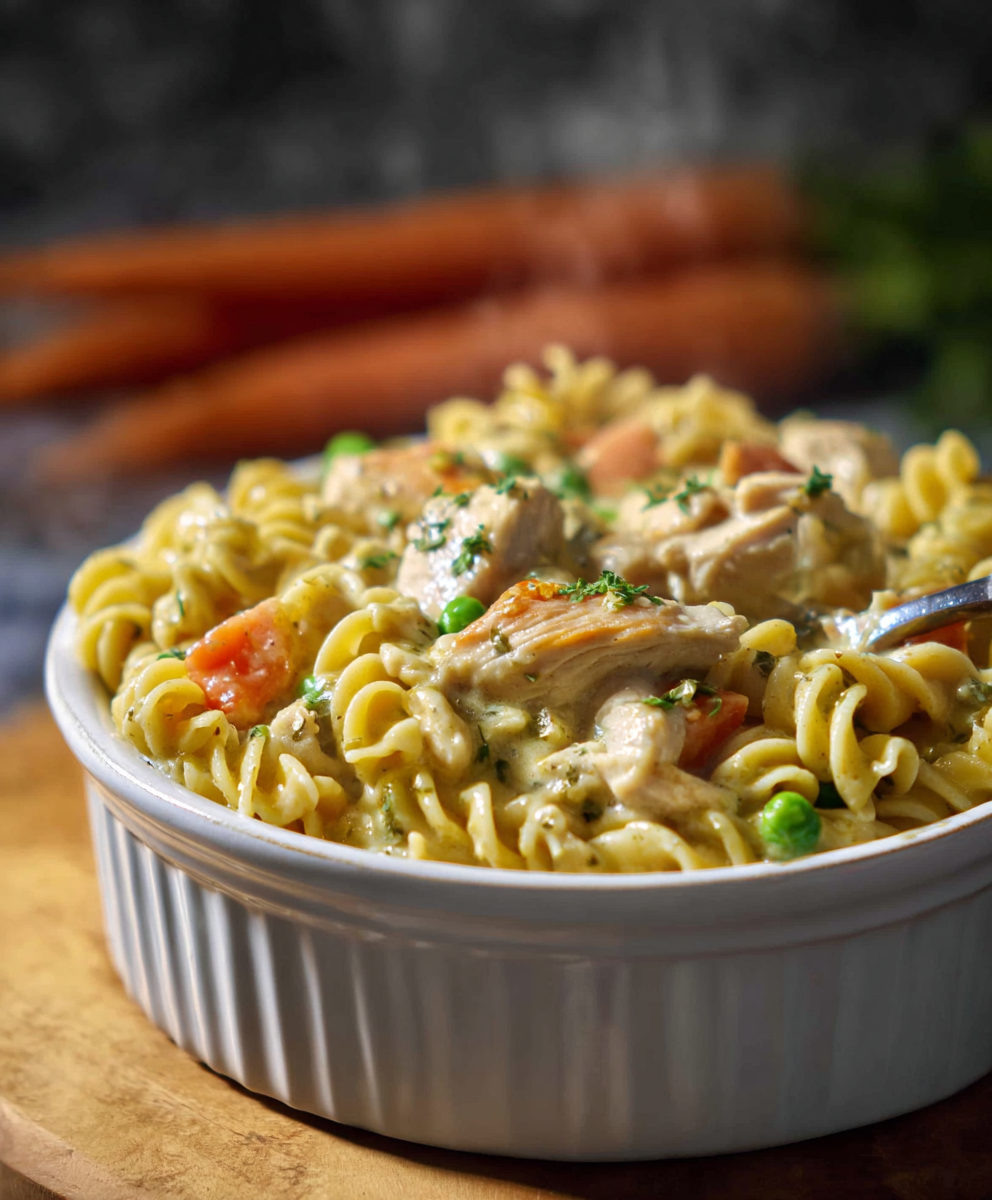
A cozy one-skillet mashup of pot pie comfort and egg noodle ease—ready in about 35 minutes and perfect for weeknight dinners.
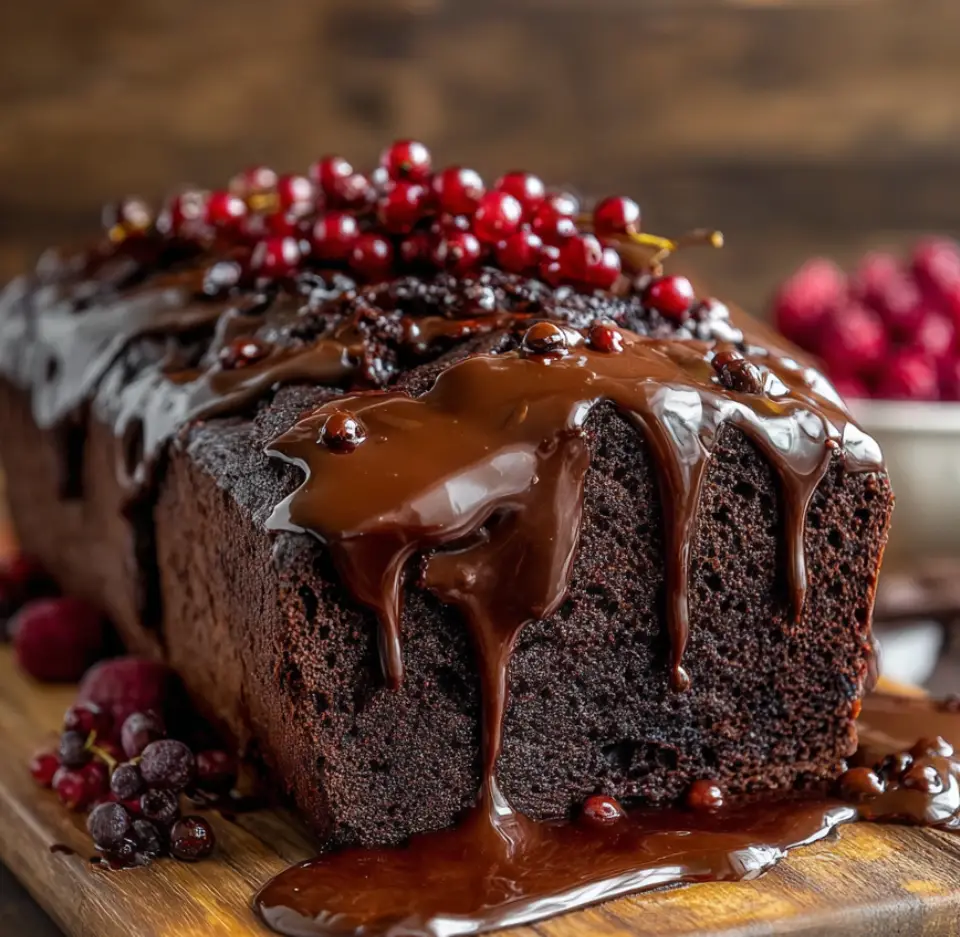
A gooey, chocolate-packed loaf with a molten hot-fudge swirl — brownie texture in bread form, perfect warm with a scoop of ice cream.
Leave a comment & rating below or tag @festive-cooks on social media!
Enjoyed this recipe? Share it with friends and family, and don't forget to leave a review!
This recipe looks amazing! Can't wait to try it.
Comments are stored locally in your browser. Server comments are displayed alongside your local comments.

Join to receive our email series which contains a round-up of some of our quick and easy family favorite recipes.