>>

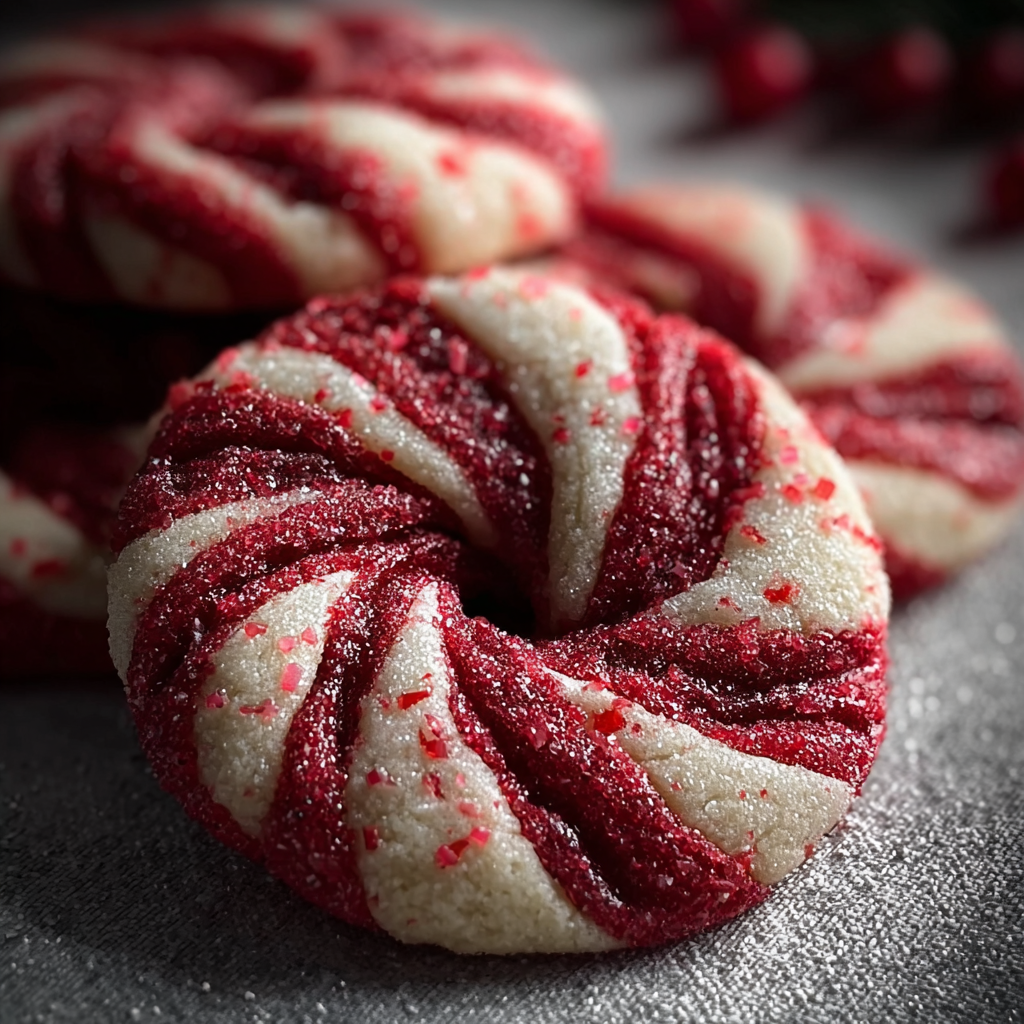
Playful peppermint-swirled cookies shaped like candy canes — buttery, tender, and perfect for holiday gifting and cookie exchanges.

This recipe for candy cane cookies has been a holiday ritual in my kitchen for years. I first made these during a snowed-in December when I wanted a small project to keep the kids busy and fill the house with peppermint-scented warmth. The dough is forgiving and lightly sweet, the texture silky from a full cup of softened butter, and the peppermint gives that unmistakable bright finish that feels like the holidays on your tongue. Each bite is tender with a delicate crumb — not too crisp, not too cakey — and the red-and-white twist is almost as delightful to shape as it is to eat.
I discovered that the trick to the perfect twist is to chill both colored halves until firm, so they hold their shape when you roll and braid them together. Over the years this small project has become a family favorite: neighbors get a tin, my niece brings them to school parties, and we always save a few for late-night cocoa. The recipe is simple enough to teach a beginner baker the basics like creaming butter properly, balancing extracts, and working with gel coloring — but satisfying enough to impress at a cookie swap.
My family’s reaction the first time I showed them the twisted candy canes was pure delight — my youngest insisted we call them 'magic canes.' Over the years I tweaked the peppermint level so the taste is crisp without being medicinal, and the result is consistently requested at every holiday table.

My favorite part is watching children’s faces as they twist their first cane — it’s an instant sense of accomplishment. In one year I taught a neighborhood workshop and the kids left with flour-dusted aprons and huge smiles; the parents came back two days later asking for the recipe because the cookies disappeared so fast.
Store cooled cookies in an airtight tin at room temperature for up to one week. Place layers separated by parchment to protect the delicate curves. For longer storage, freeze baked cookies in a single layer on a tray until solid, then transfer to a freezer-safe container for up to 3 months. Reheat briefly in a 300°F oven for 5 minutes to restore that fresh-baked aroma, or enjoy straight from the freezer with hot cocoa.
If you need to avoid eggs, try a commercial egg replacer or 2 tablespoons of aquafaba (chickpea brine) to bind — though the texture will be slightly different. To make these dairy-free, use a high-fat plant-based butter and reduce chilling time slightly to compensate for the different fat structure. For a natural red color, use freeze-dried strawberry powder mixed with a little water, but expect a pink hue and faint fruit flavor rather than pure candy-cane red.
Serve these with mugs of spiced hot chocolate, peppermint mocha, or a simple dark roast coffee. They make pretty additions to holiday gift tins; wrap small stacks in clear cello and tie with twine for an easy present. For a party platter, arrange on evergreen sprigs with sugared cranberries for a festive contrast in color and texture.
The candy cane shape is an emblem of seasonal confectionery in many Western holiday traditions, evolving from simple sugar sticks to ornate hand-crafted candies. Translating that visual into a buttery cookie brings together European shortbread influences and American holiday baking traditions, celebrating both form and flavor in a nostalgic, shareable treat.
For winter parties, add a sprinkle of crushed peppermint around the base of the canes after baking (use a tiny dab of light corn syrup to adhere). For a Valentine’s variation, substitute the peppermint for almond extract and tint the dough a soft pink. In summer, swap peppermint for lemon zest and reduce extract to 1/4 teaspoon for a subtle citrus twist.
Shape and freeze unbaked canes on a tray for quick weeknight treats or last-minute entertaining. Thaw in the refrigerator for 30 minutes before baking if time allows. Pre-measured dry ingredients stored in jars make this a fast assembly project: combine wet and dry, chill, and shape — you can have fresh cookies in under two hours from start to finish when planned ahead.
These candy cane cookies are simple, charming, and reliably delicious. They’re a great small project to enjoy with family, a thoughtful homemade gift, and a tasty reminder of why seasonal baking brings people together. Give them a try and make them your own with a tweak or two — that’s how family traditions begin.
Chill both colored dough discs for at least one hour so they hold their shape while rolling and twisting.
Use gel food coloring to achieve a vibrant red without adding moisture to the dough.
Bake until just set; cookies continue to firm as they cool — overbaking dries them out.
Freeze shaped unbaked canes on a tray, then transfer to a bag for quick baking from frozen.
If peppermint extract tastes too strong, reduce to 1/4 teaspoon and increase next batch to taste.
This nourishing magic of candy cane cookies recipe is sure to be a staple in your kitchen. Enjoy every moist, high protein slice — it is perfect for breakfast or as a wholesome snack any time.
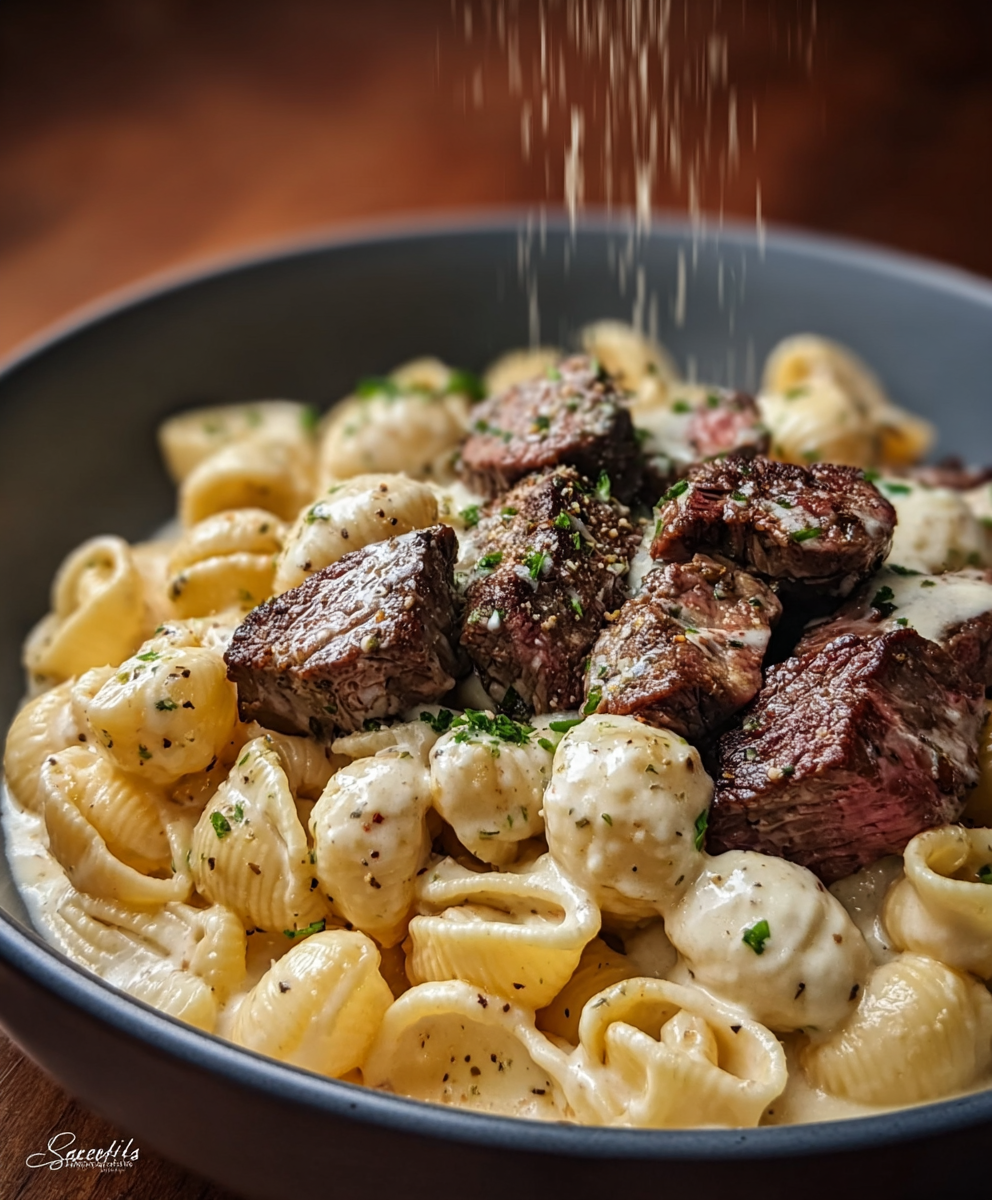
This Magic of Candy Cane Cookies recipe makes perfectly juicy, tender, and flavorful steak every time! Serve with potatoes and a side salad for an unforgettable dinner in under 30 minutes.
Beat 1 cup softened unsalted butter with 1 cup powdered sugar until pale and fluffy (2–3 minutes). Scrape down the bowl to ensure even mixing and aeration.
Mix in 1 large room-temperature egg, 1 teaspoon vanilla, and 1/2 teaspoon peppermint extract on low until incorporated, then briefly on medium to emulsify.
Whisk together 2 1/2 cups all-purpose flour and 1/2 teaspoon salt, then add gradually to the wet mixture on low speed until a soft dough forms. Stop when just combined.
Divide dough in half. Tint one half with red gel food coloring until uniform. Wrap both discs in plastic and chill for at least 1 hour to firm up.
Preheat oven to 350°F (180°C). Roll equal pieces of red and white dough into ropes, press together, twist, and curve the top to create a cane. Place on parchment-lined sheet 1 inch apart.
Bake for 8–10 minutes until edges are set but tops remain pale. Cool on the sheet 2–3 minutes, then transfer to a wire rack to finish cooling.
Last Step: Please leave a rating and comment letting us know how you liked this recipe! This helps our business to thrive and continue providing free, high-quality recipes for you.
Leave a comment & rating below or tag
@festive-cooks on social media!

Crispy, golden Parmesan crusted chicken made in the air fryer for a quick family favorite that stays juicy inside and crunchy outside.

A cozy one-skillet mashup of pot pie comfort and egg noodle ease—ready in about 35 minutes and perfect for weeknight dinners.
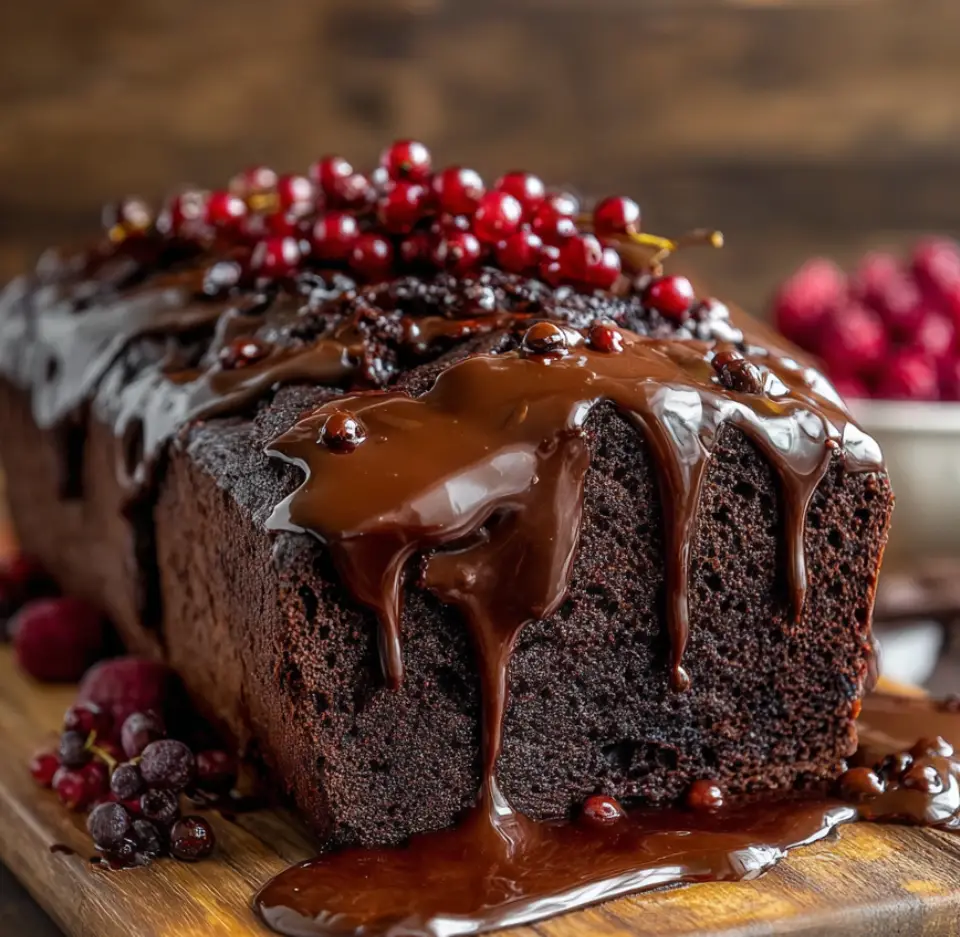
A gooey, chocolate-packed loaf with a molten hot-fudge swirl — brownie texture in bread form, perfect warm with a scoop of ice cream.
Leave a comment & rating below or tag @festive-cooks on social media!
Enjoyed this recipe? Share it with friends and family, and don't forget to leave a review!
This recipe looks amazing! Can't wait to try it.
Comments are stored locally in your browser. Server comments are displayed alongside your local comments.

Join to receive our email series which contains a round-up of some of our quick and easy family favorite recipes.