>>

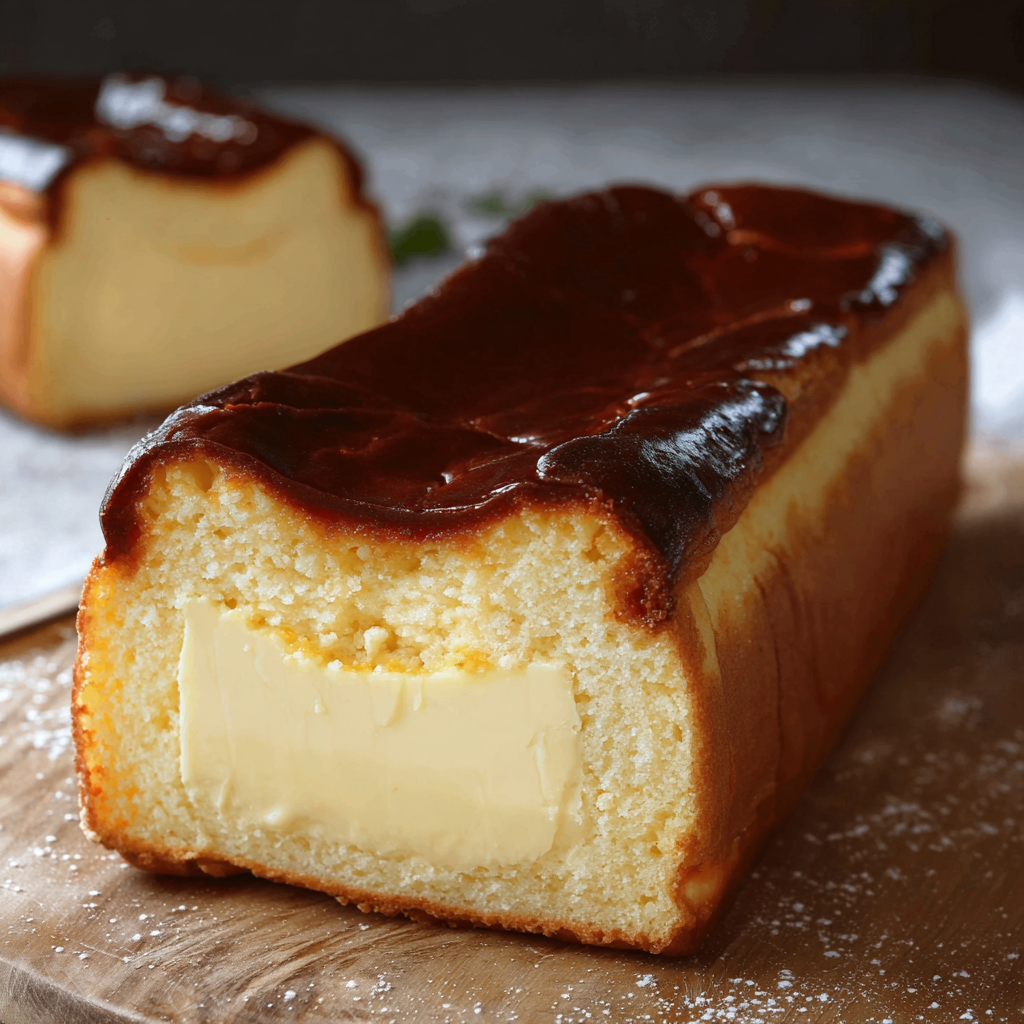
A decadent, caramelized-top Basque-style cheesecake baked in a loaf pan for an elegant, sliceable dessert with a deeply toasted flavor and silky center.

This burnt Basque cheesecake in a loaf pan began as an experiment the first winter I wanted a showstopper dessert that could be sliced and plated with minimal fuss. I fell for the contrast of a deeply caramelized, almost bitter top against a lusciously smooth interior — the kind of texture that makes a fork pause before the next bite. I discovered that using a loaf pan gives the wedge a tall, cake-like profile that holds up beautifully on the plate, perfect for celebrations or an indulgent weekend treat. It’s one of those recipes that feels impressive, yet is forgiving enough for confident beginners.
What makes this version special is the balance: full-fat cream cheese for richness, a touch of flour to stabilize without weighing it down, and a slightly higher baking temperature to encourage that signature burnt crust. The result is an elegant dessert with a custardy middle, just-set edges, and a sticky, toffee-like top. When I first served it to family, the room fell quiet — spoons paused, eyes closed, then one unanimous request: “Make this again.” That kind of response is what keeps this recipe in my regular rotation.
On a personal note, I’ve served this loaf-pan Basque on birthdays and quiet Sundays. My mother was skeptical about the burnt top the first time, then declared it her favorite part. I love how forgiving the method is: even when the edges overbake slightly, the center remains silky. It’s become my go-to when I want a dessert that looks special without a long ingredient list.

My favorite part of this loaf-pan Basque is the way the burnt top fractures and reveals the custardy interior — it’s pure theater when plating. Friends invariably ask what technique I used and are delighted to learn it’s a straightforward oven method. I appreciate how adaptable the loaf format is for both casual family dinners and small gatherings; a few berries and a drizzle of warm caramel instantly elevate it.
Store cooled, sliced cheesecake in an airtight container in the refrigerator for up to 4 days; place a sheet of parchment between slices to prevent sticking. For longer storage, freeze whole or sliced portions: wrap tightly in plastic wrap, then aluminum foil, and place in a freezer-safe bag for up to 2 months. Thaw in the refrigerator overnight before serving. When reheating slightly, bring slices to room temperature for 15 to 20 minutes or warm gently under a low oven (250°F / 120°C) for 5 to 8 minutes to soften the center without melting toppings.
If you need to lighten the filling, substitute half-and-half for heavy cream, though expect a slightly less silky result. For gluten-free, replace the all-purpose flour with a one-to-one gluten-free flour blend — no need to change quantities. If dairy is a concern, a fully dairy-free version requires specialty cream cheese alternatives and yields a different texture; because cream cheese plays a central role in structure and flavor, results will be less traditional. For a different sweetness profile, swap part of the sugar with light brown sugar for a toffee note.
Serve slices slightly chilled with a dollop of lightly sweetened whipped cream and a scattering of fresh berries for brightness. A spoonful of warm caramel sauce adds extra luxury and pairs beautifully with the caramelized top. For a coffee pairing, choose medium-dark roast espresso to balance the sweetness. Garnish with flaky sea salt for a sophisticated contrast or toasted nuts for crunch. This loaf slices attractively for plated desserts at dinner parties or as a centerpiece for a small celebration.
Basque-style burnt cheesecake originates from the Basque region of Spain, where a simple, high-heat method produces a deeply caramelized surface and a creamy interior. Traditional versions are baked in a round springform lined with paper; adapting the method to a loaf pan adds a modern twist while preserving the essential flavor contrasts. The technique reflects rustic roots — minimalism, reliance on quality dairy, and the joyful unpredictability of the oven’s caramelizing power. Over the years this style has spread worldwide because it’s dramatic, simple, and showcases the magic of Maillard browning.
In summer, top slices with macerated stone fruit instead of berries to complement the creamy interior. During autumn, fold 1 to 2 teaspoons of warm spices such as cinnamon and cardamom into the batter for comforting notes. Holiday versions are beautiful with a cranberry compote and orange zest. For winter gatherings, a salted caramel drizzle and candied pecans add festive crunch. The loaf format is especially convenient for large holiday tables where neat slices are preferred over wedges.
Make the cheesecake a day ahead: bake, cool, and refrigerate overnight — this reduces day-of stress and improves flavor. Portion slices into single-serve containers for grab-and-go desserts or packed treats. If you plan multiple servings for an event, bake two loaves back-to-back and stack them in the refrigerator wrapped tightly. Keep toppings separate and add just before serving to maintain texture — whipped cream and caramel are best prepared or warmed immediately prior to plating.
This loaf-pan burnt Basque cheesecake is a lovely balance of rustic appearance and refined flavor. It invites experimentation while reliably delivering a decadent, crowd-pleasing dessert. Make it your own and enjoy the delicious contrast of burnt top and creamy interior.
Use room-temperature cream cheese and eggs to ensure a lump-free, silky batter and reduce mixing time.
Warm the knife under hot water and dry between slices for clean, attractive cuts.
Chill the baked loaf for at least 4 hours or overnight to firm the texture and deepen flavor.
Line the loaf pan with parchment that extends above the rim for easy removal and neat edges.
This nourishing luxury burnt basque cheesecake in a loaf pan recipe is sure to be a staple in your kitchen. Enjoy every moist, high protein slice — it is perfect for breakfast or as a wholesome snack any time.
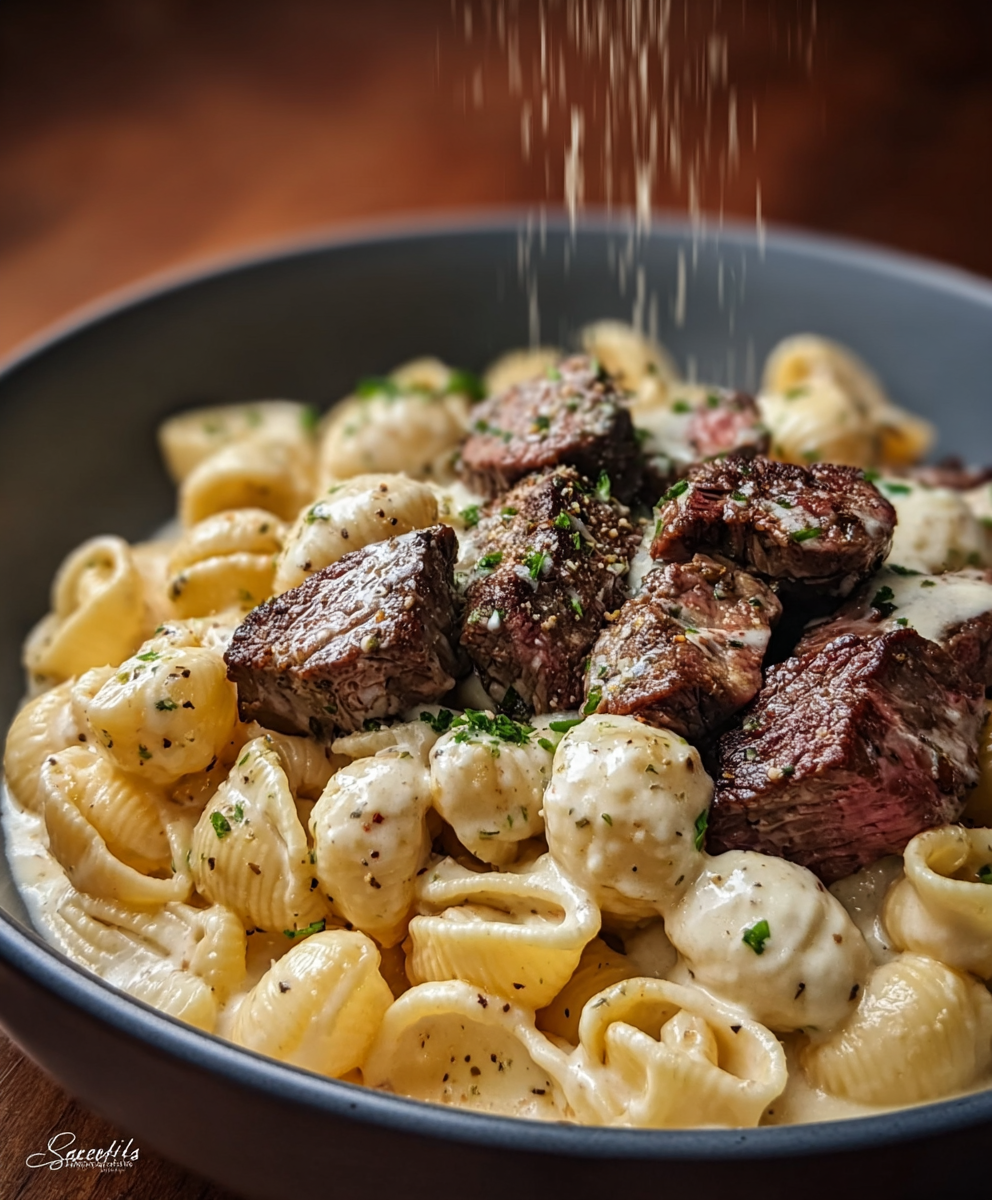
This Luxury Burnt Basque Cheesecake in a Loaf Pan recipe makes perfectly juicy, tender, and flavorful steak every time! Serve with potatoes and a side salad for an unforgettable dinner in under 30 minutes.
Preheat oven to 425°F (220°C). Line a 9x5-inch loaf pan with parchment, letting it extend above the rim for easy removal. Lightly spray pan so parchment adheres and creates smooth edges.
Beat room-temperature cream cheese until smooth, then add sugar and beat until glossy. Scrape the bowl to ensure there are no lumps for a silky final texture.
Add eggs one at a time on low speed, allowing each to incorporate fully. This prevents the batter from breaking and keeps the texture uniform.
With mixer on low, add heavy cream, then flour and salt. Mix just until smooth; avoid overbeating to prevent excess air which can cause cracking.
Pour batter into pan and bake at 425°F (220°C) for 10 minutes, then reduce to 400°F (205°C) and bake 30–40 more minutes. The top should be deeply brown while the center remains slightly wobbly.
Cool the pan on a rack about 1 hour, then refrigerate at least 4 hours or overnight. Use the parchment overhang to lift out the loaf for neat slicing; warm a knife and wipe between cuts.
Last Step: Please leave a rating and comment letting us know how you liked this recipe! This helps our business to thrive and continue providing free, high-quality recipes for you.
Leave a comment & rating below or tag
@festive-cooks on social media!

Crispy, golden Parmesan crusted chicken made in the air fryer for a quick family favorite that stays juicy inside and crunchy outside.

A cozy one-skillet mashup of pot pie comfort and egg noodle ease—ready in about 35 minutes and perfect for weeknight dinners.
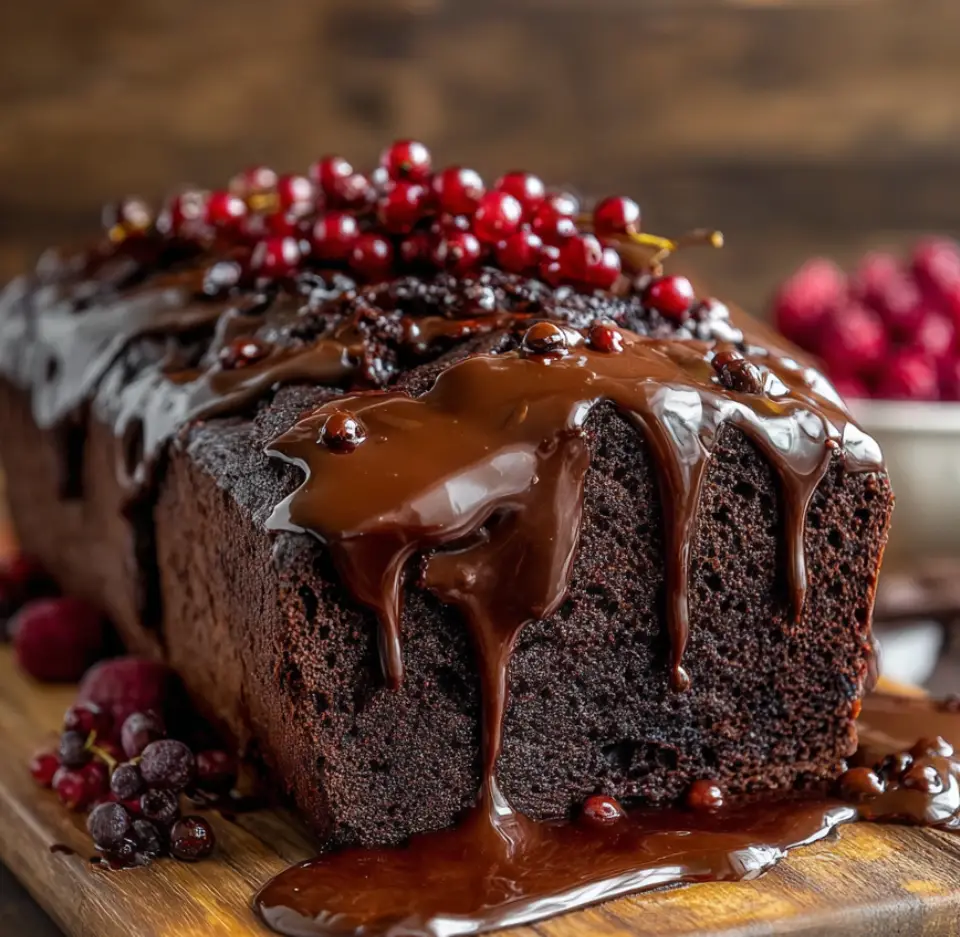
A gooey, chocolate-packed loaf with a molten hot-fudge swirl — brownie texture in bread form, perfect warm with a scoop of ice cream.
Leave a comment & rating below or tag @festive-cooks on social media!
Enjoyed this recipe? Share it with friends and family, and don't forget to leave a review!
This recipe looks amazing! Can't wait to try it.
Comments are stored locally in your browser. Server comments are displayed alongside your local comments.

Join to receive our email series which contains a round-up of some of our quick and easy family favorite recipes.