>>

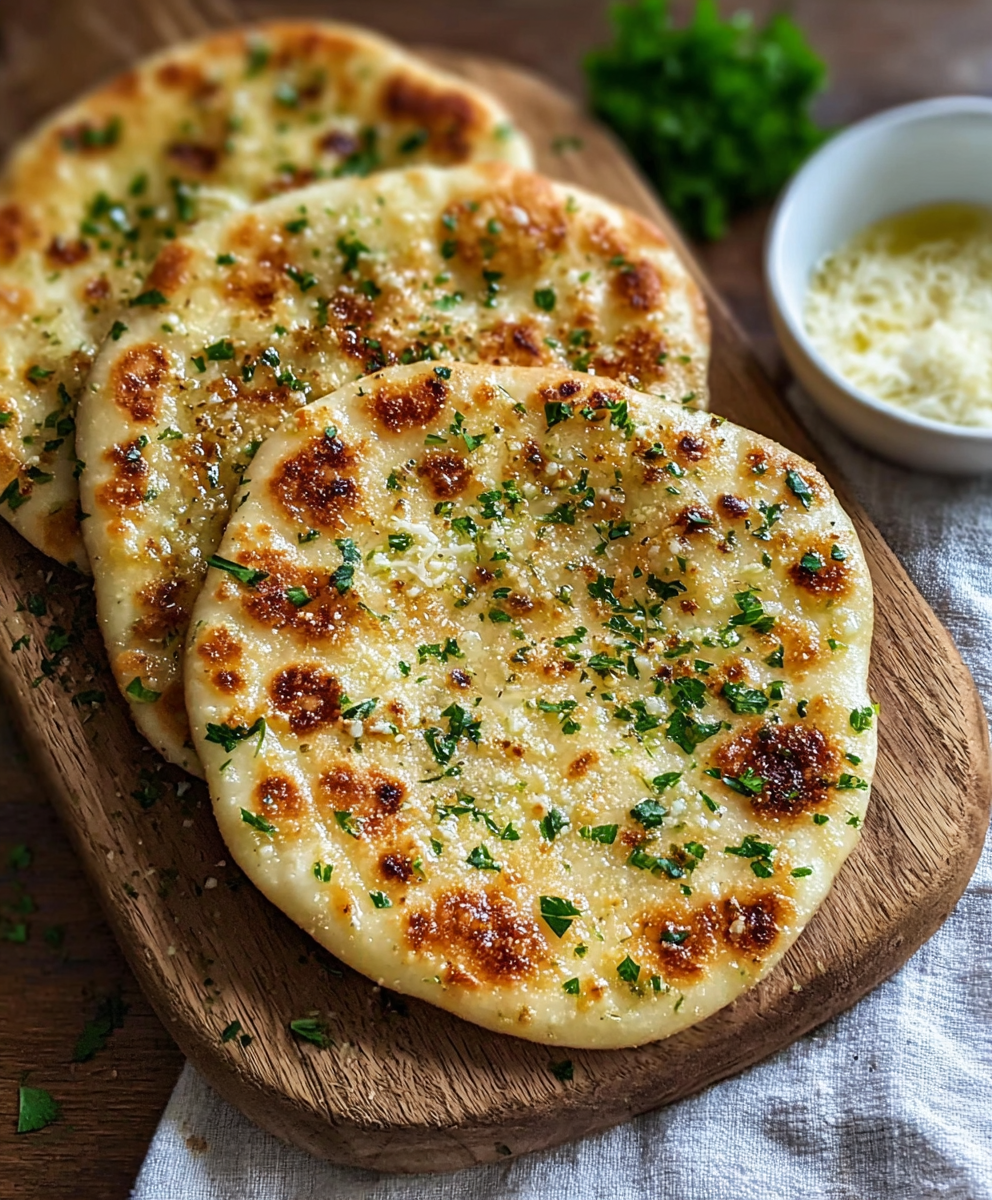
Quick and irresistible garlic parmesan flatbread that comes together in minutes with pantry staples and a crisp golden finish.

This garlic parmesan flatbread is one of those simple recipes that quietly becomes a household favorite. I first made it on a blustery evening when guests were arriving and the fridge was short on fresh produce. With a few pantry staples and minimal effort the aroma of toasted garlic and melted cheese filled the room, and everyone kept reaching for another piece. It is a humble formula that delivers crisp edges, tender interior, and a buttery garlic fragrance that tastes far more elaborate than the ingredient list suggests.
I discovered this combination while experimenting with quick breads for a casual weekend dinner. The texture balance between a lightly chewy center and a golden, almost crisp outer layer is what makes it special. A small sprinkle of fresh parsley brightens each bite, while grated parmesan gives savory depth and a slightly nutty finish. Serve it as an appetizer, alongside soups, or as a simple weeknight accompaniment. It pairs effortlessly with tomato based sauces and fresh salads, and it always invites good conversation.
In my experience family members who claim they do not like simple breads still ask for seconds. The first time I served this at a casual supper the youngest at the table declared it the best bread ever. That kind of reaction makes this a recipe I return to again and again, especially when I want something quick and comforting that still feels like care.
My favorite part about this simple formula is how adaptable it is. I have served it at casual brunches and at formal dinners with small changes to toppings and presentation. One winter dinner I made a double batch to keep everyone warm and there were no leftovers. The ease of assembly means I can make it one handed while tending to other dishes which makes it a reliable go to when entertaining.
Store cooled flatbreads in an airtight container in the refrigerator for up to three days. For longer storage wrap each piece in plastic wrap and place in a freezer safe bag with parchment between layers to prevent sticking. To reheat remove from freezer and warm in a 350 degrees Fahrenheit oven for five to eight minutes, or reheat briefly in a hot skillet which helps restore surface crispness. Avoid microwaving which makes them soft and gummy. When reheating from frozen allow a few minutes to come to room temperature before applying heat for even warming.
If you need a gluten free version use a reliable gluten free all purpose blend that is designed for baking and be aware that texture will be slightly more crumbly. For a dairy free option substitute nutritional yeast for parmesan and brush with olive oil for moisture. You can swap fresh garlic for 1 2 teaspoon garlic powder if you prefer a milder, more evenly distributed garlic flavor. Using whole wheat flour will yield a denser result and you may want to add an extra tablespoon of warm water to maintain tenderness.
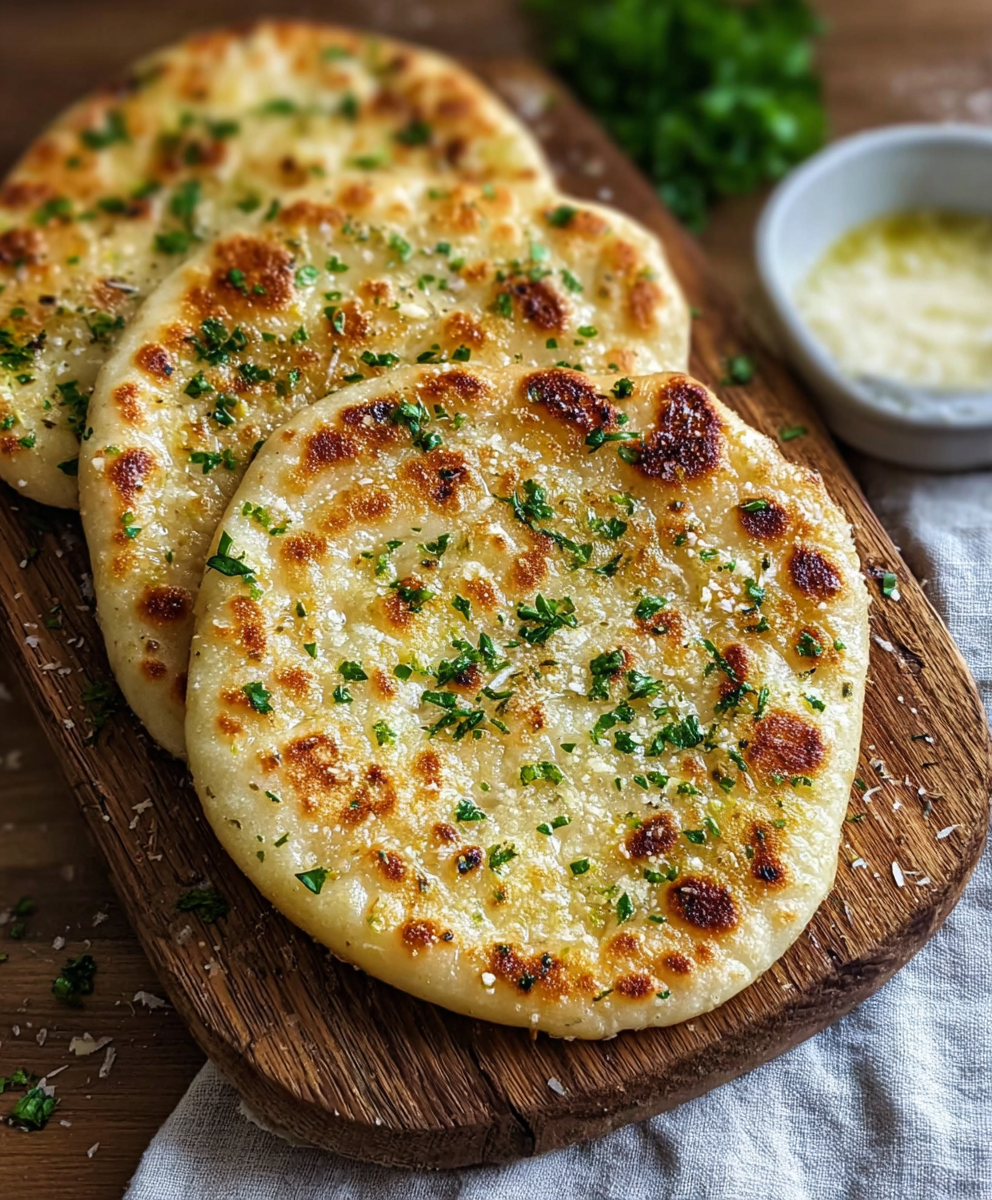
Serve warm with a simple dipping oil made from olive oil, a splash of balsamic vinegar, and crushed red pepper flakes. Pair with a crisp green salad for a light meal or offer as a side to tomato based soups and roasted vegetables. For a casual gathering arrange pieces on a wooden board with small bowls of olives, sliced cured meats, and fresh ricotta for guests to assemble own bites. Garnish with fresh parsley and an optional squeeze of lemon which brightens the cheese.
Flatbreads of many kinds are a hallmark of Mediterranean and Middle Eastern cuisines and this garlic and cheese version borrows from those long traditions. While not tied to a single village or town, the idea of topping a quick bread with aromatic herbs and cheese is common across regions where bread is central to meals. This preparation is a modern, pantry based interpretation that nods to classic flavors while remaining practical for home cooking.
In summer top warm pieces with heirloom tomato slices and torn basil for a fresh seasonal bite. In cooler months add a scattering of caramelized onions and a little grated cheddar for extra comfort. For special occasions finish with a drizzle of truffle oil and a light shaving of parmesan. Adjust herbs to whatever is abundant from the garden or market to keep the recipe feeling fresh through the year.
Prepare the dough in the morning and keep covered in the refrigerator for several hours which makes evening assembly fast. Partially cook the rounds and finish them just before serving to save time and preserve crispness. Pack cooled pieces between sheets of parchment in lunch boxes and include a small container of dipping oil which makes for a delightful midday treat. Use a kitchen scale if you want perfectly even portions for large batches.
This garlic parmesan flatbread is small enough to make any meal feel celebratory yet easy enough for ordinary nights. I hope you enjoy making it for friends and family and that it becomes one of those dependable recipes you reach for when you want quick comfort with great flavor.
Measure flour by spooning into the cup and leveling for consistent dough texture.
Keep dough covered while resting to prevent a dry skin which inhibits rolling.
Freshly grated parmesan melts more evenly than pre shredded cheese so prefer grating at home.
This nourishing garlic parmesan flatbread recipe is sure to be a staple in your kitchen. Enjoy every moist, high protein slice — it is perfect for breakfast or as a wholesome snack any time.
Yes, you can freeze cooked flatbreads for up to two months. Separate pieces with parchment and store in an airtight bag.
Use warm water about 100 to 110 degrees Fahrenheit for best dough consistency. Knead briefly for a tender texture.
Cast iron or heavy nonstick skillet gives the best browning. A light brush of oil prevents sticking.
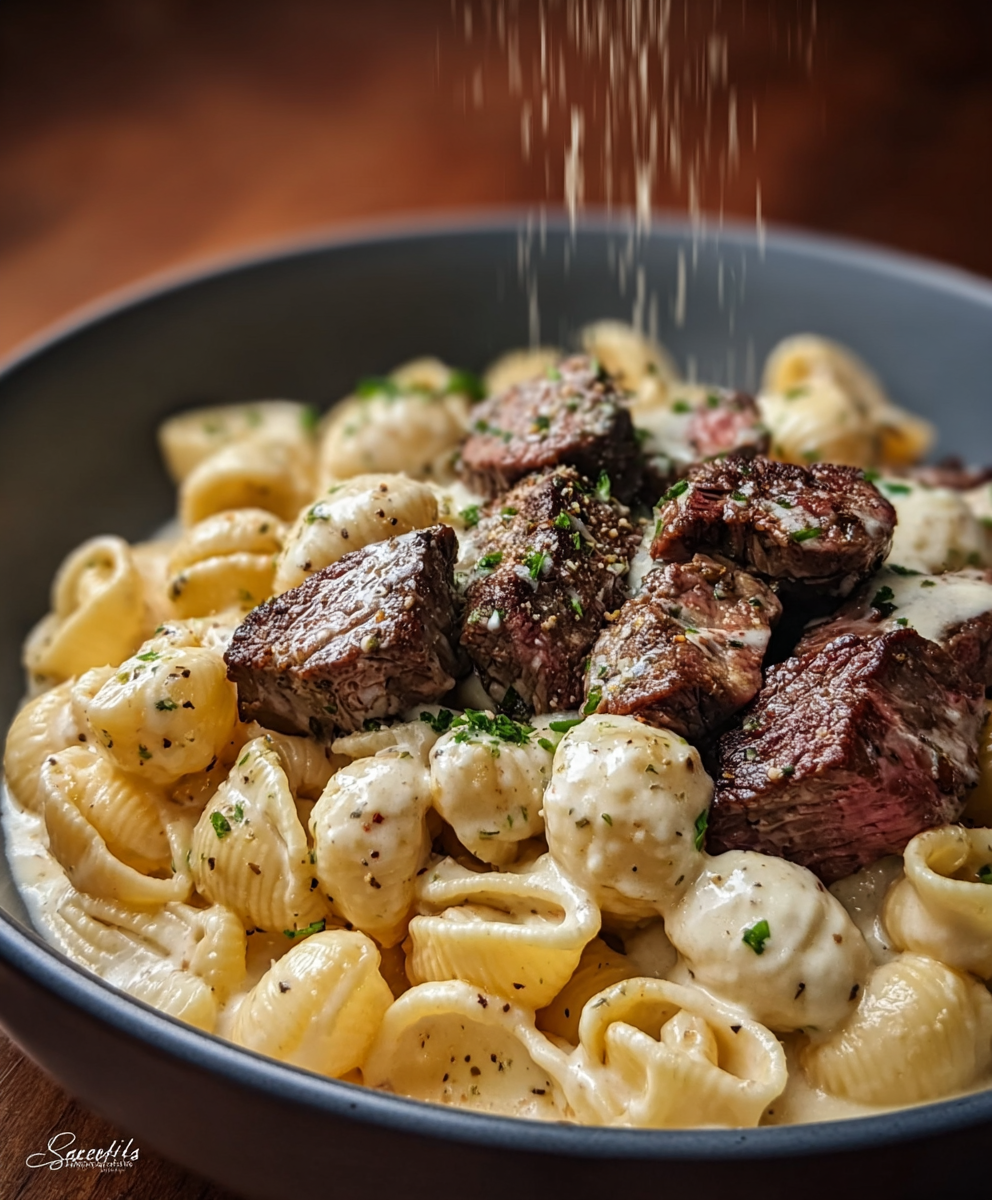
This Garlic Parmesan Flatbread recipe makes perfectly juicy, tender, and flavorful steak every time! Serve with potatoes and a side salad for an unforgettable dinner in under 30 minutes.
Whisk together flour, baking powder, and salt in a medium bowl so the leavener is evenly distributed.
Add warm water and olive oil, stir until a shaggy dough forms, then knead briefly on a floured surface until smooth and elastic.
Cover and rest the dough for 5 minutes, then divide into six pieces and roll into rounds about six inches across.
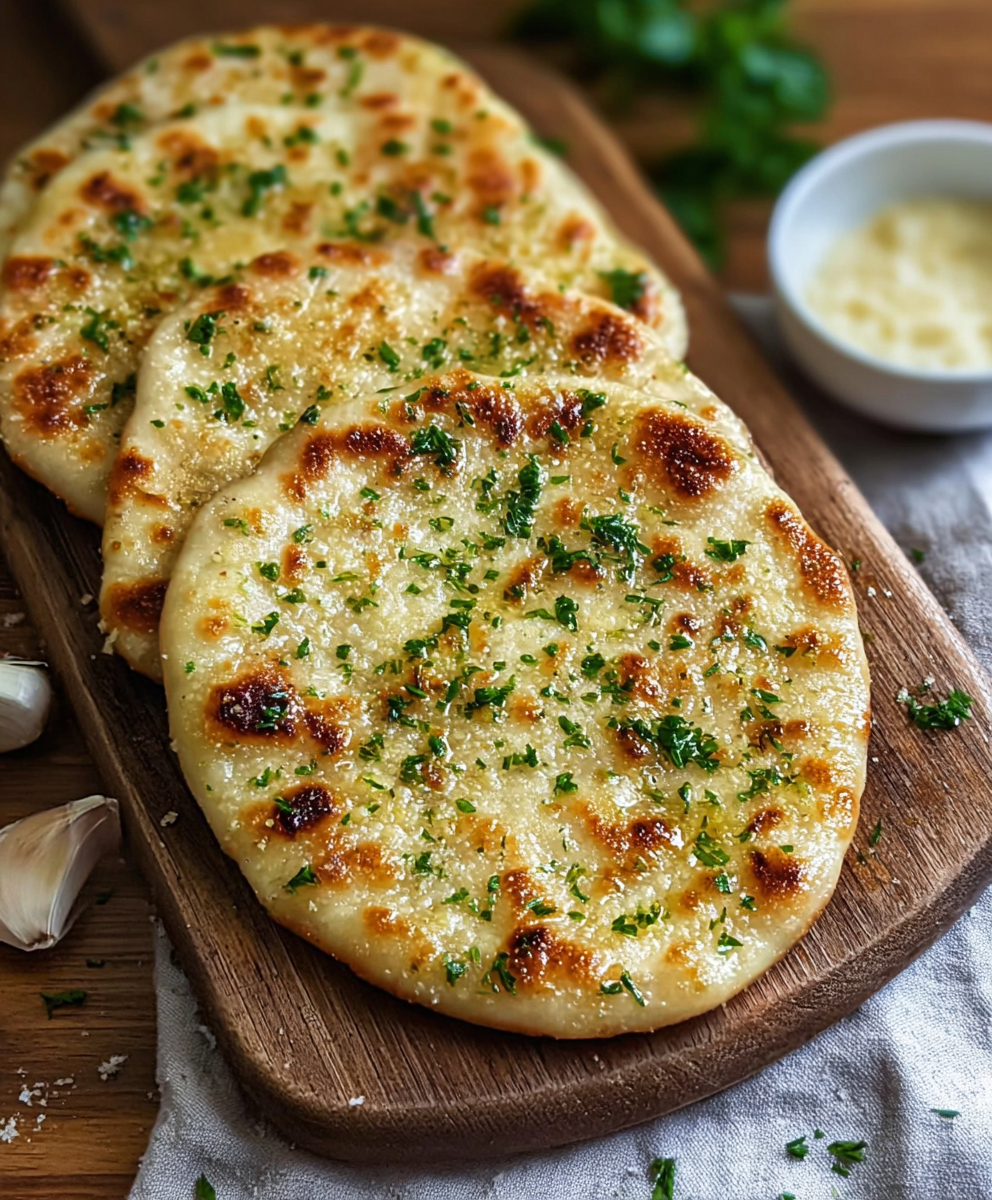
Mix minced garlic with grated parmesan and parsley. Cook each flatbread in a hot skillet 2 to 3 minutes per side, spread topping in the last minute and cover to melt cheese.
Brush with a little oil, scatter remaining parsley, and serve warm with dipping oil or alongside soups and salads.
Last Step: Please leave a rating and comment letting us know how you liked this recipe! This helps our business to thrive and continue providing free, high-quality recipes for you.
Leave a comment & rating below or tag
@festive-cooks on social media!

Crispy, golden Parmesan crusted chicken made in the air fryer for a quick family favorite that stays juicy inside and crunchy outside.
A cozy one-skillet mashup of pot pie comfort and egg noodle ease—ready in about 35 minutes and perfect for weeknight dinners.
A gooey, chocolate-packed loaf with a molten hot-fudge swirl — brownie texture in bread form, perfect warm with a scoop of ice cream.
Leave a comment & rating below or tag @festive-cooks on social media!
Enjoyed this recipe? Share it with friends and family, and don't forget to leave a review!
This recipe looks amazing! Can't wait to try it.
Comments are stored locally in your browser. Server comments are displayed alongside your local comments.

Join to receive our email series which contains a round-up of some of our quick and easy family favorite recipes.