
Crispy Chicken Taquitos

Golden-baked taquitos filled with creamy shredded chicken, melty cheese, and a hint of spice—quick to assemble and perfect for weeknights or game day.
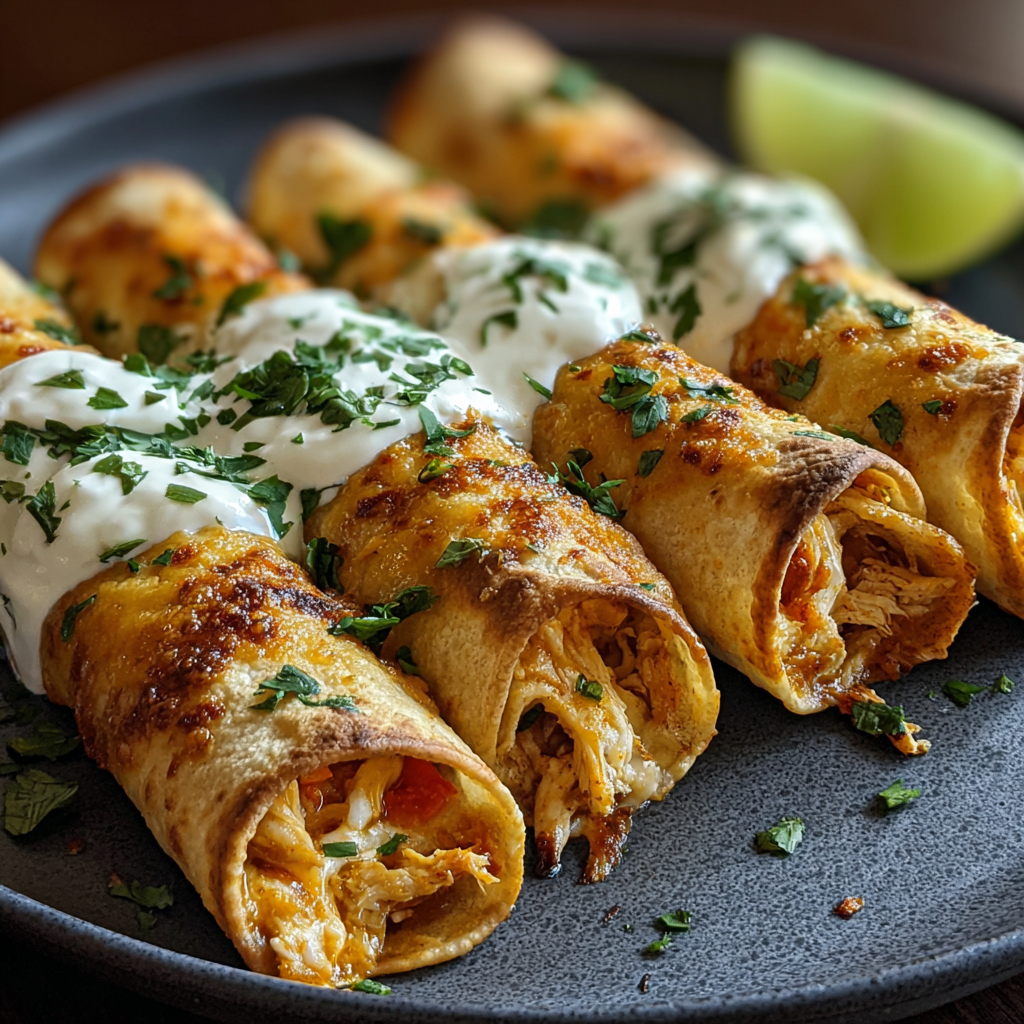
This crispy chicken taquitos dish has been a weeknight hero in my kitchen ever since I discovered how simple it is to turn leftover or rotisserie chicken into something irresistibly crunchy. The first time I made these, it was a busy Thursday evening; I had a cold store-bought chicken and a pantry full of staples. I mixed the chicken with softened cream cheese, a handful of shredded cheddar, and a spoonful of bright salsa, rolled everything into warm tortillas, and popped them in a hot oven. Within 20 minutes the house smelled like a taqueria and everyone kept reaching for one more.
What makes this version special is the balance of creamy filling and crisp shell: the cream cheese binds the filling so it doesn’t spill out, while a quick oil brush helps the tortillas brown evenly without deep-frying. These are fast, forgiving, and endlessly adaptable—use corn tortillas to make them gluten-friendly, swap in pepper jack for a kick, or add a squeeze of lime on the plate. They work for a busy family dinner, a casual party platter, or a satisfying snack to share with friends.
Why You'll Love This Recipe
- Ready in about 30 minutes from start to finish: 15 minutes active prep and 15–20 minutes in the oven, ideal for busy evenings.
- Uses pantry and fridge staples: cooked shredded chicken (rotisserie works great), cream cheese, shredded cheese, and salsa—no complicated shopping required.
- Oven-baked for a lighter crisp: achieves deep crunch without the hassle or grease of deep-frying, and you can broil briefly for extra color.
- Make-ahead friendly: you can assemble and refrigerate or freeze before baking, making them perfect for meal prep or entertaining.
- Crowd-pleasing and customizable: mild for kids or spiced up for adults; serve with guacamole, sour cream, or chopped cilantro for variety.
When I serve these, they disappear fast. My kids love dipping them into sour cream mixed with a little lime zest, while guests often request the version with extra shredded cheese on top. I’ve learned a few tricks—warming tortillas to prevent cracking and brushing them with oil so they brown beautifully—and they consistently produce happy, crunchy results.
Ingredients
- Cooked shredded chicken (2 cups): Rotisserie chicken makes this effortless; look for a bird with moist white and dark meat for a good mix. Shred finely so the filling packs neatly into tortillas.
- Cream cheese (4 ounces, softened): Full-fat cream cheese binds the mixture and adds richness—soften it at room temperature for easier mixing.
- Shredded cheddar or Mexican blend (1/2 cup): Choose a good melting cheese such as sharp cheddar, Monterey Jack, or a pre-mixed Mexican blend for flavor and gooeyness.
- Salsa (1/4 cup): Use your favorite jarred or homemade salsa—mild for subtle flavor, or spicy for heat. Salsa adds both moisture and acidity to brighten the filling.
- Spices: 1/2 teaspoon garlic powder, 1/2 teaspoon chili powder, 1/2 teaspoon ground cumin—these give depth and a subtle southwest profile.
- Salt and black pepper: Season to taste; about 1/4 teaspoon salt to start is a good baseline depending on your cheese and salsa saltiness.
- Tortillas (8 small): Small flour or corn tortillas (6-inch) work well—warm them briefly to prevent tearing when rolling.
- Cooking spray or oil: A light brush of neutral oil or a quick spray ensures even browning and a crisp exterior.
- Optional toppings: Chopped cilantro, sour cream, guacamole, and extra shredded cheese for serving and garnish.
Instructions
Preheat and prepare baking surface: Preheat the oven to 425°F (220°C) and line a large baking sheet with parchment paper or lightly grease it. A hot oven is essential for quick crisping; the higher temperature evaporates surface moisture and helps tortillas brown without overcooking the filling. Mix the filling: In a large bowl, combine 2 cups shredded chicken, 4 ounces softened cream cheese, 1/2 cup shredded cheddar or Mexican blend, 1/4 cup salsa, 1/2 teaspoon garlic powder, 1/2 teaspoon chili powder, 1/2 teaspoon ground cumin, plus salt and black pepper to taste. Use a fork or spatula to break up any cream cheese lumps and fold until the mixture is uniform. Taste and adjust seasoning—the salsa and cheese will contribute salt, so season conservatively. Warm the tortillas: Place tortillas in a damp towel and microwave for about 20 seconds, or heat briefly in a dry skillet for 10–15 seconds per side. Warming makes them pliable and reduces cracking while rolling. Keep them covered until you’re ready to fill to retain moisture. Assemble and roll: Spoon about 2–3 tablespoons of filling onto one side of each warmed tortilla, spreading into a thin log down the center. Roll tightly and place seam-side down on the prepared sheet. Tightly rolled tubes stay sealed better in the oven; if you’re worried about unrolling, use a toothpick to secure each seam while baking. Oil and bake: Lightly brush each taquito with a little oil or spray with cooking spray—this promotes even browning. Bake in the preheated oven for 15–20 minutes until golden brown and crisp. For extra crunch and color, switch to the broiler for 1–2 minutes at the end but watch closely to prevent burning. Serve and garnish: Remove from the oven and let rest for a minute. Serve warm with chopped cilantro, sour cream, guacamole, and extra shredded cheese. A squeeze of fresh lime brightens the flavors and balances the richness.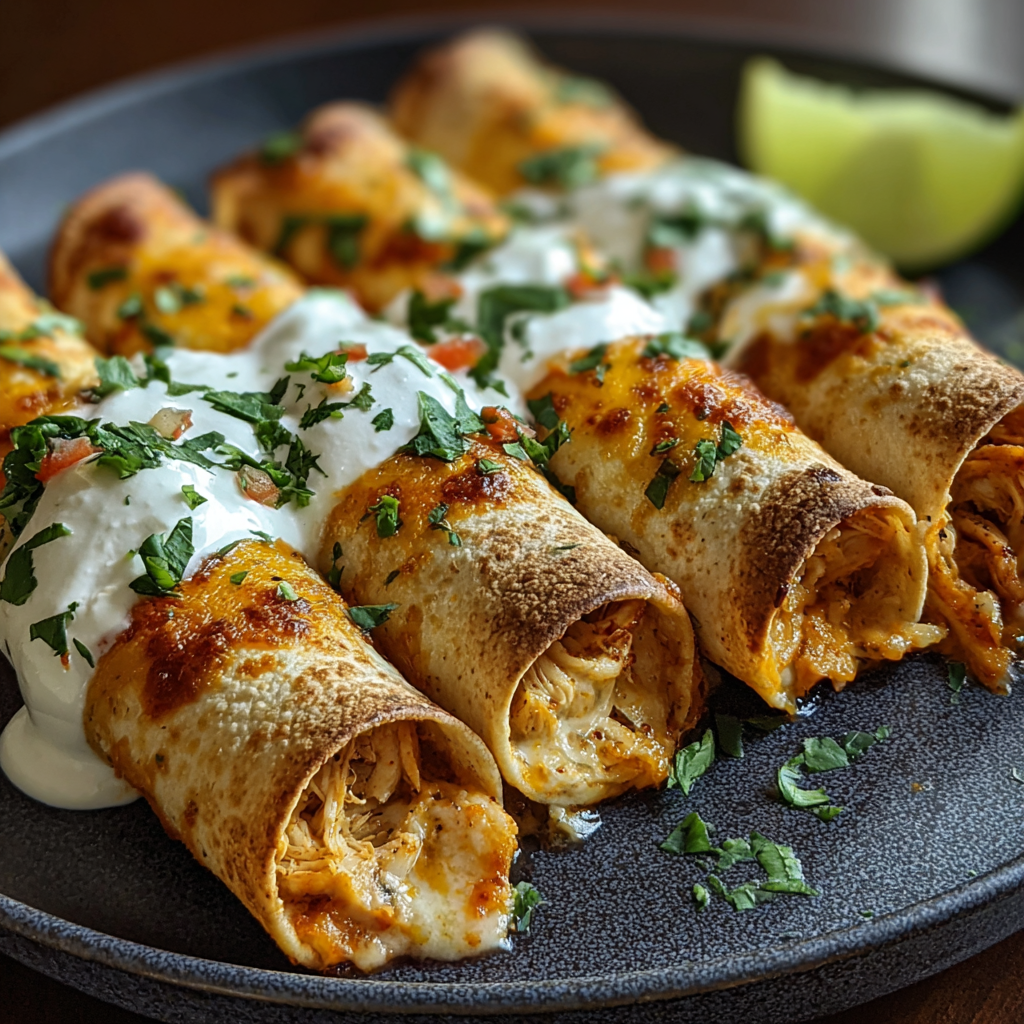
You Must Know
- These keep well in the refrigerator for up to 3 days; reheat in a 375°F (190°C) oven for 8–10 minutes to restore crispness.
- Freeze assembled (unbaked) taquitos on a tray, then transfer to a freezer bag for up to 3 months; bake from frozen at 425°F (220°C) for 20–25 minutes.
- Nutrition-wise they are protein-forward thanks to the chicken, but contain dairy and potentially gluten depending on tortillas.
- For extra crispness, brush with a little vegetable oil rather than spraying—this creates a more evenly browned surface.
My favorite part is how versatile they are: I once doubled the spice and served them at a Super Bowl party; they were the first platter to empty. At home, I prefer a milder version for weeknights and a zesty salsa for entertaining—both always get compliments.
Storage Tips
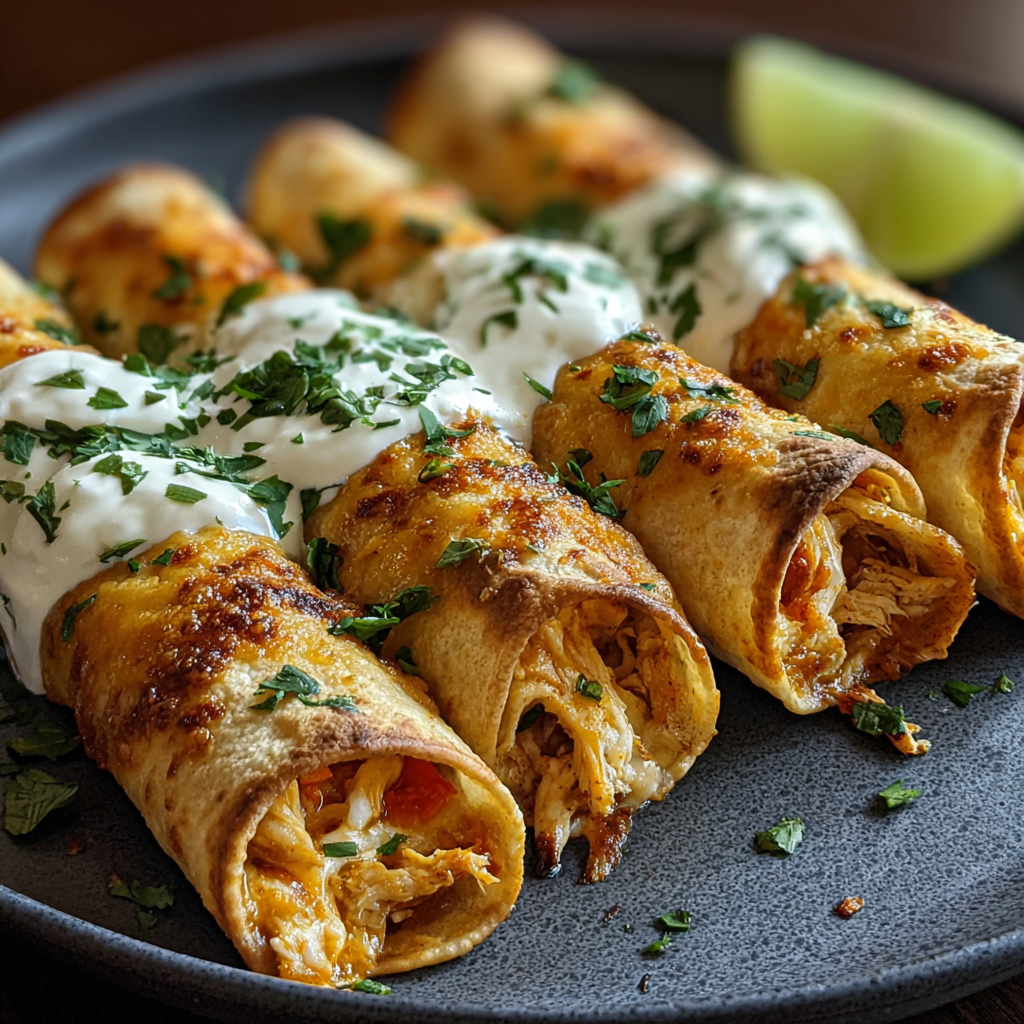
Store leftover taquitos in an airtight container in the refrigerator for up to 3 days. To re-crisp, place them on a baking sheet in a 375°F (190°C) oven for 8–10 minutes, flipping once for even browning. Avoid microwaving if you want to keep them crunchy; the microwave will soften the shell. For freezing, flash-freeze assembled but unbaked taquitos on a tray for 1 hour, then transfer to a freezer-safe bag. Bake from frozen at 425°F (220°C) for 20–25 minutes and allow a brief rest before serving to let the filling settle.
Ingredient Substitutions
Swap cream cheese for 4 ounces of full-fat Greek yogurt strained through cheesecloth for a tangier, slightly lighter filling—note the texture will be less dense. Use pepper jack or cotija in place of cheddar for a different flavor profile. To make gluten-free, choose small corn tortillas; warm them carefully to prevent tearing. For a dairy-free option, replace cream cheese and shredded cheese with a dairy-free spread and dairy-free shredded alternative, though you’ll lose some creaminess and binding—add an extra tablespoon of salsa if needed.
Serving Suggestions
Arrange taquitos on a large platter with small bowls of sour cream, guacamole, pico de gallo, and lime wedges. Garnish with chopped cilantro and a dusting of smoked paprika for color. For a lighter meal, serve two taquitos per person with a crisp green salad and black bean corn salad. For a party, offer a trio of salsas—mild tomato, green tomatillo, and a smoky chipotle—for guests to mix and match.
Seasonal Adaptations
In summer, fold in charred corn and diced roasted peppers to the filling for a bright, seasonal feel. In fall and winter, swap salsa for a roasted tomato-chile mixture and add a spoonful of pumpkin puree plus warm spices for a comforting twist. Holiday gatherings welcome a mole-infused filling—stir a tablespoon of mild mole into the cream cheese mixture for complexity and depth.
Meal Prep Tips
Make a double batch and freeze half unbaked for quick dinners. To streamline assembly, place warmed tortillas on a sheet pan, add filling in a line, roll each one and set seam-side down on another tray. Label and date frozen parcels. When reheating from frozen, add a few extra minutes in the oven and check the center of a taquito to ensure filling is hot all the way through—use an instant-read thermometer aiming for at least 165°F (74°C) for food safety.
Success Stories
I once took a tray of these to a potluck and returned home with three requests for the method. A neighbor told me they finally convinced their preschooler to try chicken because it was wrapped and crunchy, and a friend used shredded roasted sweet potato instead of chicken to create a vegetarian version that became a Thanksgiving appetizer. Small tweaks have made this a communal favorite that’s both adaptable and dependable.
These taquitos are simple, satisfying, and made to share—treat them as a template you can riff on and make your own. Happy rolling and enjoy the crunchy payoff!
Pro Tips
Warm tortillas briefly (microwave 20 seconds wrapped in a damp towel) to prevent cracking while rolling.
Brush taquitos lightly with oil before baking for an even, golden crisp without deep-frying.
If folding tips open while baking, secure seams with toothpicks and remove before serving.
This nourishing crispy chicken taquitos recipe is sure to be a staple in your kitchen. Enjoy every moist, high protein slice — it is perfect for breakfast or as a wholesome snack any time.
FAQs about Recipes
Can I freeze assembled taquitos?
Yes. Assemble and freeze unbaked on a tray, then transfer to a freezer bag for up to 3 months. Bake from frozen at 425°F (220°C) for 20–25 minutes.
How do I make these gluten-free?
Use corn tortillas and ensure there is no cross-contamination with gluten-containing ingredients.
Tags
Crispy Chicken Taquitos
This Crispy Chicken Taquitos recipe makes perfectly juicy, tender, and flavorful steak every time! Serve with potatoes and a side salad for an unforgettable dinner in under 30 minutes.
Ingredients
Filling
Wraps & Finishing
Optional toppings
Instructions
Preheat and prepare
Preheat oven to 425°F (220°C). Line a baking sheet with parchment paper or lightly grease it to prevent sticking and promote even browning.
Mix filling
Combine shredded chicken, softened cream cheese, shredded cheese, salsa, garlic powder, chili powder, cumin, salt, and pepper in a bowl. Mix until uniformly combined and creamy.
Warm tortillas
Warm tortillas for about 20 seconds in the microwave wrapped in a damp towel or heat briefly in a dry skillet to make them pliable and prevent tearing.
Assemble and roll
Spoon 2–3 tablespoons of filling onto one side of each warmed tortilla, roll tightly, and place seam-side down on the prepared baking sheet.
Oil and bake
Lightly brush with oil or spray with cooking spray. Bake at 425°F (220°C) for 15–20 minutes until golden and crisp; broil 1–2 minutes if desired for extra color.
Serve
Let cool briefly, then serve warm with sour cream, guacamole, chopped cilantro, and extra cheese.
Last Step: Please leave a rating and comment letting us know how you liked this recipe! This helps our business to thrive and continue providing free, high-quality recipes for you.
Nutrition
Did You Make This?
Leave a comment & rating below or tag
@festive-cooks on social media!
Categories:
You might also like...
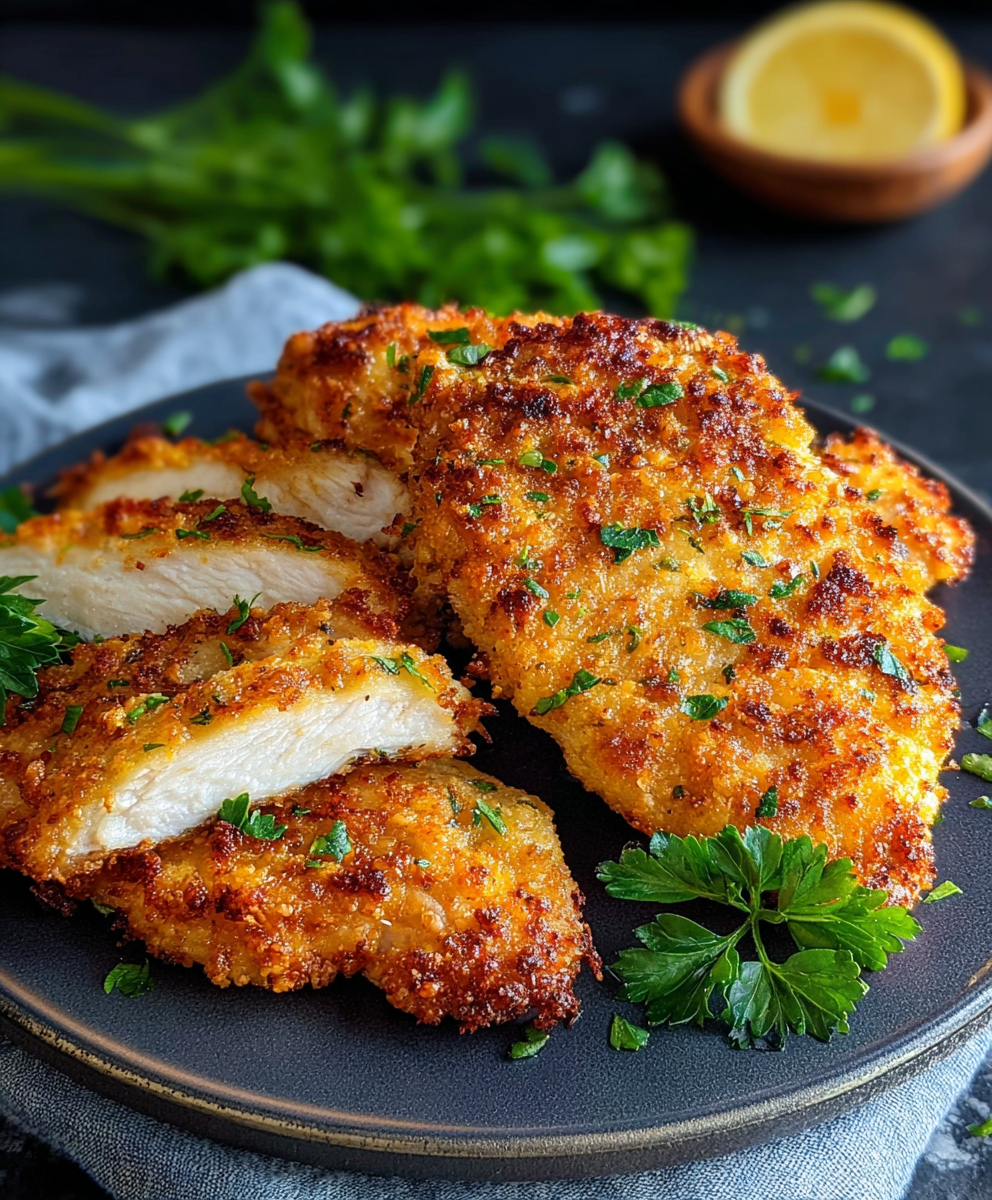
Air Fryer Parmesan Crusted Chicken
Crispy, golden Parmesan crusted chicken made in the air fryer for a quick family favorite that stays juicy inside and crunchy outside.
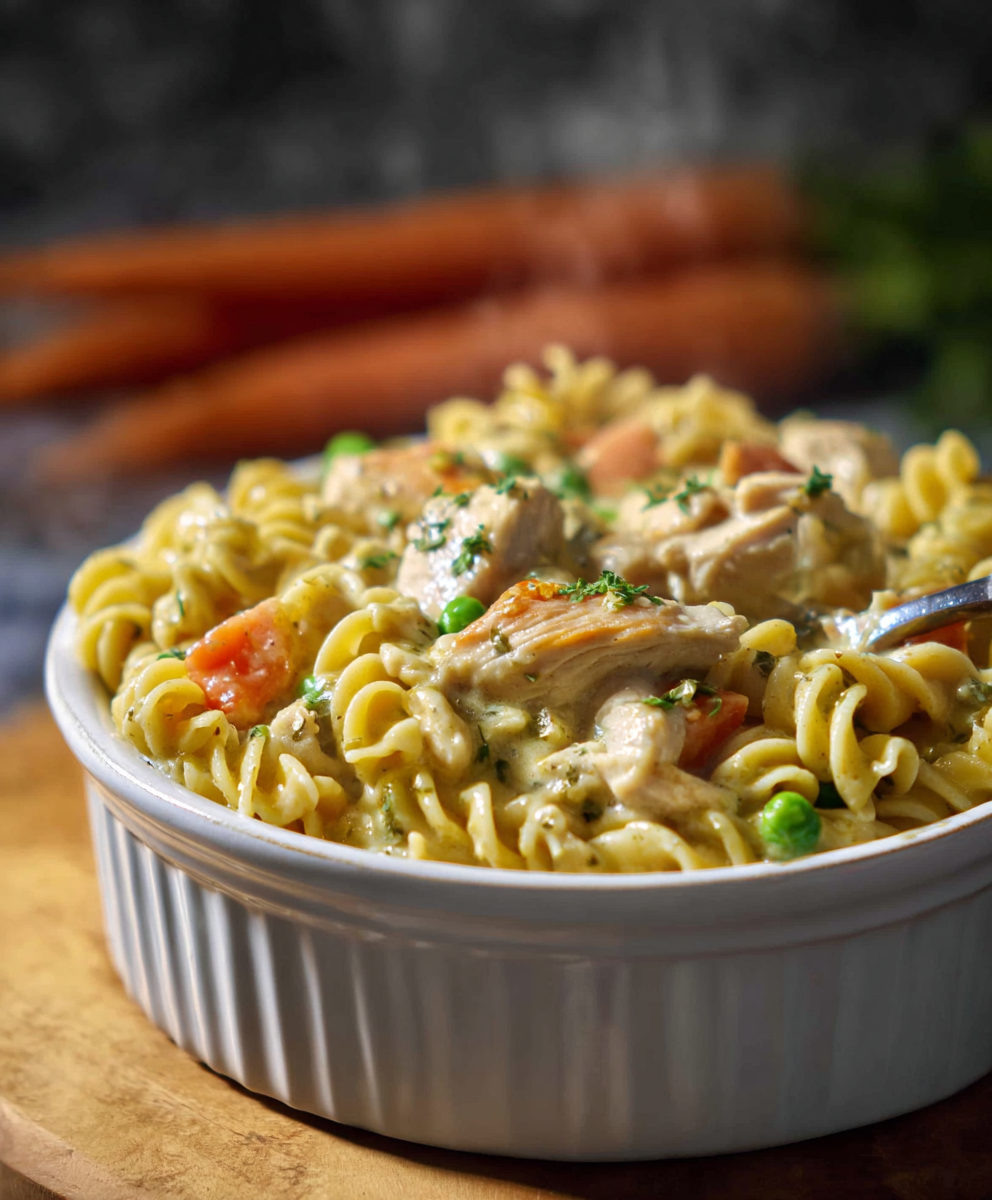
Quick Chicken Pot Pie Pasta
A cozy one-skillet mashup of pot pie comfort and egg noodle ease—ready in about 35 minutes and perfect for weeknight dinners.
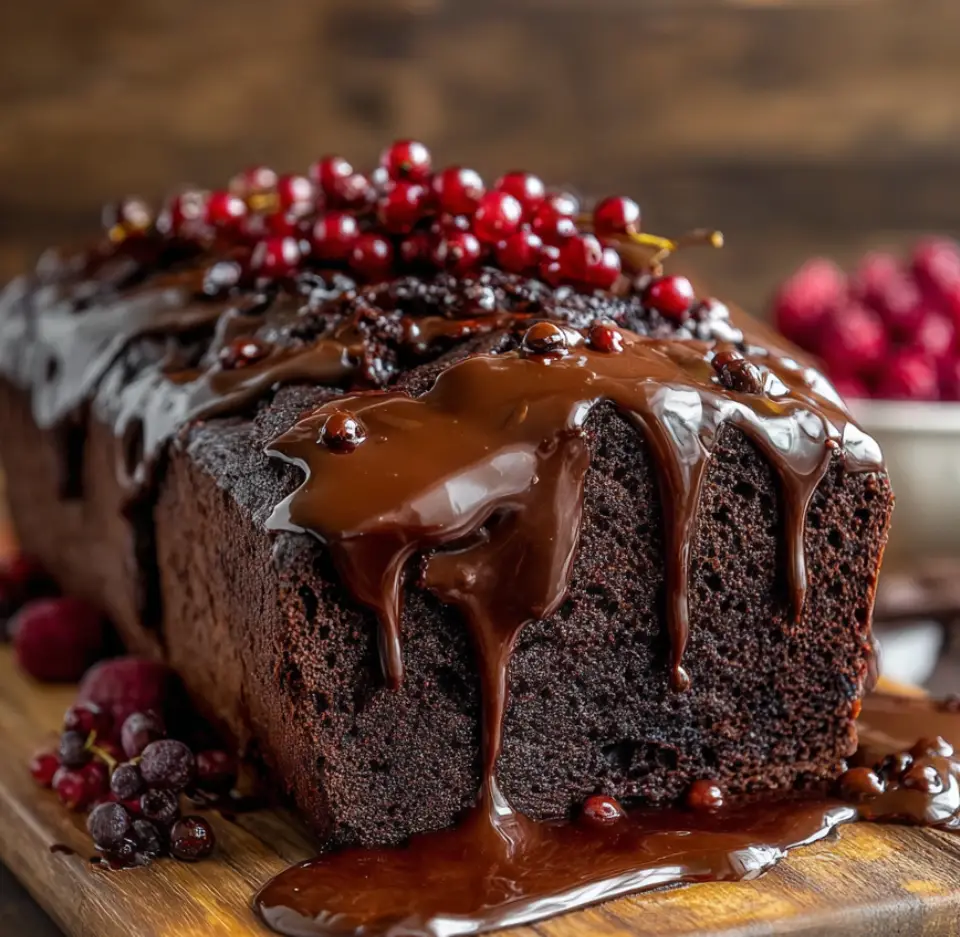
Hot Fudge Brownie Bread
A gooey, chocolate-packed loaf with a molten hot-fudge swirl — brownie texture in bread form, perfect warm with a scoop of ice cream.
Did You Make This?
Leave a comment & rating below or tag @festive-cooks on social media!
Rate This Recipe
Share This Recipe
Enjoyed this recipe? Share it with friends and family, and don't forget to leave a review!
Comments (1)
This recipe looks amazing! Can't wait to try it.
Comments are stored locally in your browser. Server comments are displayed alongside your local comments.

Hi, I'm Jessica!
What's Popular
30-Minute Meals!
Join to receive our email series which contains a round-up of some of our quick and easy family favorite recipes.