>>

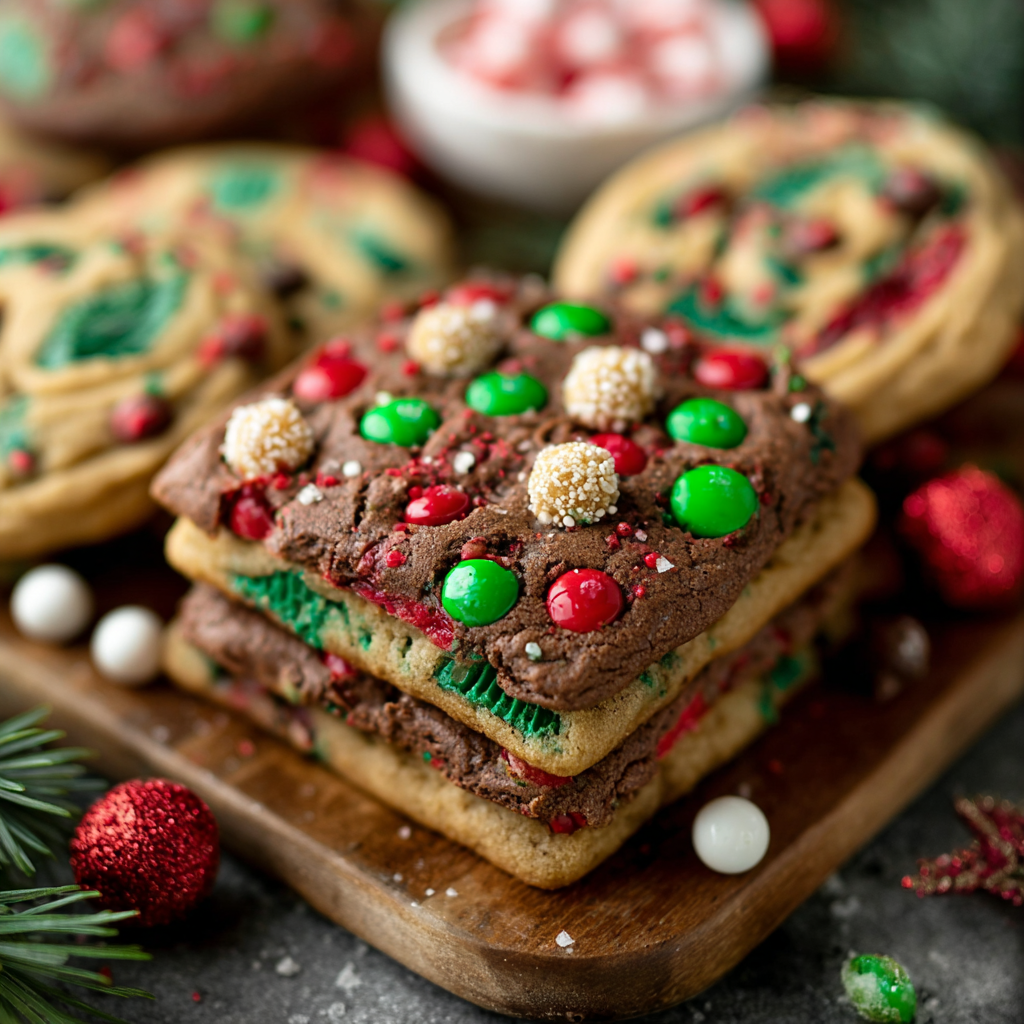
Chewy, festive cookie bars studded with Christmas M&Ms and sprinkles — an easy, crowd-pleasing treat ready in under 45 minutes.
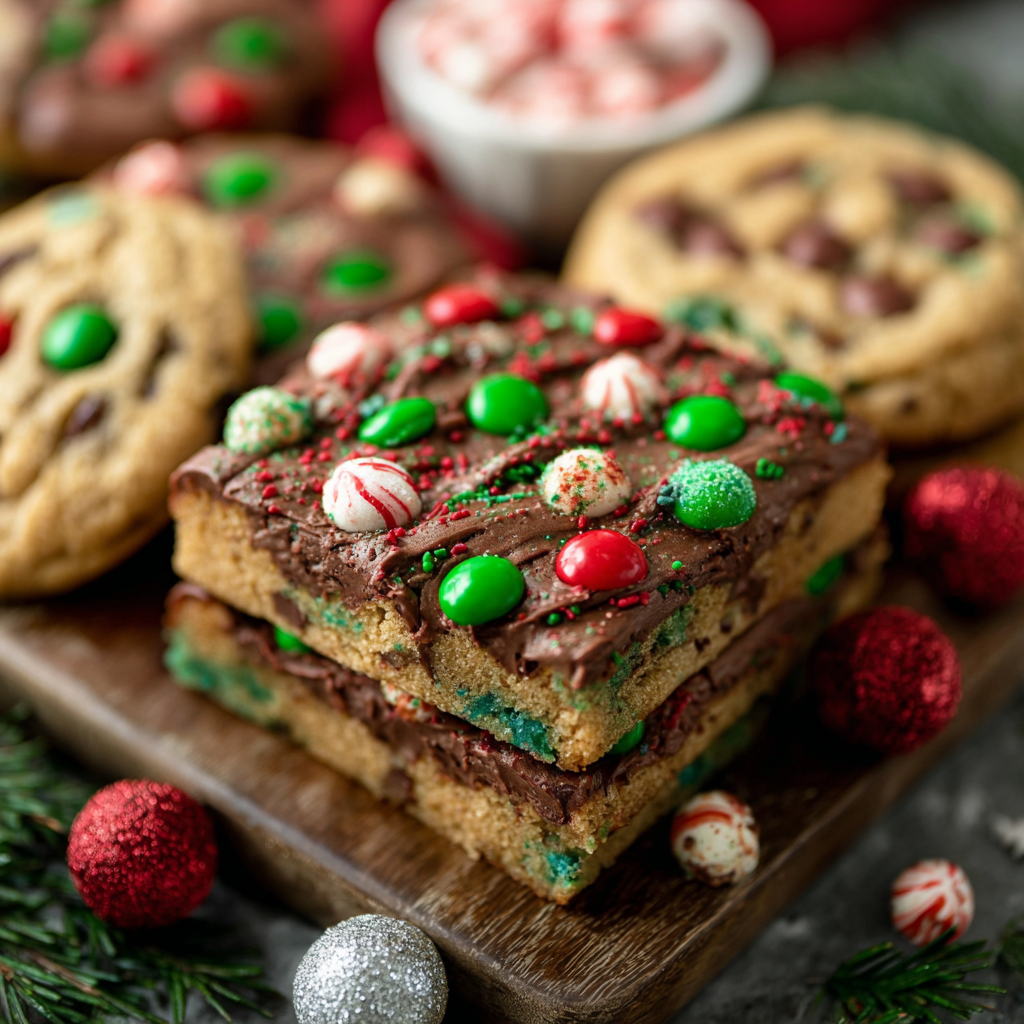
This Christmas cookie bar recipe has been my go-to for every holiday gathering since the year I decided to simplify cookie baking for a crowd. Instead of rolling out dozens of individual cookies, I found that turning everything into a single pan of chewy, colorful bars saved time and produced the same joyful reactions from family and neighbors. The first time I made these I was juggling two toddlers and a stack of holiday mail; I wanted something quick, forgiving, and festive. The finished bars were slightly crisp at the edges, tender and chewy in the middle, and dotted with bright red and green candies that made even the grumpiest uncle smile.
What makes this version special is the balance of texture and the technique: creaming the butter with packed brown sugar creates a deep caramel flavor and a tender crumb, while underbaking slightly ensures the bars remain soft as they cool. I discovered that using a metal 9×13 pan (never glass for this recipe) gives the best browning and guarantees an even bake. These bars have become a seasonal staple — perfect for school parties, cookie exchanges, or a simple afternoon treat with a mug of cocoa.
In my house these bars always disappear first at any holiday spread. My daughter loves picking out the brightest candies, and my husband swears they taste even better on day two when the flavors have settled. Neighbors often ask for the recipe after tasting them at our annual cookie exchange — a sure sign of a keeper.

My favorite part is watching family members reach instinctively for a bar, unwrapping the foil, and being surprised at how soft and rich they are despite the quick method. These have accompanied holiday road trips, been tucked into lunchboxes, and have even been sent as part of cookie care packages — a little slab of nostalgia in every bite.
To maintain texture, store completely cooled bars in an airtight container at room temperature for up to 4 days. Place a sheet of parchment between layers to prevent sticking. For longer storage, wrap bars individually in plastic wrap, then place in a freezer-safe bag or container for up to 1 month. Thaw at room temperature before serving. To revive a slightly stale bar, warm in a 300°F oven for 5–7 minutes or microwave for 6–8 seconds — this softens the interior without melting the candies completely.
If you need to swap ingredients, try chocolate chips in place of M&Ms (1 cup) or white chocolate chips with crushed peppermint for a minty twist. For dairy-free, substitute a vegan butter spread in the same measure and choose dairy-free candy; keep in mind texture differences — some vegan spreads have higher water content. To reduce sweetness slightly, use 1 3/4 cups packed brown sugar instead of 2 cups. For a nuttier variant, fold in 1/2 cup chopped roasted pecans or walnuts.
These bars are perfect on a dessert platter alongside shortbread or ginger cookies. Serve them warm with a scoop of vanilla ice cream for an indulgent treat, or pair with hot chocolate and whipped cream for a cozy holiday night. Garnish with a light dusting of powdered sugar or extra sprinkles for festive presentation — wrap in bakery boxes with tissue for gifting.
One-pan cookie bars are an American convenience adaptation of classic drop cookies, developed to simplify holiday baking and feed larger groups. They retain the nostalgic flavors of traditional cookies — caramel from brown sugar, buttery richness, and chocolate — while offering a less fussy method that caught on in community bake sales and potlucks. The colorful candies reflect modern festive decorating trends and add visual cheer to a simple, homestyle treat.
Switch mix-ins seasonally: fall versions can include chopped candied pecans and cinnamon chips; Valentine’s Day calls for pink and red candies with white chocolate chips; Easter benefits from pastel candies and citrus zest. Adjust the sprinkles and candy colors to match any holiday for year-round versatility. For winter parties, consider adding 1/2 teaspoon ground cinnamon for a warm spice note.
For make-ahead planning, bake bars up to a week in advance and keep airtight at room temperature. Freeze individual bars for easy grab-and-go snacks—they make excellent additions to lunchboxes or snack trays. When packaging for a party, slice and arrange on parchment-lined trays and cover lightly with plastic wrap to keep them from drying out. Label for allergens before serving to keep guests informed.
These cookie bars are an uncomplicated, joyful way to celebrate the season without the fuss of rolling, chilling, and shaping dozens of individual cookies. Give them a try — I promise they’ll become part of your holiday rhythm just as they did in mine.
Spray your hands with cooking spray before pressing the batter into the pan to avoid sticking and get an even layer.
Err on the side of underbaking by a minute or two; the bars continue to set as they cool and remain chewier.
Use a metal 9×13-inch pan rather than glass to ensure even browning and proper texture.
Reserve a few candies and sprinkles to press on top after spreading the batter for a pretty finish.
This nourishing christmas cookie bars recipe is sure to be a staple in your kitchen. Enjoy every moist, high protein slice — it is perfect for breakfast or as a wholesome snack any time.
This Christmas Cookie Bars recipe makes perfectly juicy, tender, and flavorful steak every time! Serve with potatoes and a side salad for an unforgettable dinner in under 30 minutes.
Preheat oven to 350°F. Line a 9×13-inch metal pan with aluminum foil and spray well with cooking spray. Using foil with an overhang makes it easy to lift the baked slab from the pan.
Beat 1/2 cup unsalted butter with 2 cups packed brown sugar in a stand mixer or with a hand mixer until crumbly and glossy, about 2–3 minutes. Scrape bowl as needed to ensure even mixing.
Mix in 2 large eggs and 1 teaspoon vanilla extract until the mixture is smooth and homogeneous, taking care not to overbeat.
Stir in 1/2 teaspoon salt and 1 teaspoon baking powder, then add 2 cups all-purpose flour. Mix until just combined to avoid developing excess gluten.
Fold in 1 cup Christmas M&Ms and 1/2 cup Christmas sprinkles, reserving a handful for the top. Spray your hands with cooking spray and press the batter into an even layer in the prepared pan.
Bake at 350°F for 22–25 minutes until edges are golden and the center is set but slightly glossy. Allow to cool on a wire rack for at least 30 minutes before slicing into 12 bars.
Last Step: Please leave a rating and comment letting us know how you liked this recipe! This helps our business to thrive and continue providing free, high-quality recipes for you.
Leave a comment & rating below or tag
@festive-cooks on social media!

Crispy, golden Parmesan crusted chicken made in the air fryer for a quick family favorite that stays juicy inside and crunchy outside.
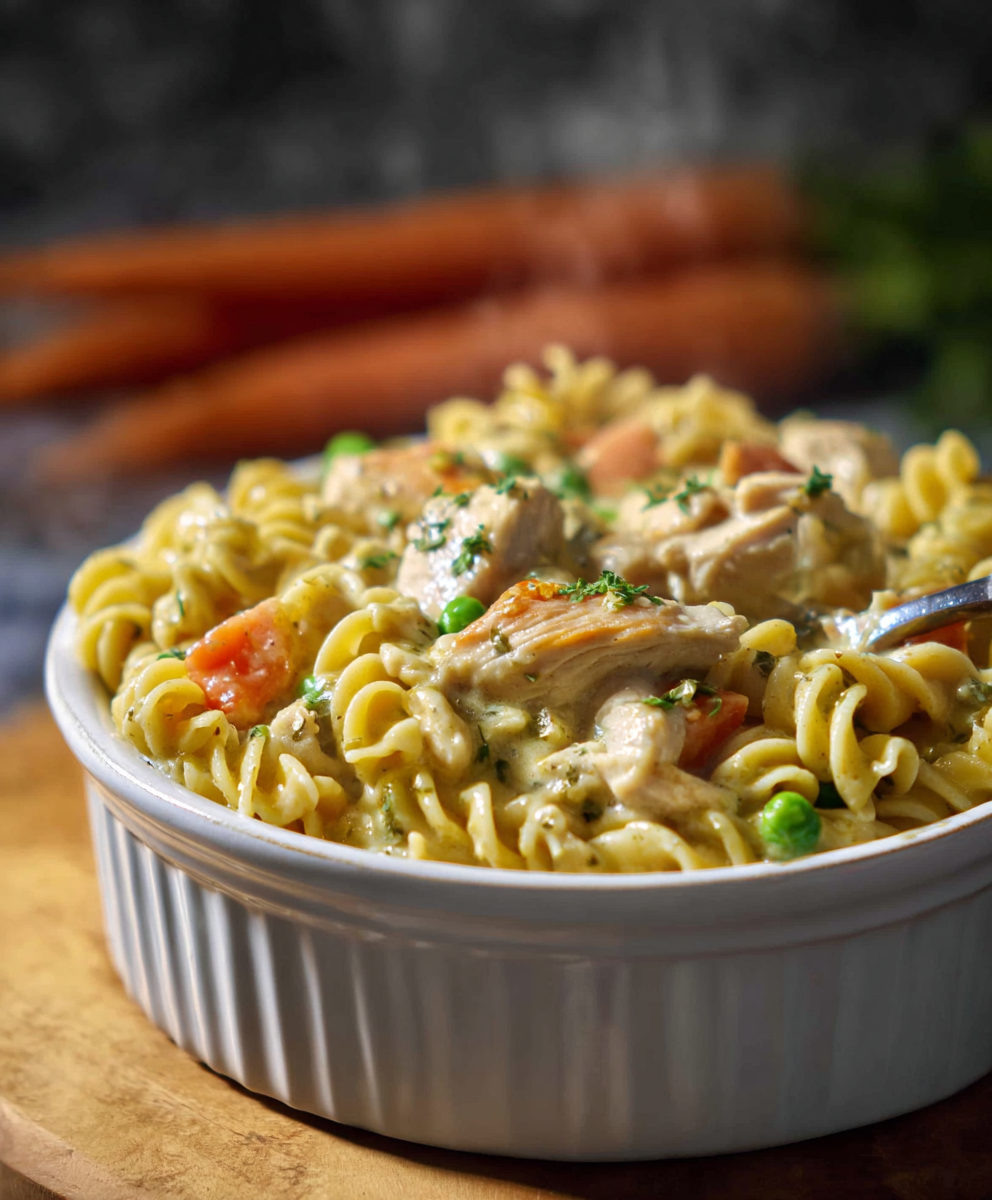
A cozy one-skillet mashup of pot pie comfort and egg noodle ease—ready in about 35 minutes and perfect for weeknight dinners.
A gooey, chocolate-packed loaf with a molten hot-fudge swirl — brownie texture in bread form, perfect warm with a scoop of ice cream.
Leave a comment & rating below or tag @festive-cooks on social media!
Enjoyed this recipe? Share it with friends and family, and don't forget to leave a review!
This recipe looks amazing! Can't wait to try it.
Comments are stored locally in your browser. Server comments are displayed alongside your local comments.

Join to receive our email series which contains a round-up of some of our quick and easy family favorite recipes.