
Christmas Cookie Bars

Chewy, festive cookie bars studded with chocolate chips and Christmas M&M’s — an easy, crowd-pleasing holiday treat baked in a 9×13 pan.
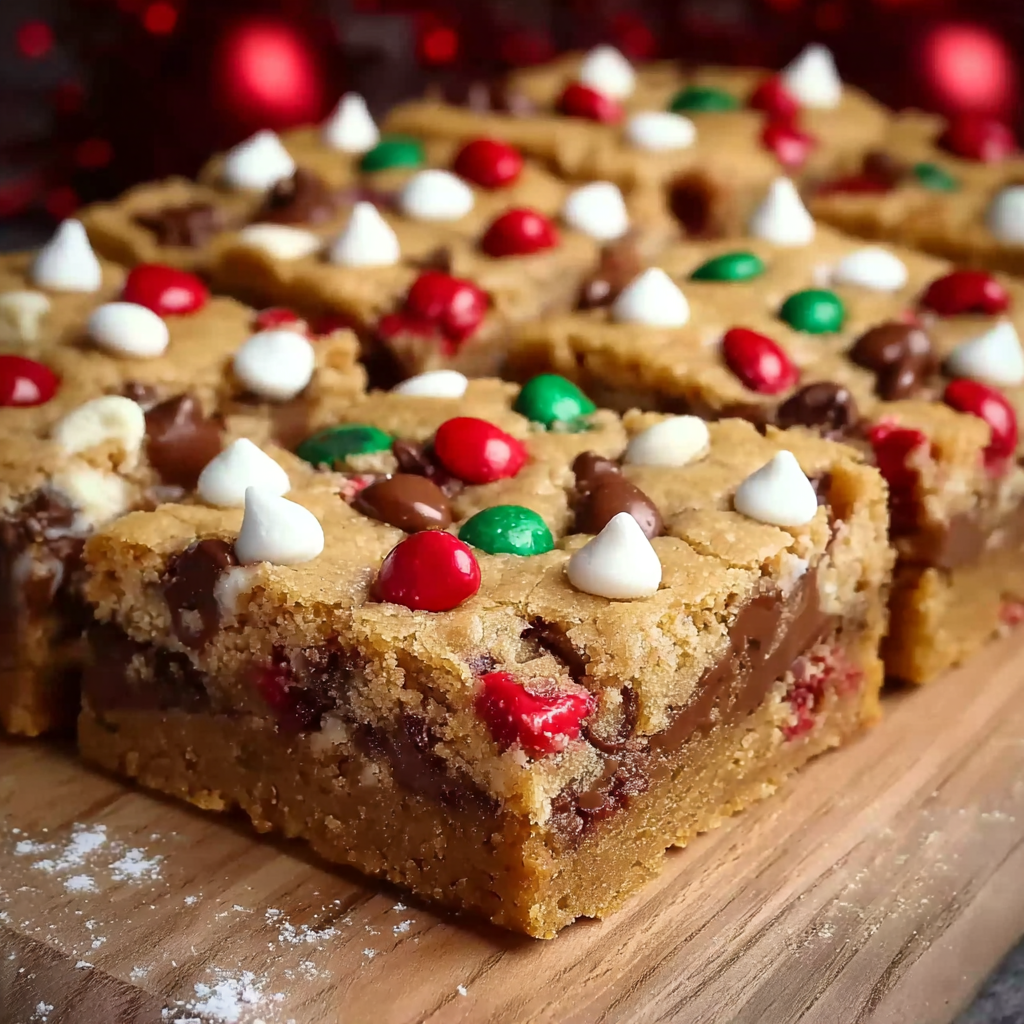
This tray of Christmas cookie bars has been my family's holiday shortcut for years — the kind of dessert I make when hosts ask me to bring something that will disappear in minutes. I first developed this version when I needed a portable sweet for a school holiday party: I wanted the flavor and chew of a classic cookie but in an easy-to-slice pan dessert that could be served on paper plates without a frosting mess. The result is a buttery, slightly chewy base with pockets of chocolate and the festive crunch and color of M&M’s. Kids always reach for these first, and adults love that they slice cleanly and travel well.
What makes these bars special is the balance of textures and the simplicity. The dough is dense enough to hold mix-ins without sinking, and the short bake time keeps the center tender while the edges caramelize to a pleasant golden brown. I usually use high-quality semi-sweet chips and a familiar brand of M&M’s to get that classic candy shell pop. Baking a batch fills the kitchen with butter and vanilla aromas that instantly feel like the holidays — a smell that always prompts friends and family to ask for the recipe.
Why You'll Love This Recipe
- Ready in under an hour from start to finish: about 15 minutes active prep and 26–30 minutes baking, perfect for last-minute holiday baking.
- Uses pantry staples — butter, flour, sugars, chocolate chips — plus seasonal M&M’s for instant festive appeal without specialty ingredients.
- Easy to scale and transport: baked in a single 9×13-inch pan, slices travel and serve beautifully at potlucks and cookie exchanges.
- Make-ahead friendly: bars freeze well and thaw quickly, so you can bake in advance to reduce holiday stress.
- Kid-tested and adult-approved: the colorful candy topping is irresistible to children while the buttery, chewy crumb satisfies grown-up cookie cravings.
- No chilling required: the dough presses straight into the pan, saving time compared with chilled cookie dough recipes.
I've watched these bars become a holiday staple at family gatherings: my niece decorated a plate of slices for the school teacher who then requested them every year. What started as a convenience hack quickly became our seasonal signature because the texture holds up and the color makes every platter look celebratory.
Ingredients
- Butter (3/4 cup; 1 1/2 sticks): Use unsalted, softened butter for controlled seasoning. I prefer a European-style butter when available for a richer flavor, but standard unsalted works perfectly. Softening to room temperature ensures smooth creaming with sugars.
- Vanilla extract (2 teaspoons): Pure vanilla adds depth; I use Nielsen-Massey or another pure extract. It brightens the buttery base and complements the chocolate.
- Granulated sugar (2/3 cup): Balances sweetness and helps with spread and slight crisping at the edges.
- Brown sugar, packed (1 cup): Use light brown sugar for a subtle molasses note that keeps the bars chewy and moist.
- Eggs (2 large): Room-temperature eggs incorporate more evenly and help bind the dough.
- All-purpose flour (3 cups): Provides structure. Spoon and level into the cup to avoid packing too much flour.
- Baking soda (1 teaspoon): Gives a touch of lift while keeping the texture bar-like rather than cakey.
- Salt (1 teaspoon): Enhances the sweet flavors; reduce only if using salted butter and you prefer less salt.
- Semi-sweet chocolate chips (1 cup): Choose a mid-range chip like Ghirardelli or Nestlé Toll House for reliable melt and chocolate flavor.
- Christmas M&M’s (1 cup total; 1/2 cup for dough, 1/2 cup for topping): Dividing them prevents all the candy from melting into the dough and keeps a colorful topping.
- White chocolate chips (1/4 cup for topping): Optional but recommended for visual contrast and a creamy sweetness on top.
Instructions
Preheat and prepare: Preheat your oven to 325°F and prepare a 9×13-inch baking pan by lightly greasing it or lining with parchment paper, leaving an overhang for easy removal. The lower temperature prevents over-browning while baking the thick dough through. If using parchment, don’t skip the spray to keep slices intact when you lift them out. Cream butter and sugars: In a large bowl, cream the softened butter with both the brown sugar and granulated sugar on medium speed for about 3 minutes until light and fluffy. Proper creaming incorporates air for a tender crumb; scrape the bowl sides once or twice to ensure even mixing. Add eggs and vanilla: Add the eggs one at a time, mixing after each until fully incorporated, then stir in vanilla. Use room-temperature eggs to avoid seizing the butter; the mixture should look smooth and slightly glossy. Combine dry ingredients: Whisk together the flour, baking soda, and salt in a separate bowl. Gradually add the dry mix to the wet ingredients on low speed and mix until a thick dough forms. Avoid overmixing to keep the bars tender rather than tough. Fold in mix-ins: Gently fold in 1 cup of semi-sweet chocolate chips and 1/2 cup of the Christmas M&M’s by hand so they are evenly distributed without crushing the candies. Press and top: Spread the dough evenly into the prepared pan, using an offset spatula or damp hands to smooth the surface. Sprinkle the remaining 1/2 cup of M&M’s and the 1/4 cup white chocolate chips over the top for color and texture before baking. Bake: Bake in the preheated 325°F oven for 26–30 minutes, until the edges are lightly golden and a toothpick inserted near the center comes out with a few moist crumbs. Oven times vary; check at 26 minutes to avoid over-baking. Cool and slice: Remove the pan from the oven and cool completely on a wire rack. When cooled, lift the slab out using the parchment overhang and slice into squares with a sharp knife, wiping the blade between cuts for neat edges.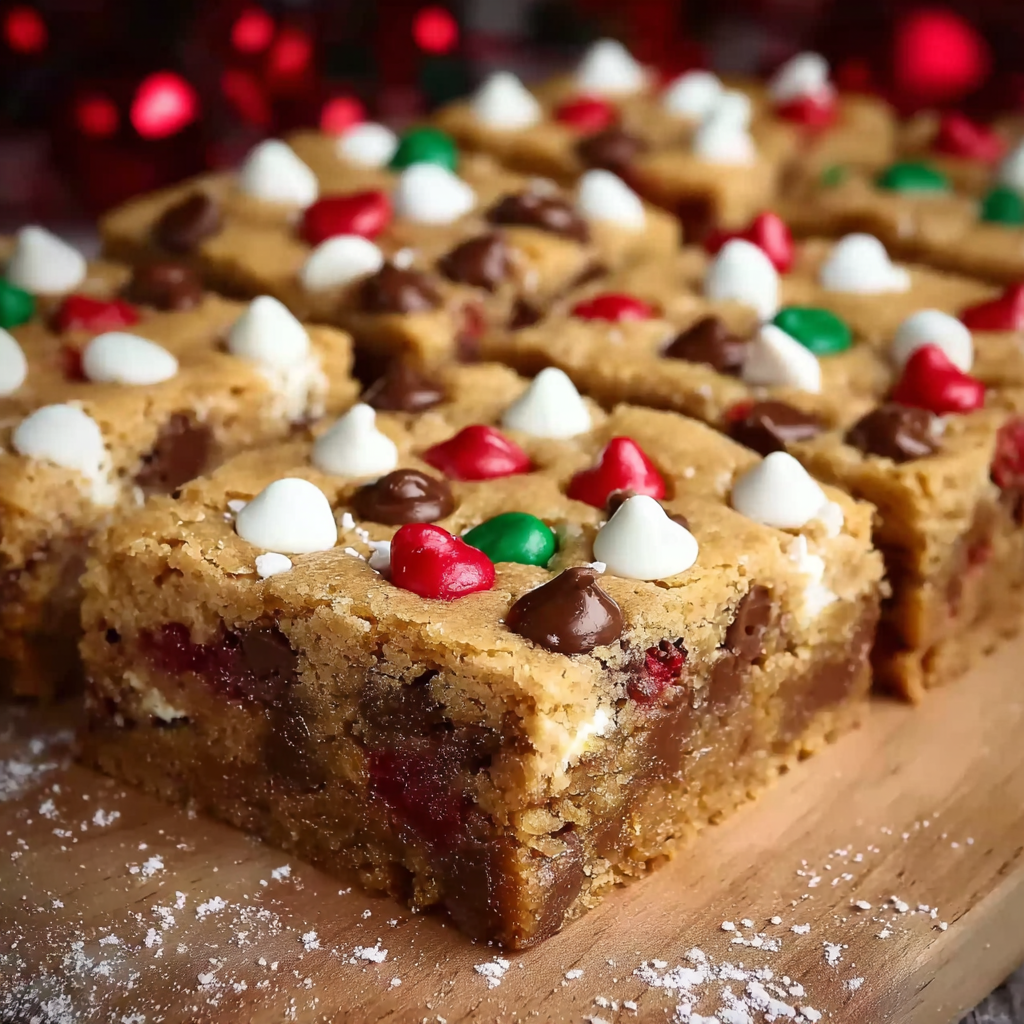
You Must Know
- These bars keep well at room temperature for up to 2 days in an airtight container and freeze for up to 3 months; thaw or reheat slices briefly at 300°F for 5–7 minutes to refresh texture.
- They are high in sugar and contain butter, eggs, wheat, and soy from the chocolate, so they are not suitable for dairy-free, egg-free, gluten-free, or vegan diets without substitutions.
- The candy topping maintains its color if you add half on top rather than all in the dough; this prevents full melting and preserves festive appearance.
- For clean slices, cool completely and chill in the refrigerator for 20–30 minutes before cutting to reduce crumbling.
My favorite part is the way the edges caramelize while the center stays tender — it makes every bite different. Guests often ask whether I used a special ingredient; the secret is the brown sugar and short bake time, which keep these bars moist and slightly chewy.
Storage Tips
Store cooled bars in an airtight container at room temperature for up to 48 hours. For longer storage, wrap the slab tightly in plastic wrap and foil, then freeze for up to 3 months. When freezing individual portions, separate layers with parchment to prevent sticking. To reheat while preserving texture, place slices on a baking sheet and warm at 300°F for 5–8 minutes, or microwave single portions for 10–15 seconds if you prefer a softer, gooey center.
Ingredient Substitutions
To reduce dairy, use a vegan stick-style margarine and dairy-free chocolate chips (note the flavor and texture will differ). For gluten-free, substitute a 1-to-1 gluten-free flour blend with xanthan gum and measure carefully for similar structure. Swap brown sugar for coconut sugar for a deeper caramel note, but expect a slightly drier texture. Replace semi-sweet chips with chopped dark chocolate for a richer bar, or use peanut butter chips for a nutty variation. If avoiding candy shell colors, use chopped milk chocolate and reserve some chips for topping.
Serving Suggestions
Serve bars on a festive platter with a dusting of powdered sugar or a drizzle of melted white chocolate. They pair well with hot cocoa, coffee, or mulled cider at holiday gatherings. For a dessert plate, add a scoop of vanilla ice cream and warm a slice slightly to create a contrast of cold and warm textures. Garnish with fresh cranberries or rosemary sprigs for a holiday presentation that looks more elaborate than the simple preparation suggests.
Seasonal Adaptations
While these are perfect for Christmas with M&M’s, adapt the toppings seasonally: pastel candies for Easter, red and pink candy for Valentine’s Day, or orange and brown candies for autumn. In winter, stir in chopped toasted pecans and a pinch of cinnamon for a spiced variation. For summer barbecues, switch to mini chocolate chips and add 1/2 cup chopped dried cherries for a bright fruit note that pairs well with the buttery base.

Meal Prep Tips
Make a double batch and freeze half for quick entertaining: bake, cool, and cut into portions, then flash-freeze on a tray before packing into freezer bags. Label with date and contents. For quick weekday treats, slice and keep in the fridge; individual bars can be wrapped and placed in lunch boxes for a festive snack. If you plan to transport, place parchment between layers and keep chilled to prevent candy melting in warm cars.
These bars are a reliable, crowd-pleasing holiday treat that simplify festive baking without sacrificing flavor. Bake a batch, share plates with neighbors, and enjoy how a simple pan of cookie bars can turn everyday moments into holiday memories.
Pro Tips
Use room-temperature butter and eggs for smoother creaming and even texture.
Divide the M&M’s between dough and topping to keep some candy intact and colorful after baking.
Cool completely before slicing, and chill if you want cleaner edges when cutting.
To refresh slightly stale bars, warm a slice in the oven at 300°F for 5 minutes to soften the center.
If the dough feels too stiff, press it into the pan with lightly moistened hands to avoid tearing.
This nourishing christmas cookie bars recipe is sure to be a staple in your kitchen. Enjoy every moist, high protein slice — it is perfect for breakfast or as a wholesome snack any time.
Tags
Christmas Cookie Bars
This Christmas Cookie Bars recipe makes perfectly juicy, tender, and flavorful steak every time! Serve with potatoes and a side salad for an unforgettable dinner in under 30 minutes.
Ingredients
Base
Mix-ins & Topping
Instructions
Preheat and prepare pan
Preheat oven to 325°F and prepare a 9×13-inch pan by lightly greasing or lining with parchment paper, leaving an overhang for easy removal.
Cream butter and sugars
In a large bowl, cream softened butter with brown sugar and granulated sugar on medium speed for about 3 minutes until light and fluffy, scraping the sides as needed.
Add eggs and vanilla
Add eggs one at a time, mixing until fully blended, then stir in vanilla extract and mix until smooth.
Combine dry ingredients
Whisk flour, baking soda, and salt together; gradually add to wet ingredients on low speed and mix until a dough forms, taking care not to overmix.
Fold in mix-ins
Gently fold in 1 cup semi-sweet chocolate chips and 1/2 cup M&M's so they distribute evenly without crushing the candies.
Press, top, and bake
Spread dough evenly into prepared pan, top with remaining M&M's and white chocolate chips, and bake at 325°F for 26–30 minutes until edges are lightly golden. Cool completely before slicing.
Last Step: Please leave a rating and comment letting us know how you liked this recipe! This helps our business to thrive and continue providing free, high-quality recipes for you.
Nutrition
Did You Make This?
Leave a comment & rating below or tag
@festive-cooks on social media!
Categories:
You might also like...
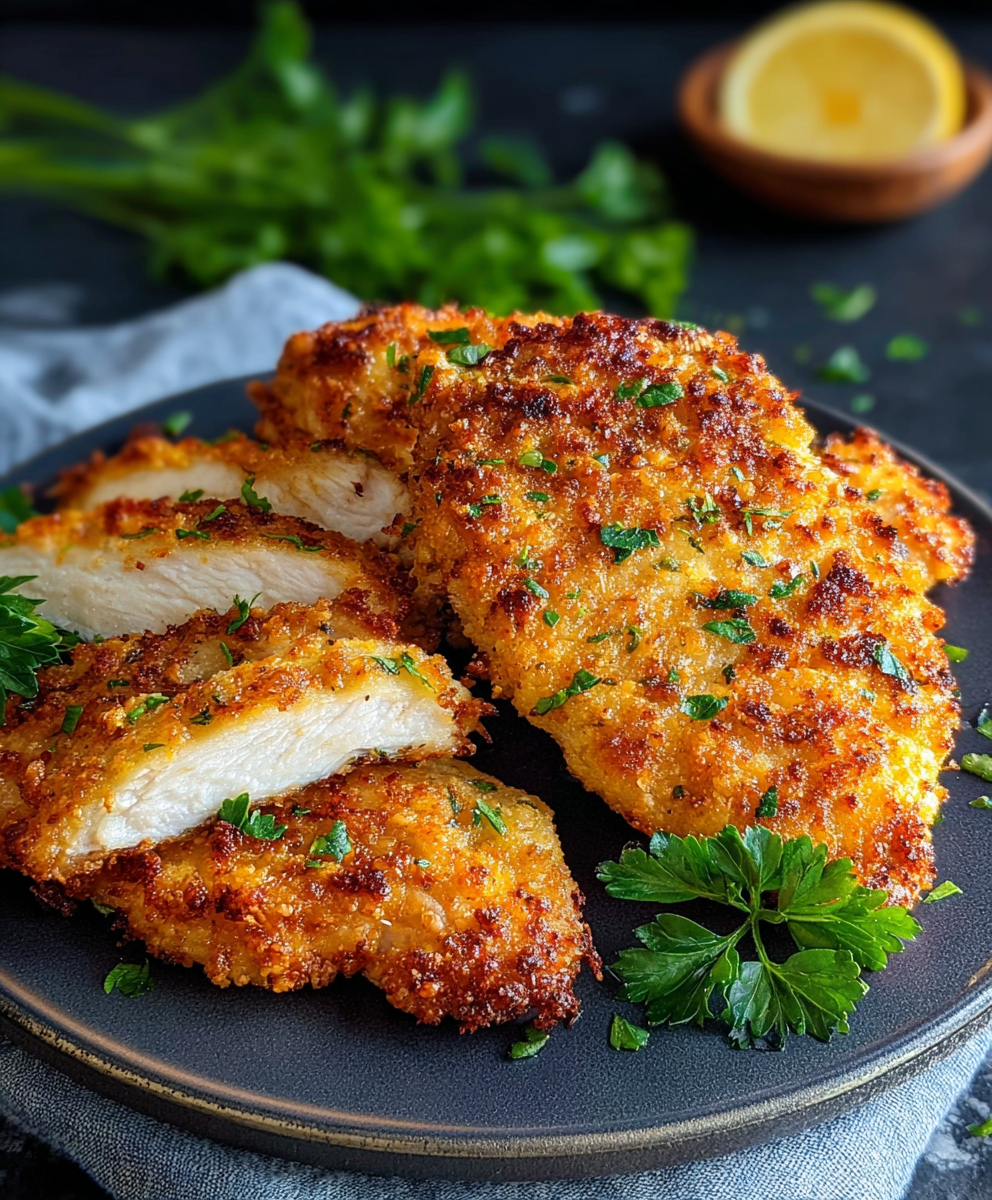
Air Fryer Parmesan Crusted Chicken
Crispy, golden Parmesan crusted chicken made in the air fryer for a quick family favorite that stays juicy inside and crunchy outside.
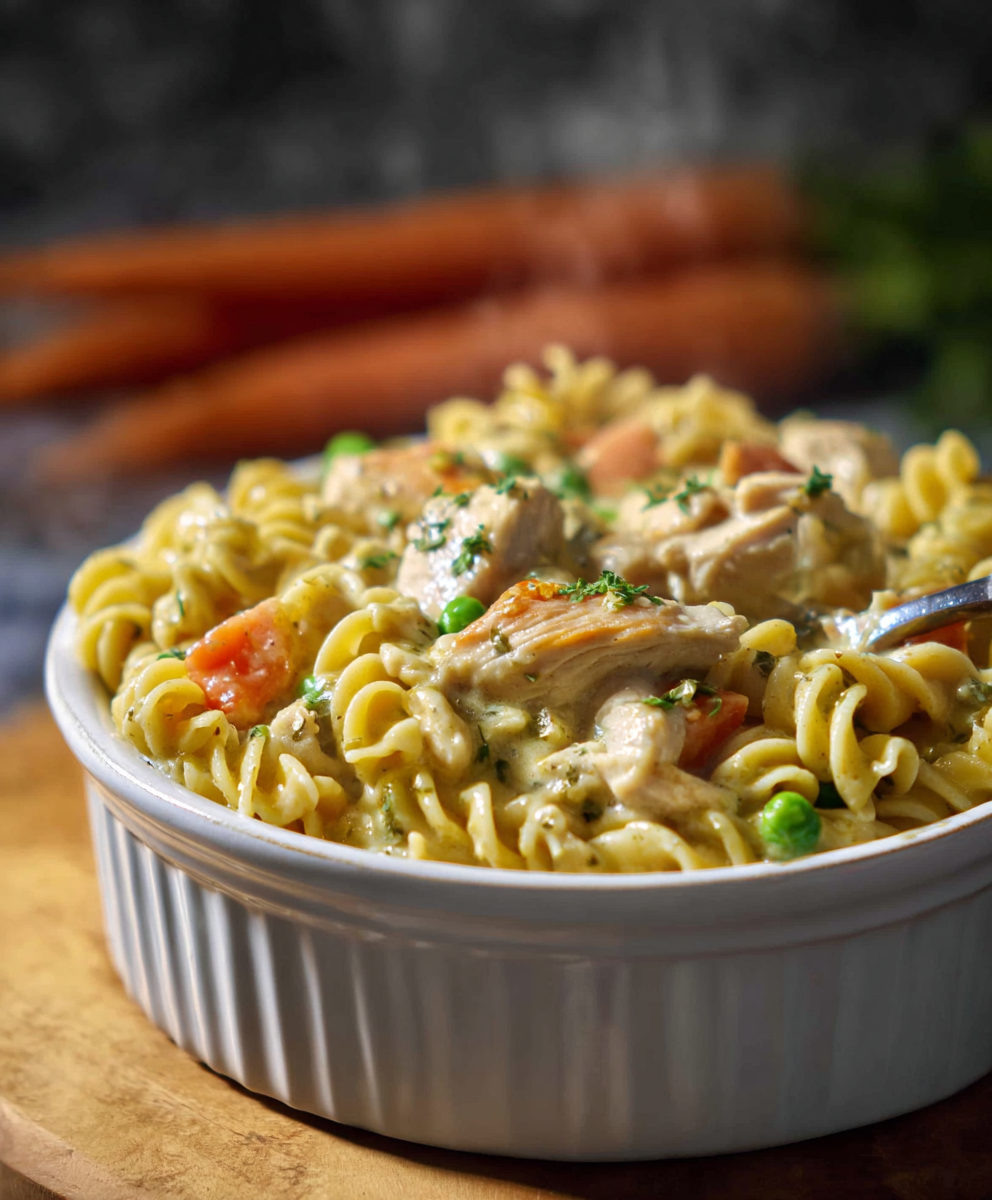
Quick Chicken Pot Pie Pasta
A cozy one-skillet mashup of pot pie comfort and egg noodle ease—ready in about 35 minutes and perfect for weeknight dinners.
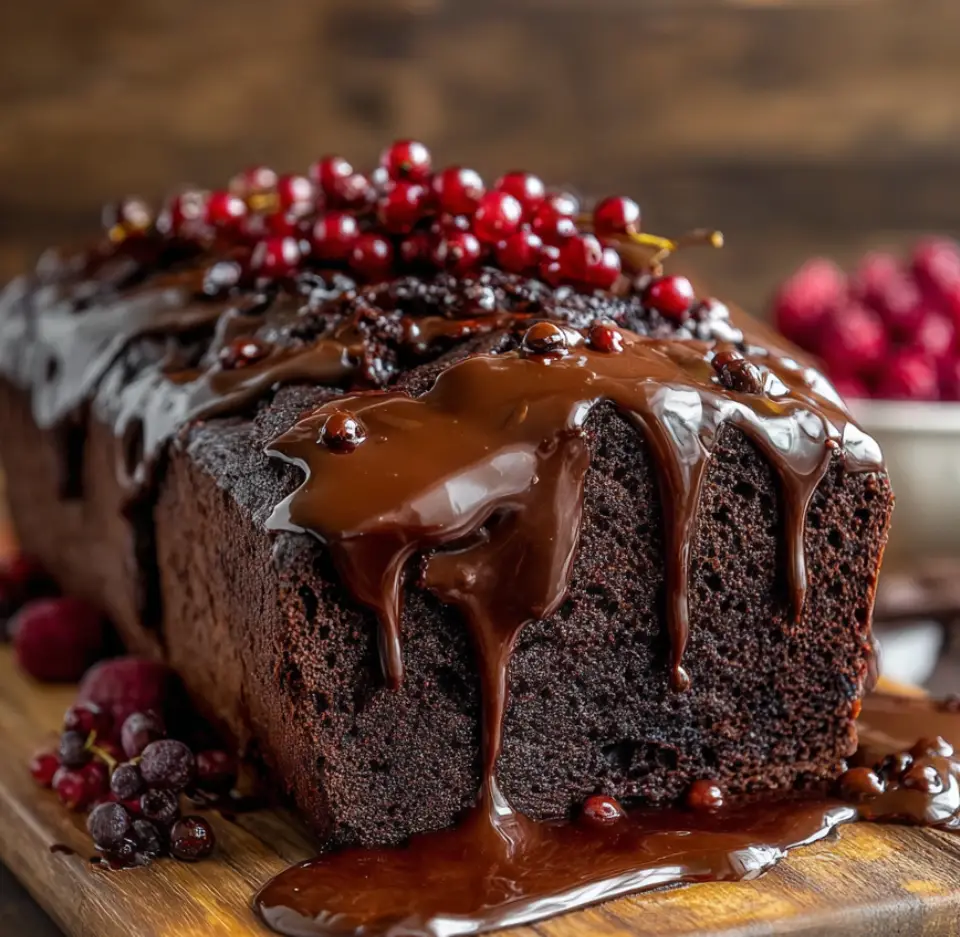
Hot Fudge Brownie Bread
A gooey, chocolate-packed loaf with a molten hot-fudge swirl — brownie texture in bread form, perfect warm with a scoop of ice cream.
Did You Make This?
Leave a comment & rating below or tag @festive-cooks on social media!
Rate This Recipe
Share This Recipe
Enjoyed this recipe? Share it with friends and family, and don't forget to leave a review!
Comments (1)
This recipe looks amazing! Can't wait to try it.
Comments are stored locally in your browser. Server comments are displayed alongside your local comments.

Hi, I'm Jessica!
What's Popular
30-Minute Meals!
Join to receive our email series which contains a round-up of some of our quick and easy family favorite recipes.