
Chocolate Thumbprint Cookies

Buttery, cocoa-scented cookies with a glossy chocolate ganache center — a simple, make-ahead treat that shines on cookie plates and at holiday gatherings.
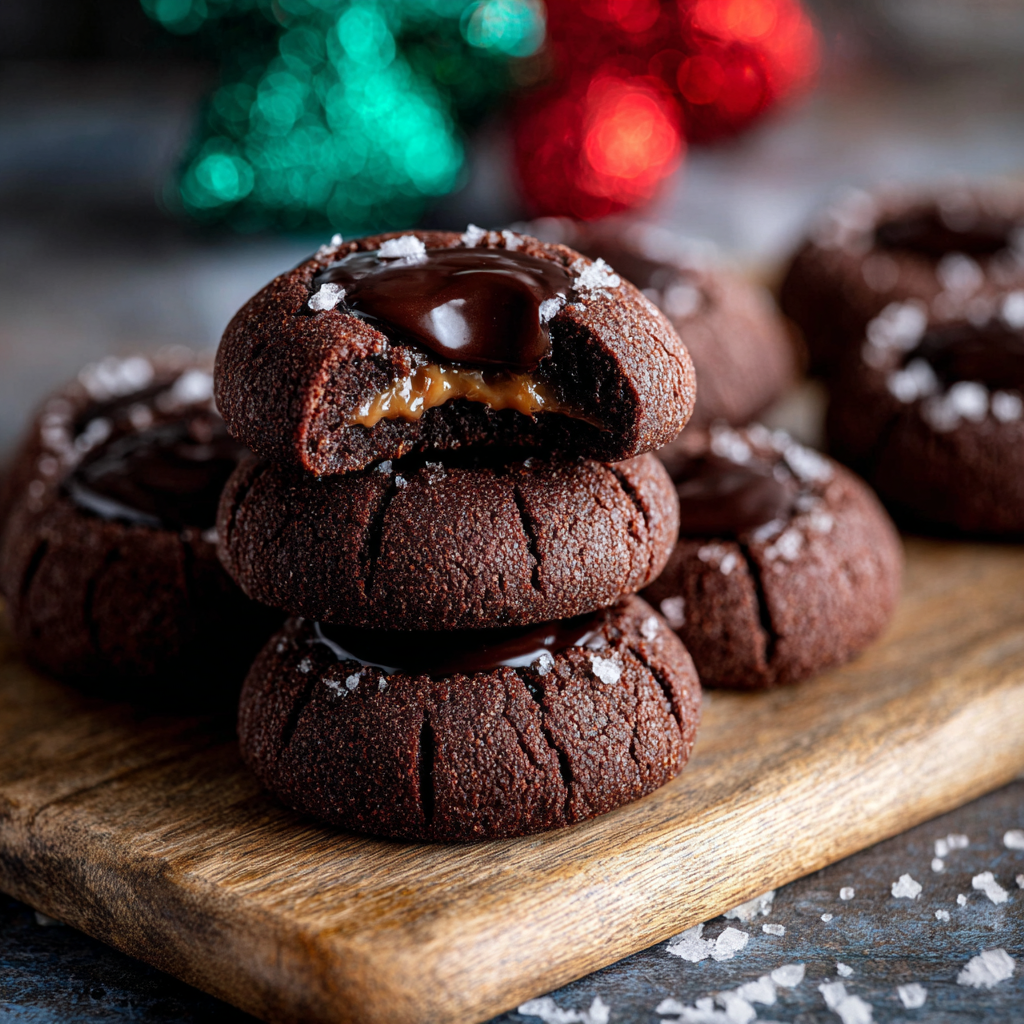
This recipe arrived in my kitchen on a quiet December afternoon when I wanted something more nostalgic than a frosted sugar cookie but easier than a layered cake. The result was a batch of chocolate thumbprint cookies that quickly replaced several other sweets in our repertoire. They are dense yet tender, with a slightly crisp edge and a soft center that holds a shiny chocolate ganache — the textural contrast is what keeps everyone coming back for one more. I discovered the balance between Dutch-process cocoa and browned butter alternatives after a few test batches; this version keeps the butter simple and the flavor pure.
What makes these cookies special isn’t just the taste but the way they travel through memory: they remind me of afternoons cutting out cookies with my grandmother, but with a grown-up twist — intense chocolate and a silky filling. They’re forgiving to make, which means even weeknight bakers can pull them off. Whether you’re baking for a cookie swap, a celebration, or an ordinary Tuesday, these thumbprints offer consistent results and a classic presentation that looks like you spent hours in the kitchen. Read on for step-by-step techniques, storage notes, and ideas for variations that keep the concept fresh year-round.
Why You'll Love This Recipe
- Small-batch friendly: makes about 34 cookies, perfect for sharing without overcommitting to a huge batch and easy to double for a crowd.
- Quick active time: roughly 20 minutes of hands-on work, plus a one-hour chill, so these fit into a busy day while delivering impressive results.
- Pantry-forward ingredients: uses staples like flour, cocoa, butter, and sugar — no specialty flours or exotic extracts required.
- Make-ahead flexibility: dough can be chilled or frozen, and the filled cookies keep well in the fridge or at room temperature for events.
- Textural contrast: crisp edges, tender crumb, and a silky ganache center that sets glossy and smooth — impressive for a simple technique.
- Customizable finish: sprinkle nonpareils for festive color, or swap fillings for jam or salted caramel to suit the occasion.
In my family these cookies became our default when a box of store-bought sweets wouldn’t do. They arrive at parties and are gone within an hour, not because they’re the flashiest cookie, but because they strike that comforting balance of flavor and texture that people love. I’ve learned to keep a jar of these around on busy weeks — they travel well and rarely disappoint.
Ingredients
- All-purpose flour (1 1/2 cups): Use a spoon-and-level method for accuracy. I prefer King Arthur or an unbleached variety; the flour provides structure without making the cookie tough.
- Dutch-process cocoa (1/2 cup): Darker, mellower than natural cocoa and gives a deep chocolate flavor without excess acidity. Try Valrhona or Hershey's Special Dark for reliable results.
- Salt (1/2 teaspoon) & baking powder (1/2 teaspoon): Salt enhances chocolate and balances sweetness; baking powder gives a subtle lift and a tender crumb.
- Unsalted butter (3/4 cup, softened): Room-temperature butter creamens with the sugars to trap air — this creates a lighter texture. Use quality butter like Plugrá or Kerrygold for flavor.
- Light brown sugar (3/4 cup) & granulated sugar (1/4 cup): Brown sugar adds moisture and a hint of molasses, while granulated sugar keeps the exterior slightly crisp.
- Egg yolks (2): Using yolks rather than whole eggs concentrates richness and keeps the dough tender and less cakey.
- Vanilla (1 1/2 tsp): Vanilla bean paste or pure extract adds depth. If using paste, you'll notice tiny flecks that feel homey and bakery-like.
- Semi-sweet chocolate chips (1 cup) & heavy whipping cream (1/2 cup): For the ganache: choose a chocolate you enjoy eating straight — this determines the ganache flavor. Heavy cream makes the filling glossy and smooth when heated and stirred into chips.
- Nonpareils (optional): Tiny, colorful sprinkles add a festive touch and a bit of crunch for presentation.
Instructions
Prepare the dry mix: Whisk together 1 1/2 cups all-purpose flour, 1/2 cup Dutch-process cocoa, 1/2 tsp salt, and 1/2 tsp baking powder in a medium bowl. Sifting is optional; whisking removes lumps and ensures even distribution of leavening. Cream butter and sugars: In a large bowl, beat 3/4 cup softened unsalted butter with 3/4 cup packed light brown sugar and 1/4 cup granulated sugar on medium speed for about two minutes until light and slightly fluffy. Scrape the bowl to prevent streaks. Add yolks and vanilla: Mix in the two room-temperature egg yolks and 1 1/2 tsp vanilla until the mixture is pale and holds air — about 1–2 minutes. This aeration helps create a tender bite. Combine dough: Fold the dry ingredients into the wet just until combined. Overmixing develops gluten and will toughen the cookies; stop when you no longer see streaks of flour. Portion and indent: Scoop the dough into 34 roughly tablespoon-sized portions and roll each into a smooth ball. Place on parchment-lined baking sheets. Using the back of a 1/4 teaspoon measuring spoon, press each ball gently to create a well but not all the way through. Chill: Chill the prepared trays for at least one hour to firm the butter and prevent excessive spreading during baking. You can refrigerate all the dough on one sheet and divide later to bake. Bake: Preheat the oven to 350°F (175°C). Arrange chilled dough about 2 inches apart on baking sheets and bake for 10–12 minutes until the edges are set and the centers look slightly soft. Rotate pans halfway through for even baking. Transfer to a wire rack to cool completely. Make the ganache: Bring 1/2 cup heavy cream to a simmer (small bubbles at the edge) then pour over 1 cup semi-sweet chocolate chips in a heatproof bowl. Let sit 1–2 minutes, then stir until smooth and glossy. If needed, warm briefly over a simmering water bath to loosen. Fill and finish: Once cookies are cool, spoon or pipe a small amount of ganache into each thumbprint. Sprinkle nonpareils immediately if using. Let the ganache set at room temperature or chill briefly to speed setting.
You Must Know
- These are moderately rich: expect about 120–140 calories per cookie depending on portion size and chocolate. They’re not low-carb or dairy-free due to butter, cream, and chocolate.
- Proper chilling is essential: at least one hour prevents excessive spreading and preserves the thumbprint well.
- Store cooled, filled cookies in an airtight container at room temperature for up to 3 days, or refrigerate for up to one week. Freeze unfilled dough or baked unfilled cookies for up to 3 months.
- Use a good-quality chocolate for ganache — the flavor of the chocolate is the flavor of the filling. Semi-sweet or bittersweet depends on how sweet you want the final cookie.
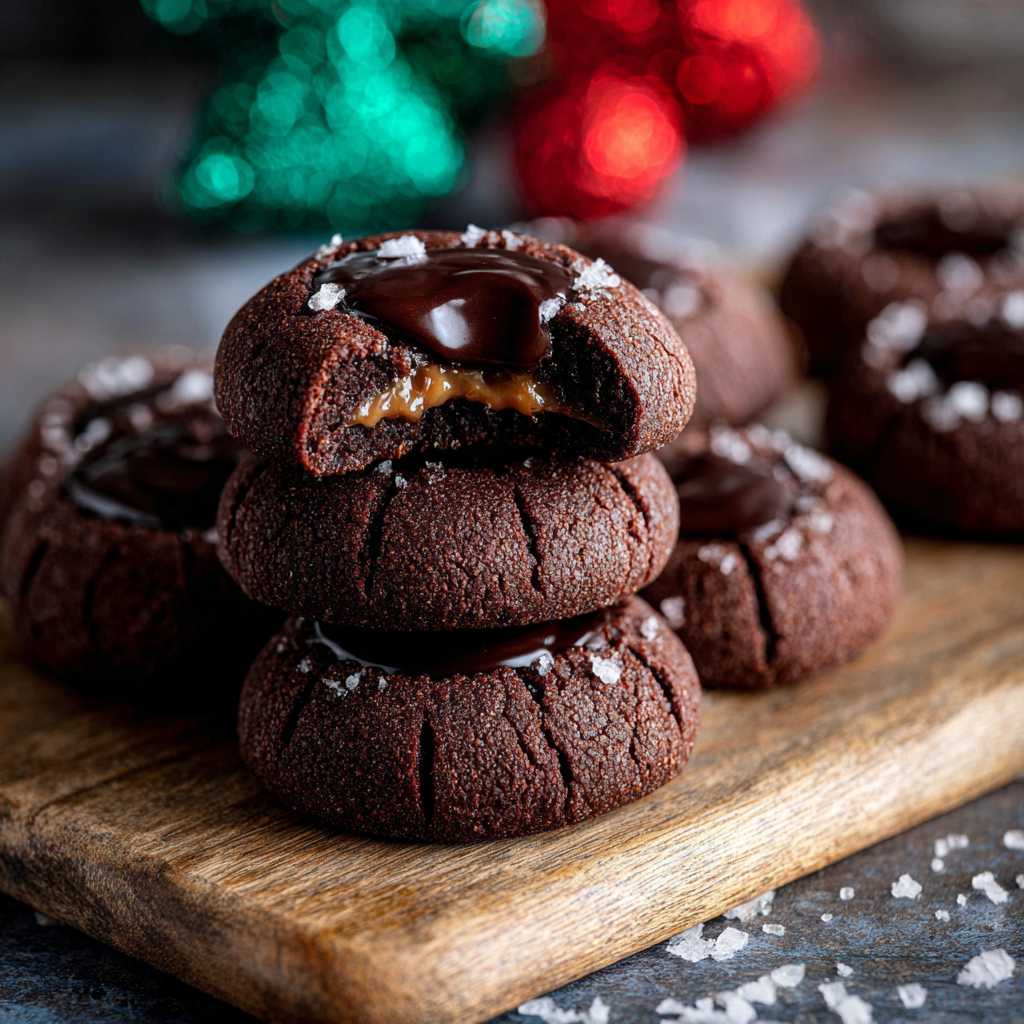
One of my favorite things about this process is how forgiving it is: a slightly over-pressed indent can be rebuilt with a quick re-roll and re-press. The family always comments on the glossy finish of the ganache — it makes each cookie look deceptively professional even when you make them in an evening.
Storage Tips
Store finished, cooled cookies in a single layer or separated with parchment in an airtight container. At room temperature they stay fresh for about 3 days; chilling extends their life to a week but can soften the exterior slightly. For longer storage, freeze baked and cooled unfilled cookies in a single layer on a tray until firm, then transfer to a freezer-safe container for up to 3 months. Thaw at room temperature before filling. If freezing dough balls, flash-freeze on a tray then bag; bake directly from frozen, adding a minute or two to the bake time.
Ingredient Substitutions
Swap Dutch-process cocoa for natural cocoa if needed, but reduce baking powder to 1/4 teaspoon and add 1/4 teaspoon baking soda to balance acidity. For a dairy-free option, use a plant-based butter and a non-dairy cream alternative formulated for whipping; ganache may be softer and require refrigeration. Replace egg yolks with a commercial egg replacer in a pinch, though texture will be slightly different — yolks give richness that is hard to mimic precisely.
Serving Suggestions
Serve these on a cookie platter with shortbread and nutty biscotti for contrast. They pair beautifully with espresso, a milky hot chocolate, or a crisp white wine for adults. Garnish with a tiny fleur de sel sprinkle for a grown-up finish, or add a few chopped toasted hazelnuts around the ganache for crunch. For celebrations, use colored nonpareils or edible gold dust for an elevated look.
Cultural Background
Thumbprint-style cookies have roots in many European baking traditions where a small well in a cookie is filled with jam, caramel, or chocolate. The concept is adaptable and has been adopted widely across North America due to its simplicity and versatility. The chocolate-centered version blends classic thumbprint technique with modern ganache, offering a richer, more decadent interpretation of a traditional favorite.
Seasonal Adaptations
Adjust the filling according to the season: in winter, stir a pinch of cinnamon and orange zest into the ganache; in summer, swap ganache for a spoonful of raspberry or apricot jam for brightness. For holiday trays, mix red and green nonpareils, or drizzle white chocolate for a snowy effect. Texture-wise, you can add a teaspoon of finely ground espresso powder to the dough for a deeper chocolate note that feels particularly cozy in cooler months.
Meal Prep Tips
For efficient holiday baking, prepare the dough and portion it into tablespoon scoops, then freeze the scooped balls on a tray. Store them in freezer bags; when you’re ready to bake, place frozen dough on parchment and add a couple of extra minutes to the bake time. Prepare ganache the day before and keep it in a covered container; rewarm gently in the microwave or over a double boiler before filling the cookies for a smooth consistency.
These cookies have become a staple in my kitchen because they combine ease, reliability, and a touch of elegance. They travel well, look pretty on a plate, and satisfy chocolate cravings without being overpowering. I hope they become a favorite in your baking rotation too — tweak the filling, experiment with toppings, and make the recipe your own.
Pro Tips
Chill the dough at least one hour to reduce spreading and preserve the thumbprint well.
Use room-temperature egg yolks for even incorporation and a tender texture.
Press indents gently with the back of a 1/4 teaspoon — pressing too hard will create holes.
Heat the cream just to a simmer before pouring onto chocolate for a glossy ganache; do not boil.
If ganache firms before filling, warm it briefly over a double boiler to loosen.
This nourishing chocolate thumbprint cookies recipe is sure to be a staple in your kitchen. Enjoy every moist, high protein slice — it is perfect for breakfast or as a wholesome snack any time.
FAQs about Recipes
Do I have to chill the dough?
Yes. Chill the dough for at least 1 hour to prevent spreading. For a firmer shape, refrigerate 2–3 hours or overnight.
Can these be frozen?
Yes. You can freeze baked unfilled cookies for up to 3 months; thaw before filling. You can also freeze the raw dough balls and bake from frozen, adding a couple minutes to baking time.
Tags
Chocolate Thumbprint Cookies
This Chocolate Thumbprint Cookies recipe makes perfectly juicy, tender, and flavorful steak every time! Serve with potatoes and a side salad for an unforgettable dinner in under 30 minutes.
Ingredients
Cookies
Ganache & Topping
Instructions
Combine dry ingredients
Whisk together flour, cocoa, salt, and baking powder in a medium bowl until evenly mixed and aerated.
Cream butter and sugars
Beat softened butter with brown and granulated sugar for about two minutes until light and fluffy, scraping the bowl as needed.
Add yolks and vanilla
Mix in the egg yolks and vanilla until pale and slightly aerated, roughly 1–2 minutes.
Form the dough
Fold the dry ingredients into the butter mixture just until combined; avoid overmixing to keep texture tender.
Portion and indent
Scoop about 1 tablespoon per cookie, roll into balls, place on baking sheets, and press a small well into each with the back of a 1/4 teaspoon.
Chill the dough
Refrigerate the prepared sheets for at least one hour to firm the butter and ensure controlled spreading during baking.
Bake
Preheat oven to 350°F (175°C). Bake cookies for 10–12 minutes until edges set and centers are slightly soft; cool on wire racks.
Prepare ganache and fill
Heat cream to a simmer, pour over chocolate chips, let rest 1–2 minutes, then stir until smooth. Spoon into cooled thumbprints and allow to set.
Last Step: Please leave a rating and comment letting us know how you liked this recipe! This helps our business to thrive and continue providing free, high-quality recipes for you.
Nutrition
Did You Make This?
Leave a comment & rating below or tag
@festive-cooks on social media!
Categories:
You might also like...

Air Fryer Parmesan Crusted Chicken
Crispy, golden Parmesan crusted chicken made in the air fryer for a quick family favorite that stays juicy inside and crunchy outside.

Quick Chicken Pot Pie Pasta
A cozy one-skillet mashup of pot pie comfort and egg noodle ease—ready in about 35 minutes and perfect for weeknight dinners.
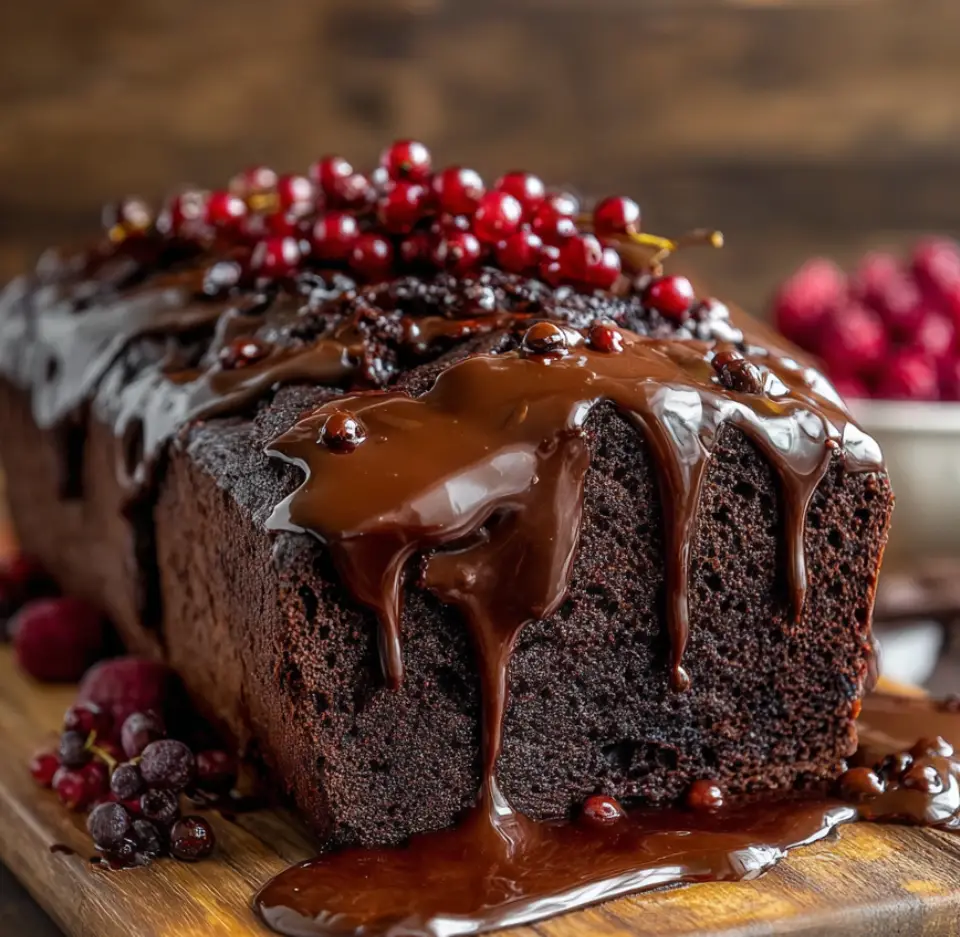
Hot Fudge Brownie Bread
A gooey, chocolate-packed loaf with a molten hot-fudge swirl — brownie texture in bread form, perfect warm with a scoop of ice cream.
Did You Make This?
Leave a comment & rating below or tag @festive-cooks on social media!
Rate This Recipe
Share This Recipe
Enjoyed this recipe? Share it with friends and family, and don't forget to leave a review!
Comments (1)
This recipe looks amazing! Can't wait to try it.
Comments are stored locally in your browser. Server comments are displayed alongside your local comments.

Hi, I'm Jessica!
What's Popular
30-Minute Meals!
Join to receive our email series which contains a round-up of some of our quick and easy family favorite recipes.